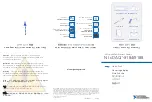
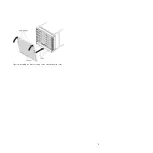

Installing the airborne contaminant filter
Consider the following information about the airborne contaminant filter before you install it:
v
You can use a rack door with the low-profile configuration; however, cables cannot be routed through
the filter assembly.
v
You can route cables through the sides of the extended-profile collar in the extended-profile
configuration; however, the extended-profile configuration might not support the use of a rack door.
You can install the airborne contaminant filter in a low-profile or extended-profile configuration. Use the
following instructions to install the airborne contaminant filter in a low-profile or extended-profile
configuration.
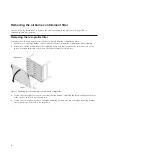
Installing the low-profile filter
The low-profile filter configuration does not allow cables to be routed through it; however, it does allow
a rack door to be closed. Complete the following steps to install the low-profile filter configuration:
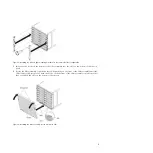
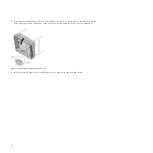
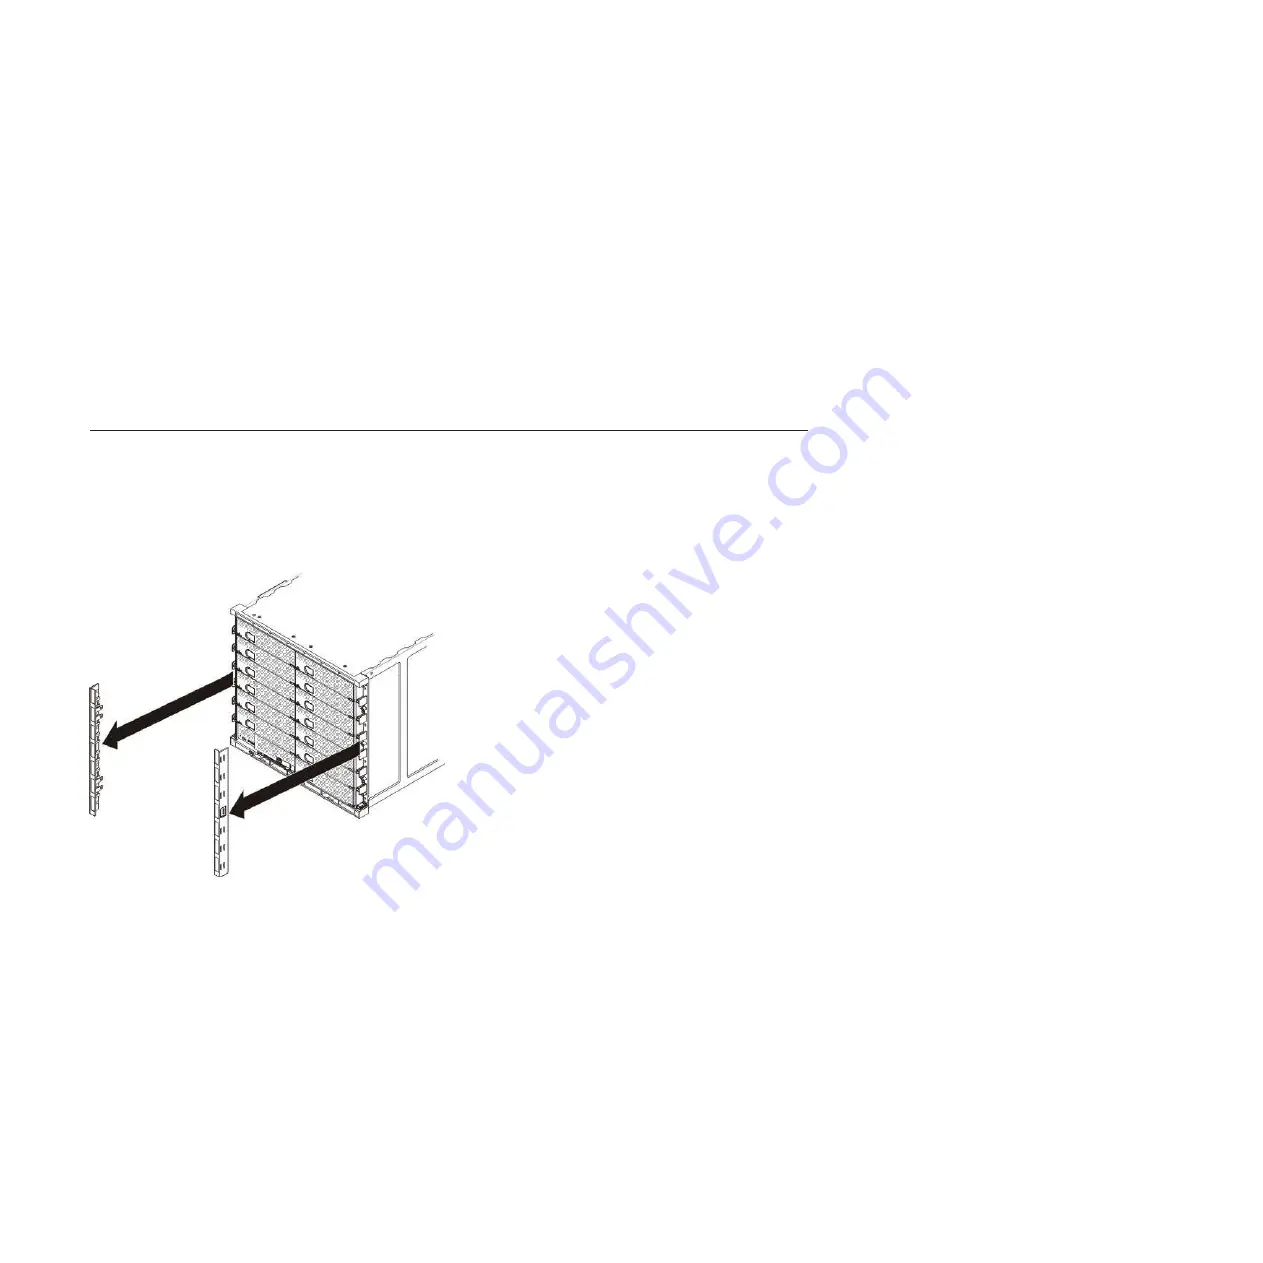
1.
Remove the left and right screw-cover bezels from the front of the chassis and store them for future
use.
2.
Remove the eight screws that secure the chassis to the rack.
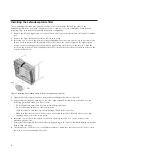
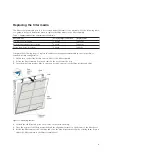
3.
Align the left mounting bracket captive screws with the four empty screw holes on the left side of the
chassis bezel. Tighten the four captive screws into the left mounting bracket to secure the mounting
bracket to the chassis.
4.
Align the right mounting bracket captive screws with the four empty screw holes on the right side of
the chassis bezel. Tighten the four captive screws into the right mounting bracket to secure the bracket
to the chassis.
Figure 2. Removing the left and right screw-cover bezels
2