You can use the console switch to connect more than one server to a single monitor and keyboard. The
console switch option is available separately, but custom mounting brackets for the switch are available
with the installation kit.
By installing the console switch behind the monitor and keyboard tray, both the monitor and keyboard
tray can occupy the same space in the rack. To install the console switch behind the tray, use the brackets
provided with the installation kit.
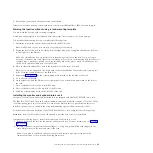
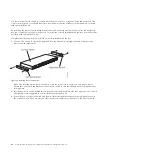
Complete the following steps to install the console switch behind the tray:
1.
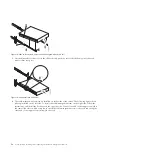
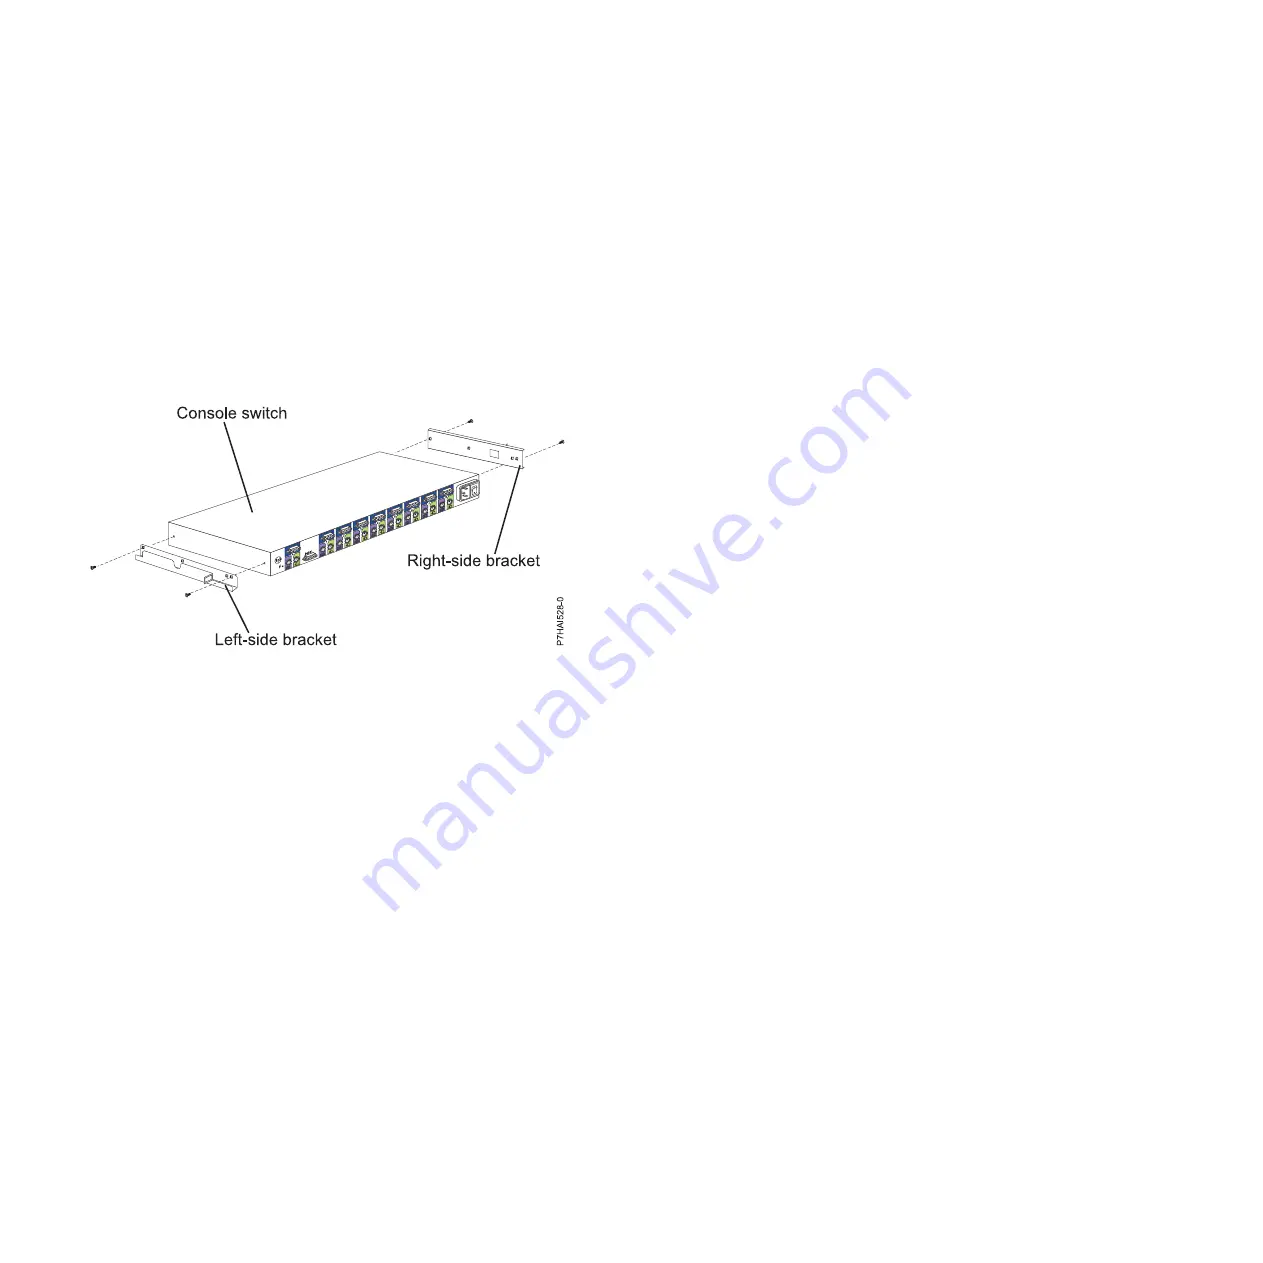
Use two 8-32 screws to attach the right and left side brackets to the right-side and left-side of the
console switch respectively.
Note:
The left-side bracket has a channel to route the power, video, keyboard, and mouse cables.
Ensure that you attach the brackets to the console switch so that the channel on the left-side bracket
faces upward.
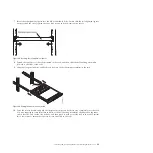
2.
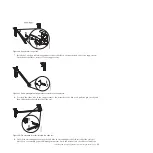
Install the console switch behind the flat panel monitor and keyboard tray by using four (two on each
side) philips screws supplied in your miscellaneous hardware kit.
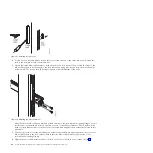
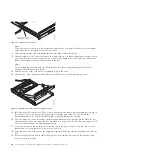
3.
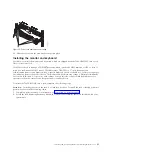
Route the power, video, keyboard, and mouse cables through the channel in the left-side bracket on
the console switch. Then, connect the video, keyboard, and mouse connectors to the console switch.
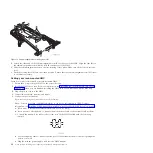
Figure 34. Installing the console switch
48
Power Systems: Installing and configuring the Hardware Management Console
Summary of Contents for Hardware Management Console
Page 1: ...Power Systems Installing and configuring the Hardware Management Console...
Page 2: ......
Page 3: ...Power Systems Installing and configuring the Hardware Management Console...
Page 8: ...vi Power Systems Installing and configuring the Hardware Management Console...
Page 107: ......
Page 108: ...Printed in USA...

