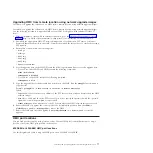


Table 14. 8202-E4C or 8205-E6C HMC port locations
Port
Physical location code
Identify LED
HMC port 1
Un-P1-T5
No
HMC port 2
Un-P1-T6
No
For more information on HMC port locations on the 8202-E4C or 8205-E6C, see Part location and location codes for
8202-E4C or 8205-E6C..
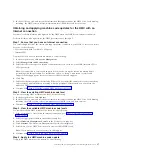
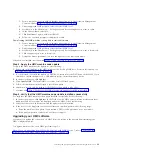
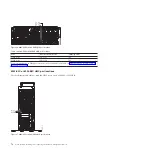
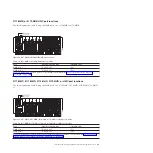
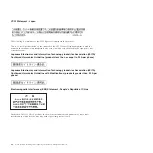
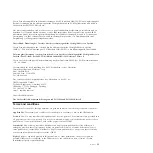
8231-E2B HMC port locations
Use this diagram and table to map the HMC ports on an 8231-E2B.
Table 15. 8231-E2B HMC port locations
Port
Physical location code
Identify LED
HMC port 1
Un-P1-T3
No
HMC port 2
Un-P1-T4
No
For more information on HMC port locations on the 8231-E2B, see Part location and location codes for 8231-E2B.
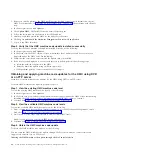
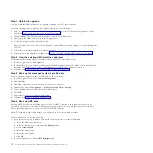
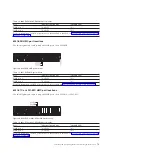
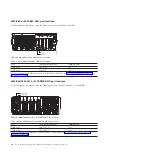
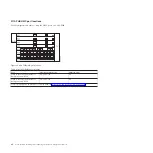
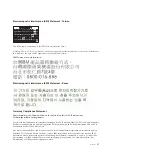
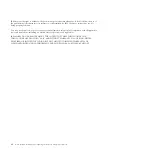
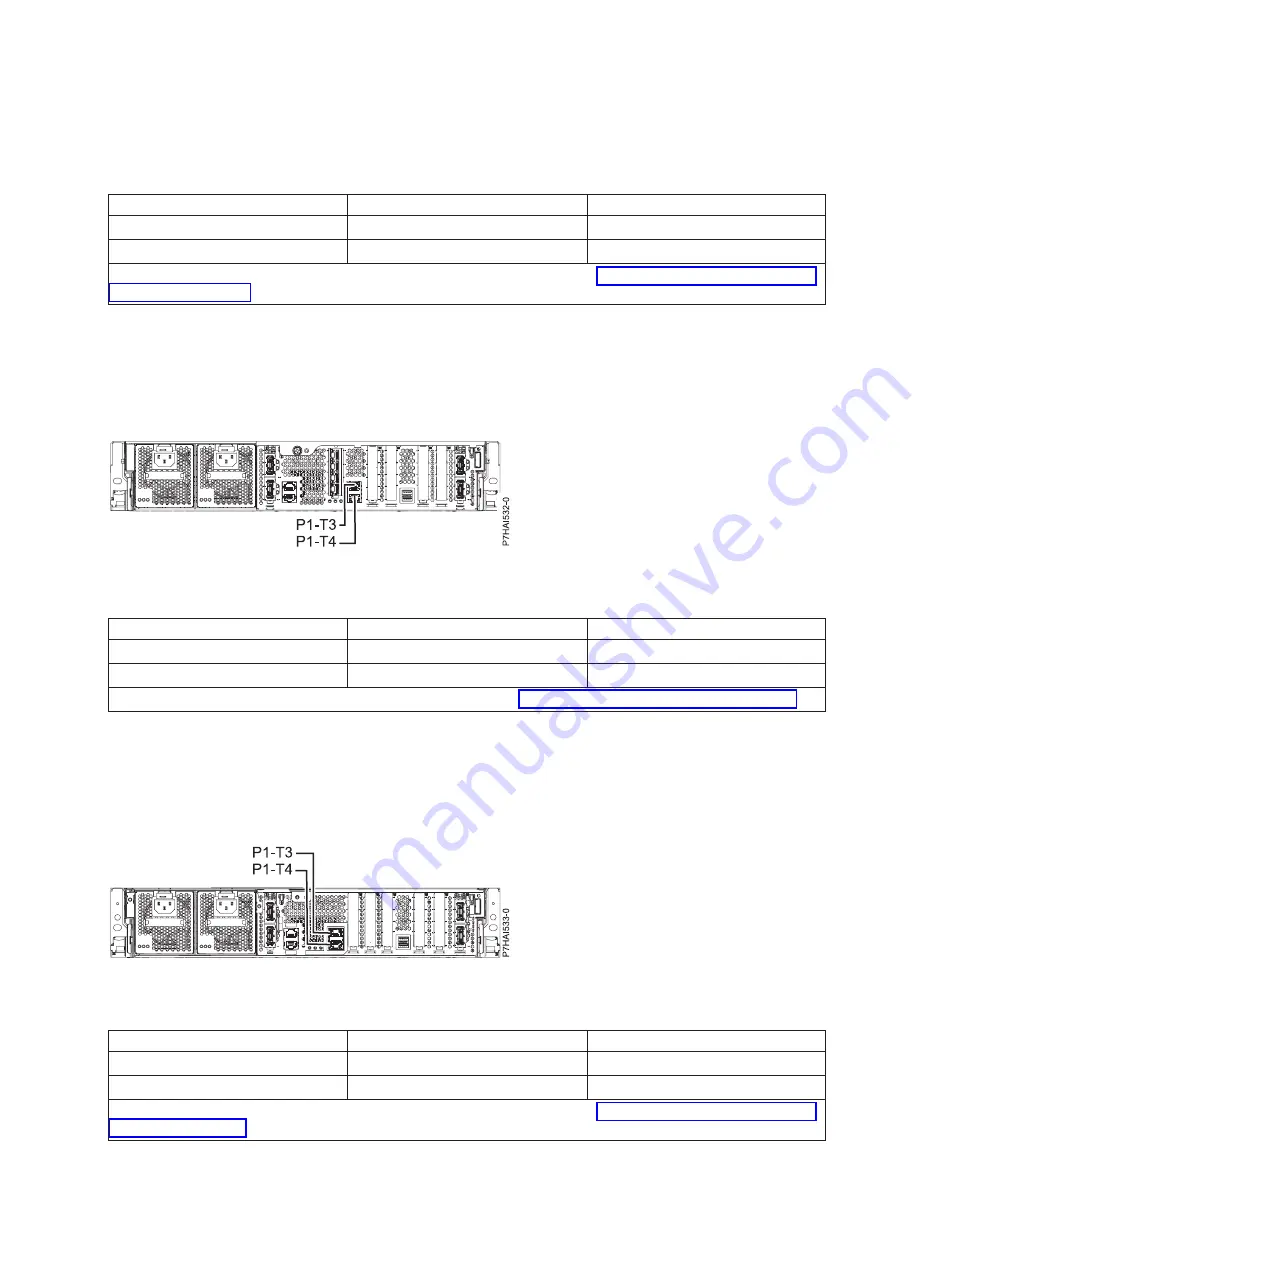
8231-E1C or 8231-E2C HMC port locations
Use this diagram and table to map the HMC ports on an 8231-E1C or 8231-E2C.
Table 16. 8231-E1C or 8231-E2C HMC port locations
Port
Physical location code
Identify LED
HMC port 1
Un-P1-T3
No
HMC port 2
Un-P1-T4
No
For more information on HMC port locations on the 8231-E1C or 8231-E2C, see Part location and location codes for
8231-E1C or 8231-E2C
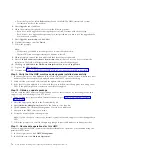
Figure 38. 8231-E2B HMC port locations
Figure 39. 8231-E1C or 8231-E2C HMC port locations
Installing and configuring the Hardware Management Console
79
Summary of Contents for Hardware Management Console
Page 1: ...Power Systems Installing and configuring the Hardware Management Console...
Page 2: ......
Page 3: ...Power Systems Installing and configuring the Hardware Management Console...
Page 8: ...vi Power Systems Installing and configuring the Hardware Management Console...
Page 107: ......
Page 108: ...Printed in USA...


