4.
Lower
the
cover
so
that
the
slots
at
the
rear
slide
down
onto
the
pins
at
the
rear
of
the
blade
server,
as
shown
in
the
illustration.
Before
you
close
the
cover,
make
sure
that
all
components
are
installed
and
seated
correctly
and
that
you
have
not
left
loose
tools
or
parts
inside
the
blade
server.
5.
Pivot
the
cover
to
the
closed
position,
as
shown
in
the
illustration,
until
it
clicks
into
place.
Installing
the
blade
server
in
a
BladeCenter
unit
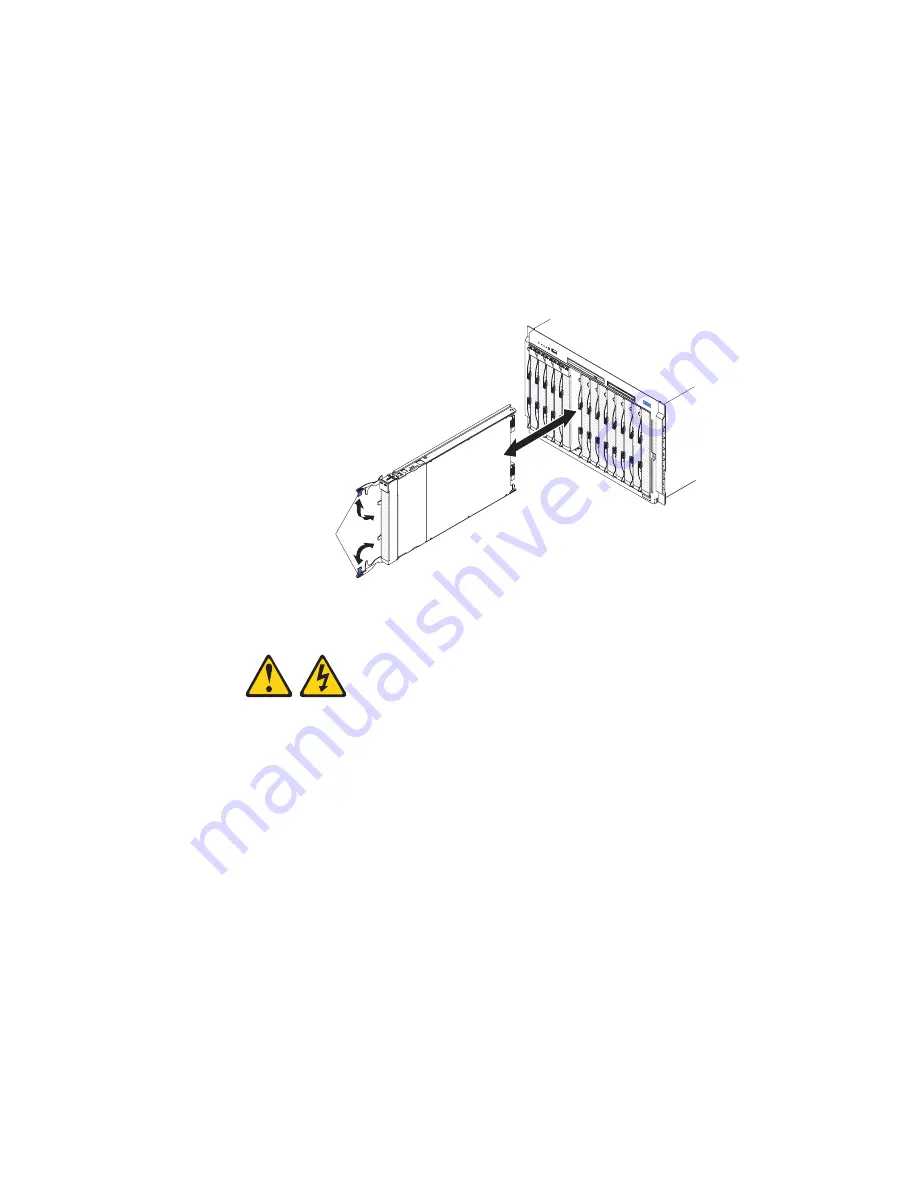
The
following
illustration
shows
how
to
install
a
blade
server
into
a
Type
8677
BladeCenter
unit.
The
appearance
of
your
BladeCenter
unit
might
be
different,
see
the
documentation
for
your
BladeCenter
unit
for
additional
information.
Release handles
(open)
To
install
a
blade
server
in
a
BladeCenter
unit,
complete
the
following
steps.
Statement
21:
CAUTION:
Hazardous
energy
is
present
when
the
blade
server
is
connected
to
the
power
source.
Always
replace
the
blade
cover
before
installing
the
blade
server.
1.
Read
the
safety
information
that
begins
on
page
v
and
“Installation
guidelines”
on
page
15
through
“Handling
static-sensitive
devices”
on
page
16.
2.
If
you
have
not
done
so
already,
install
any
options
that
you
want,
such
as
SAS
drives
or
memory,
in
the
blade
server.
3.
(BladeCenter
T
unit
only)
Remove
the
bezel
assembly
on
the
BladeCenter
T
unit.
For
detailed
instructions
for
removing
the
bezel
assembly,
see
the
Installation
and
User’s
Guide
that
comes
with
the
BladeCenter
T
unit.
36
BladeCenter
HS21
Type
8853:
Installation
and
User’s
Guide
Summary of Contents for HS21 - BladeCenter - 8853
Page 3: ...BladeCenter HS21 Type 8853 Installation and User s Guide...
Page 60: ...48 BladeCenter HS21 Type 8853 Installation and User s Guide...
Page 78: ...66 BladeCenter HS21 Type 8853 Installation and User s Guide...
Page 79: ......
Page 80: ...Part Number 44W1496 Printed in USA 1P P N 44W1496...


