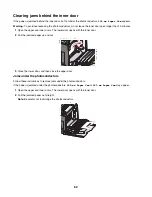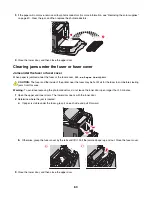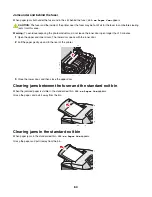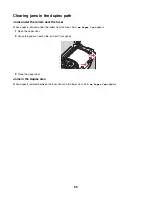
Accessing jam areas
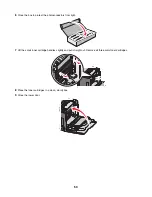
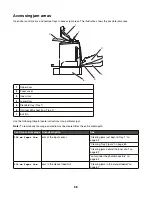
Open doors and covers, and remove trays to access jam areas. The illustration shows the possible jam areas.
1
2
3
4
5
6
7
1
Upper door
2
Fuser cover
3
Inner door
4
Lower door
5
Standard tray (Tray 1)
6
Optional 550-sheet tray (Tray 2)
7
Exit bin
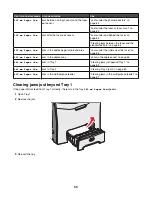
Use the following table to locate instructions for a particular jam.
Note:
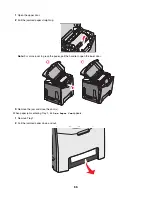
To resolve any message, all media must be cleared from the entire media path.
Control panel message Area description
See
200.xx Paper Jam
Jam at the input sensor
“Clearing jams just beyond Tray 1” on
page 59
“Clearing Tray 2 jams” on page 60
“Clearing jams behind the inner door” on
page 62
“Jams under the photoconductors” on
page 62
200.xx Paper Jam
Jam in the manual feed slot
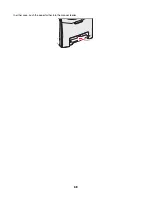
“Clearing jams in the manual feeder” on
page 67
58
Summary of Contents for InfoPrint 1634
Page 1: ...InfoPrint Color 1634 MT 4931 User s Guide S510 6845 00 ...
Page 8: ...8 ...
Page 68: ...In either case push the paper farther into the manual feeder 68 ...
Page 105: ......
Page 106: ...Printed in USA S510 6845 00 ...

