
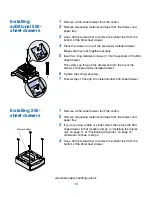


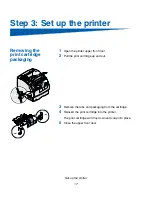
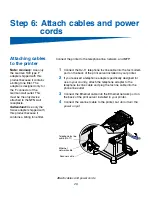

Attaching the
printer cables
Network cable
Printer power cord
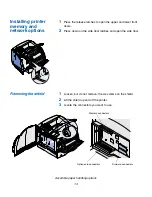
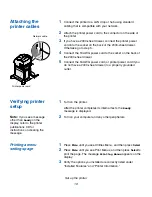
Verifying printer
setup
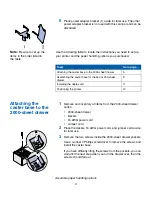
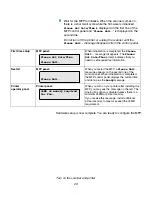
Note:
If you see a message
other than
Ready
on the
display, refer to the printer
publications CD for
instructions on clearing the
message.
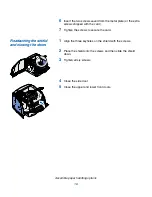
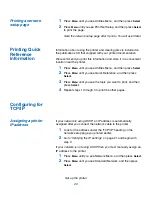
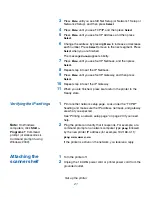
Printing a menu
settings page
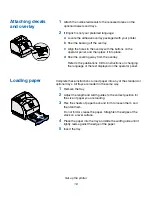
1
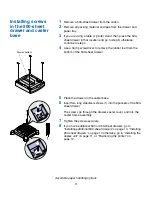
Connect the printer to a LAN drop or hub using standard
cabling that is compatible with your network.
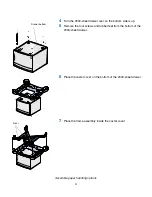
2
Attach the printer power cord to the connector on the side of
the printer.
3
If you have a 2000-sheet drawer, connect the printer power
cord into the socket on the back of the 2000-sheet drawer.
Otherwise go to step 5.
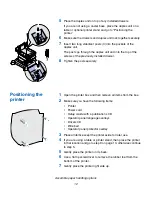
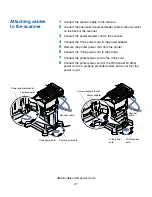
4
Connect the 16 AWG power cord to the socket on the back of
the 2000-sheet drawer.
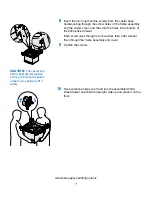
5
Connect the 16 AWG power cord (or printer power cord if you
do not have a 2000-sheet drawer) to a properly grounded
outlet.
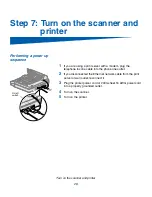
1
Turn on the printer.
After the printer completes its internal tests, the
Ready
message is displayed.
2
Turn on your computer and any other peripherals.
1
Press
Menu
until you see Utilities Menu, and then press
Select
.
2
Press
Menu
until you see Print Menus, and then press
Select
to
print the page. The message
Printing Menus
appears on the
display.
3
Verify the options you installed are correctly listed under
“Installed Features” and “Printer Information.”
Set up the printer
19
Summary of Contents for Infoprint M22 MFP
Page 1: ...IBM Infoprint M22 MFP Option Setup Guide S510 2633 00 IBM ...
Page 2: ......
Page 3: ...IBM Infoprint M22 MFP Option Setup Guide S510 2633 00 IBM ...
Page 6: ...Solve setup problems 42 Maintain your scanner 43 Notices 48 Contents iv ...
Page 58: ......
Page 61: ......
Page 62: ...IBMR Part Number 75P5112 Printed in U S A S510 2633 00 1P P N 75P5112 ...


