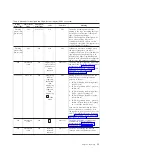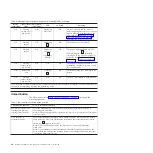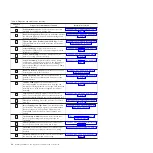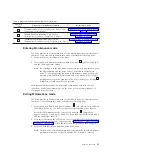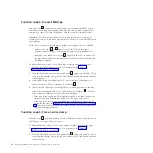
Table 8. Diagnostic and maintenance functions (continued)
Function
code
Diagnostic or maintenance function
Instructions location
L
Load/Unload Test:
Tests the ability of the drive to load
and unload a tape cartridge.
“Function code L: Load/unload test” on
P
Enable Post Error Reporting:
When selected,
deferred-check conditions are reported to the host.
“Function code P: Enable post error
U
Disable Post Error Reporting:
When selected,
deferred-check conditions are NOT reported to the host.
“Function code U: Disable post error
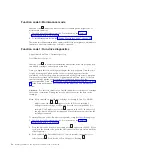
Entering Maintenance mode
The drive must be in Maintenance mode to run drive diagnostics or maintenance
functions. To put the unit in Maintenance mode, complete the following steps:
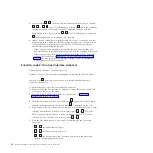
1.
Make sure that no cartridge is in the drive.
2.
Press the Unload button three times within 2 seconds.
0
appears in the SCD,
and the Fault light turns amber.
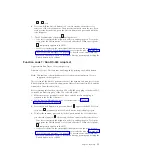
Note:
If a cartridge is in the tape drive, it will eject the first time that you press
the Unload button and the drive will not be placed in Maintenance
mode. To continue placing the drive in Maintenance mode, perform the
preceding step. While in Maintenance mode, the drive will not accept a
cartridge unless the drive requests it. The SCD will display a flashing
C
to indicate a cartridge needs to be inserted.
Maintenance functions cannot be performed concurrently with read or write
operations. While in Maintenance mode, the drive does not acknowledge SCSI
commands from the server.
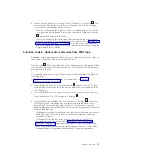
Exiting Maintenance mode
The drive must be in Maintenance mode to run drive diagnostics or maintenance
functions. To exit Maintenance mode, complete the following steps:
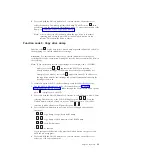
1.
Press the Unload Button once per second until
0
is displayed. Press and hold
the Unload Button for 3 or more seconds then release the button to take the
drive out of Maintenance mode. If no error is detected,
0
temporarily
appears in the SCD, and it goes blank. The drive then exits Maintenance mode
and the status light turns on.
2.
If an error is detected, the SCD shows an error code but still exits Maintenance
mode. To determine the error, locate the code in Appendix C, “Error codes and
messages,” on page 59. To clear the error, turn the power off, then on again.
3.
Press and hold the Unload button until the drive resets.
Note:
The drive also exits Maintenance mode automatically after it completes a
maintenance function or after 10 minutes if no action has occurred.
Chapter 3. Operating
25
Summary of Contents for L5X
Page 2: ......
Page 10: ...viii Half High LTO Gen 5 SAS Tape Drive Installation and User s Guide...
Page 14: ...xii Half High LTO Gen 5 SAS Tape Drive Installation and User s Guide...
Page 16: ...xiv Half High LTO Gen 5 SAS Tape Drive Installation and User s Guide...
Page 58: ...40 Half High LTO Gen 5 SAS Tape Drive Installation and User s Guide...
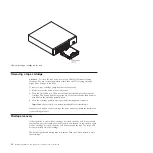
Page 71: ...Figure 14 RID tag on rear panel Chapter 5 Resolving problems 53...
Page 72: ...54 Half High LTO Gen 5 SAS Tape Drive Installation and User s Guide...
Page 76: ...58 Half High LTO Gen 5 SAS Tape Drive Installation and User s Guide...
Page 90: ...72 Half High LTO Gen 5 SAS Tape Drive Installation and User s Guide...
Page 102: ...84 Half High LTO Gen 5 SAS Tape Drive Installation and User s Guide...
Page 119: ......
Page 120: ...Part Number 60Y1487 Printed in USA 1P P N 60Y1487...

