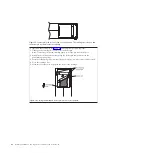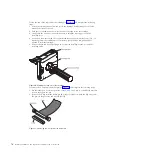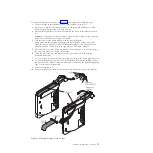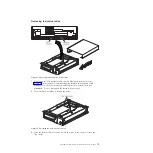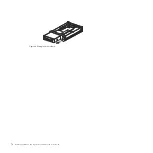
To reposition the leader pin, see Figure 16 and complete the following steps:
1.
Slide open the cartridge door and locate the leader pin.
Note:
If necessary, shake the cartridge gently to roll the pin toward the door.
2.
With plastic or blunt-end tweezers, grasp the leader pin and position it in the
pin-retaining spring clips.
3.
Press the leader pin gently into the clips until it snaps into place and is firmly seated.
4.
Close the cartridge door.
5.
Make sure that there are no gaps in the seam of the cartridge
Figure 16. Placing the dislodged leader pin into the correct position
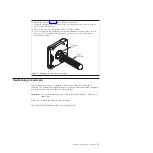
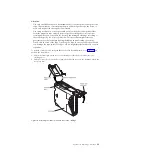
Figure 15. Leader pin in the incorrect and correct positions.
The cartridge door is open and
the leader pin is visible inside the cartridge.
66
Half-High LTO Gen 5 SAS Tape Drive Installation and User's Guide
Summary of Contents for L5X
Page 2: ......
Page 10: ...viii Half High LTO Gen 5 SAS Tape Drive Installation and User s Guide...
Page 14: ...xii Half High LTO Gen 5 SAS Tape Drive Installation and User s Guide...
Page 16: ...xiv Half High LTO Gen 5 SAS Tape Drive Installation and User s Guide...
Page 58: ...40 Half High LTO Gen 5 SAS Tape Drive Installation and User s Guide...
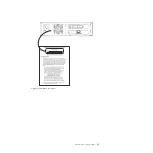
Page 71: ...Figure 14 RID tag on rear panel Chapter 5 Resolving problems 53...
Page 72: ...54 Half High LTO Gen 5 SAS Tape Drive Installation and User s Guide...
Page 76: ...58 Half High LTO Gen 5 SAS Tape Drive Installation and User s Guide...
Page 90: ...72 Half High LTO Gen 5 SAS Tape Drive Installation and User s Guide...
Page 102: ...84 Half High LTO Gen 5 SAS Tape Drive Installation and User s Guide...
Page 119: ......
Page 120: ...Part Number 60Y1487 Printed in USA 1P P N 60Y1487...

