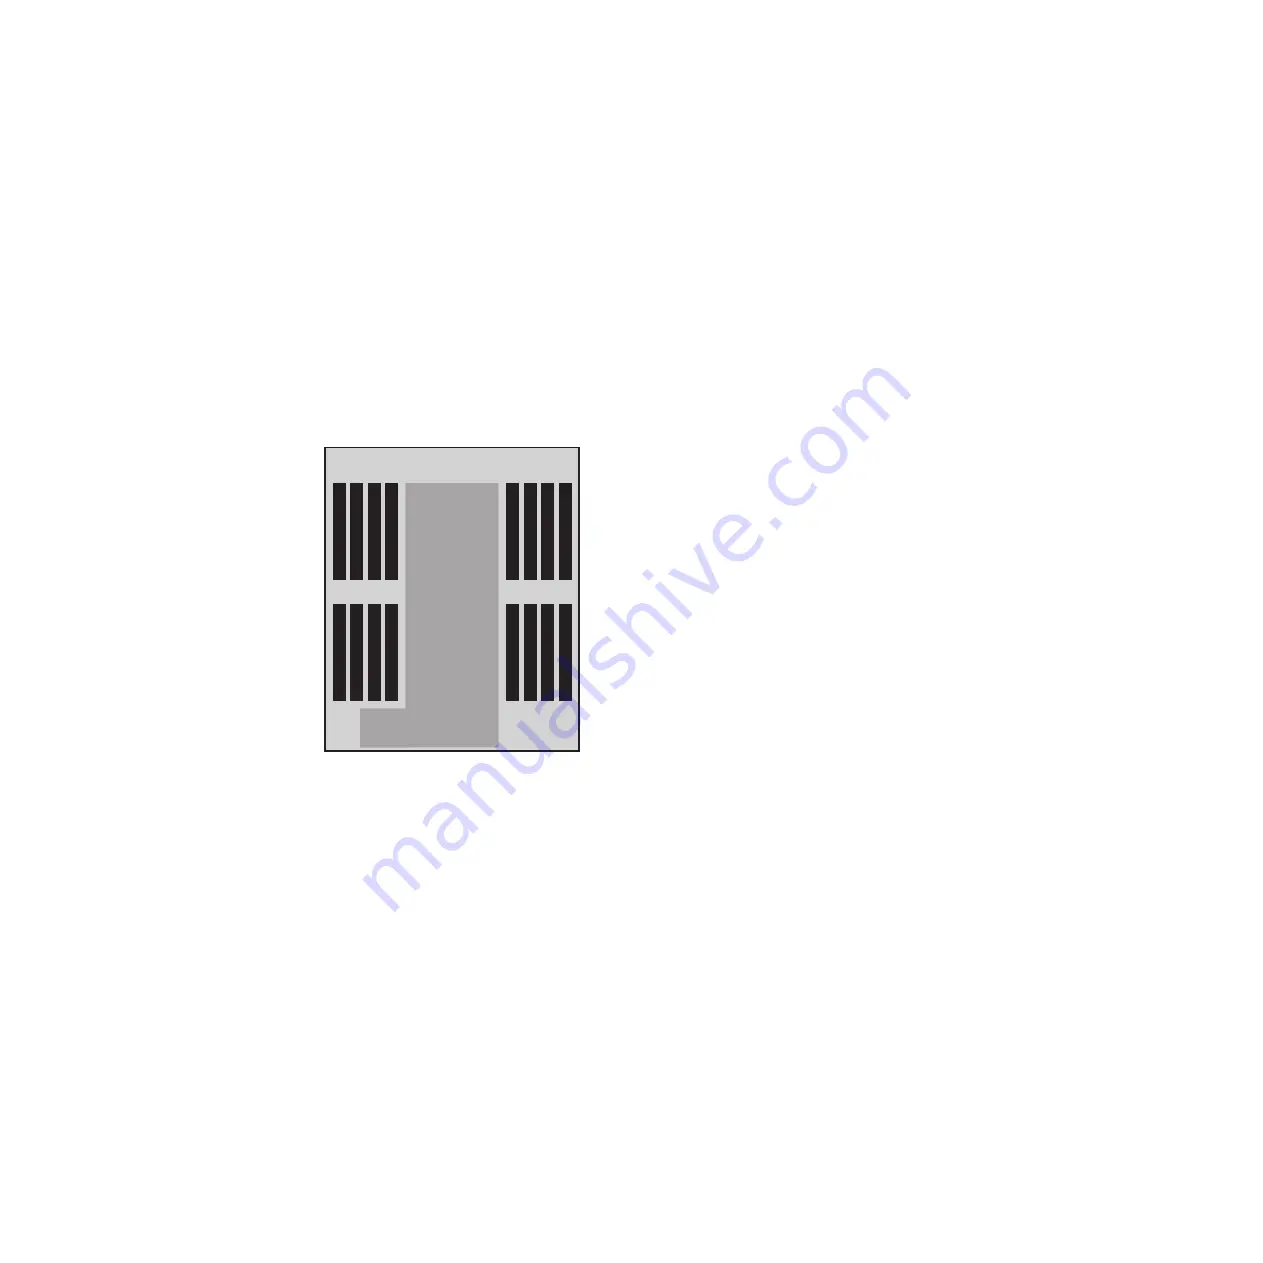
a.
Press the locking tabs on the sides of the motherboard tray, and then gently
pull it out about an inch.
b.
Grasp the handles on the sides of the motherboard tray, slide it out of the
chassis, and set it on a stable, antistatic surface.
Removing the DIMMs
To remove a DIMM, you must perform certain steps in order.
Procedure
1.
If you are not already grounded, properly ground yourself.
2.
Locate the DIMMs.
3.
Note the orientation of the DIMM in the socket so that you can insert the
replacement DIMM in the proper orientation.
4.
Push apart the latches on either side of the DIMM to release the DIMM from its
slot, and then lift it out of the slot.
DIMM 4
DIMM 3
DIMM 2
DIMM 1
DIMM 12
DIMM 11
DIMM 10
DIMM 9
DIMM 5
DIMM 6
DIMM 7
DIMM 8
DIMM 13
DIMM 14
DIMM 15
DIMM 16
CPU Board
I/O Board
3
1
2
1
5
4
DIMM Layout
Figure 23. DIMM layout
Chapter 5. Replacing N7000 series system devices
75
Summary of Contents for N7700
Page 2: ......
Page 12: ...x IBM System Storage N7000 Series Hardware and Service Guide ...
Page 18: ...xvi IBM System Storage N7000 Series Hardware and Service Guide ...
Page 20: ...xviii IBM System Storage N7000 Series Hardware and Service Guide ...
Page 42: ...16 IBM System Storage N7000 Series Hardware and Service Guide ...
Page 46: ...20 IBM System Storage N7000 Series Hardware and Service Guide ...
Page 54: ...28 IBM System Storage N7000 Series Hardware and Service Guide ...
Page 162: ...136 IBM System Storage N7000 Series Hardware and Service Guide ...
Page 164: ...138 IBM System Storage N7000 Series Hardware and Service Guide ...
Page 168: ...142 IBM System Storage N7000 Series Hardware and Service Guide ...
Page 181: ......
Page 182: ... Printed in USA GC26 7953 13 ...


