Chapter 4. Installing optional devices
25
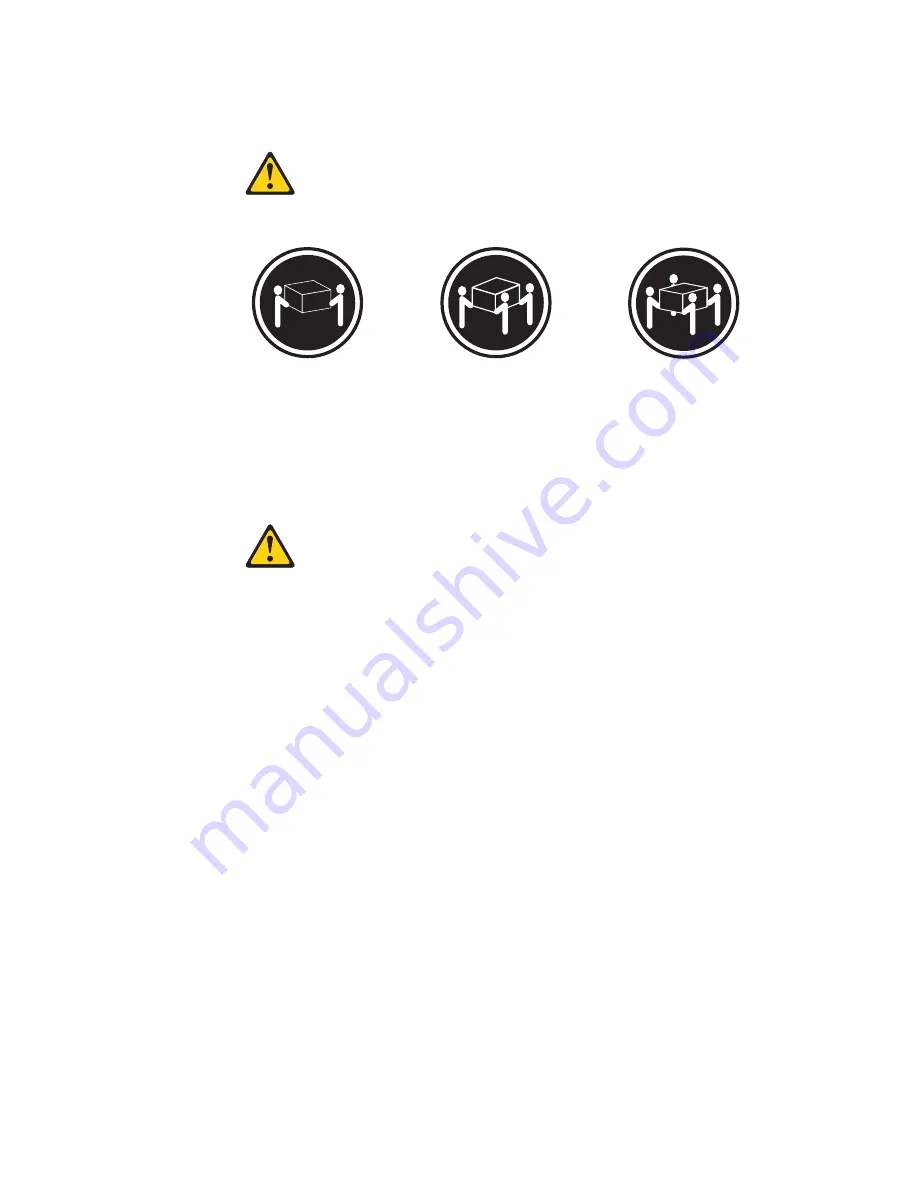
Statement 5
CAUTION:
Use safe practices when lifting.
Statement 6
CAUTION:
Do not place any object on top of a rack-mounted device unless that rack-
mounted device is intended for use as a shelf.
Installing threaded rails or bars
You must install devices that have threaded holes or device rails that have threaded
holes on the inside of the rack mounting flanges. You can, however, install devices or
device rails that come with threaded bars on the inside or the outside of the rack
mounting flanges. See the device documentation for detailed information on how to
use threaded rails or bars.
Installing cage nuts on NetBAY25 and NetBAY42 Rack cabinets
You must use cage nuts for all optional devices that do not have threaded holes.
Cage nuts install on the inside of the rack mounting flanges with either the cage-nut-
insertion tool or a flat-blade screwdriver. The cage-nut-insertion tool comes with the
rack cabinet and some optional devices.
Note:
Your rack cabinet comes with a supply of cage nuts that you can use to install
optional devices. Most devices that require them will come with cage nuts.
Some devices might require that you install clip nuts on the rail instead of cage nuts
on the rack mounting flanges. See the device documentation for information on when
you must install the clip nuts.
≥
18 kg (39.7 lb)
≥
32 kg (70.5 lb)
≥
55 kg (121.2 lb)
Summary of Contents for NetBAY25
Page 1: ...IBM IBM NetBAY Rack Planning Guide ...
Page 2: ......
Page 3: ...IBM IBM NetBAY Rack Planning Guide ...
Page 6: ...iv IBM NetBAY Rack Planning Guide ...
Page 15: ...Chapter 1 Introduction 3 Figure 3 Expansion NetBAY42 Rack cabinet ...
Page 17: ...Chapter 1 Introduction 5 Figure 5 Expansion NetBAY42 Enterprise Rack cabinet ...
Page 18: ...6 IBM NetBAY Rack Planning Guide ...
Page 40: ...28 IBM NetBAY Rack Planning Guide ...
Page 44: ...32 IBM NetBAY Rack Planning Guide ...
Page 51: ......


