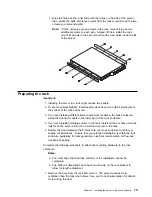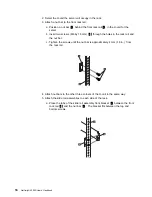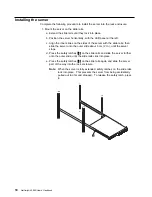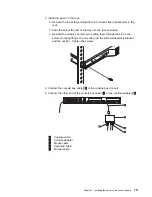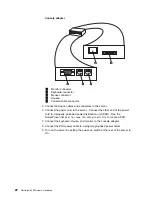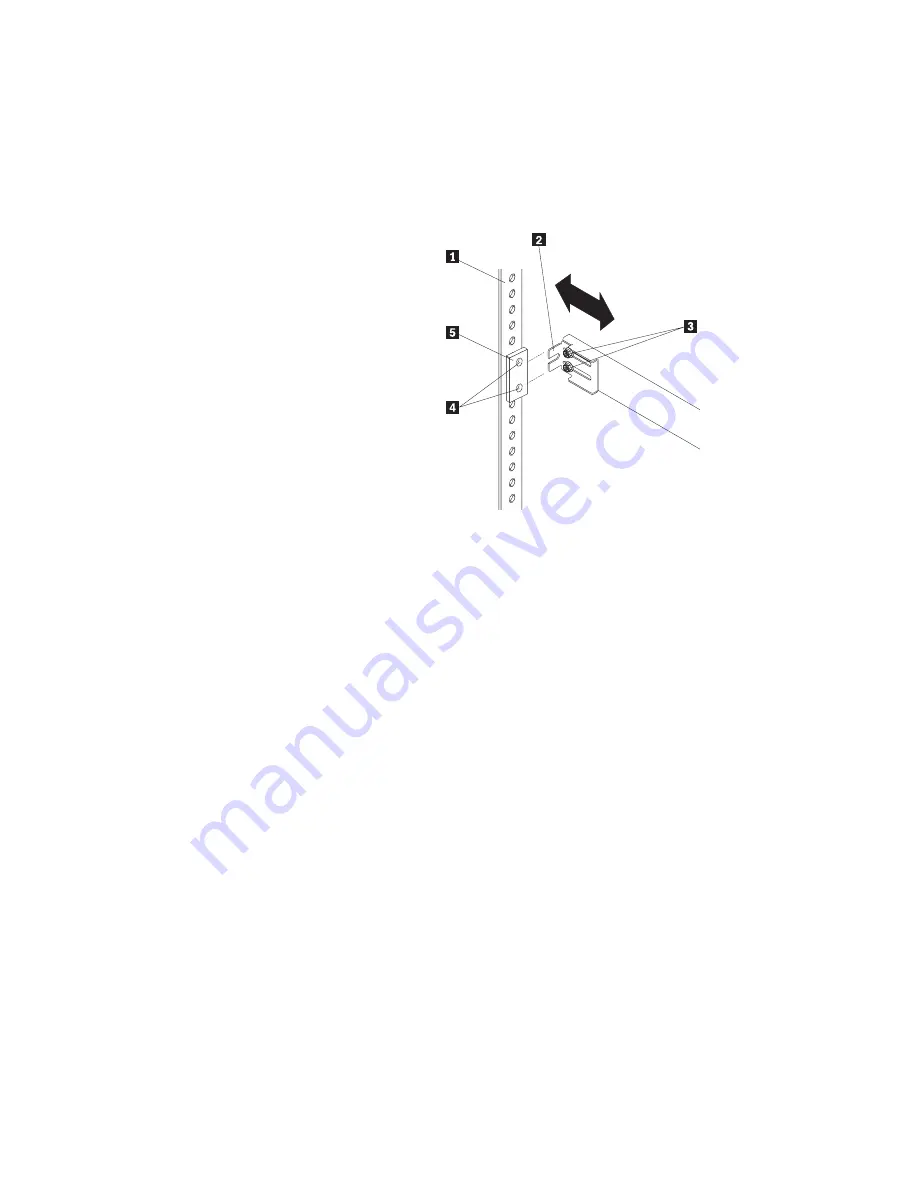
b. Place the tabs
.2/
of the slide rail assembly rear bracket between the nut
bar
.5/
and the rear rack rail
.1/
. If necessary, loosen the screws
.3/
at
the rear of the slide-rail assembly and adjust the length of the slide-rail to fit
the rack. Tighten the adjustment screws
.3/
.
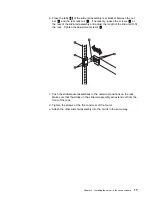
c. Push the slide-bracket assemblies to the outermost positions on the rack.
Make sure that the slides on the slide-rail assembly will extend out from the
front of the rack.
d. Tighten the screws at the front and rear of the U-unit.
e. Attach the other slide rail assembly into the U-unit in the same way.
Chapter 2. Installing the server in the rack enclosure
17
Summary of Contents for NETFINITY 4000R
Page 1: ...IBM IBM Netfinity 4000R User s Handbook...
Page 2: ......
Page 3: ...IBM IBM Netfinity 4000R User s Handbook...
Page 12: ...2 Netfinity 4000R User s Handbook...
Page 32: ...22 Netfinity 4000R User s Handbook...
Page 38: ...28 Netfinity 4000R User s Handbook...
Page 48: ...38 Netfinity 4000R User s Handbook...
Page 76: ...66 Netfinity 4000R User s Handbook...
Page 81: ...Section 3 Appendixes Copyright IBM Corp 1999 71...
Page 82: ...72 Netfinity 4000R User s Handbook...
Page 86: ...76 Netfinity 4000R User s Handbook...
Page 88: ...78 Netfinity 4000R User s Handbook...
Page 98: ...88 Netfinity 4000R User s Handbook...
Page 102: ...IBM Part Number 00N9106 Printed in U S A N91 6...


