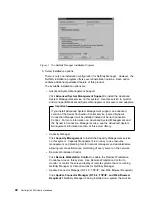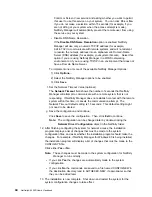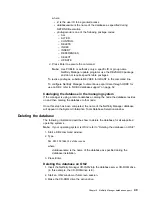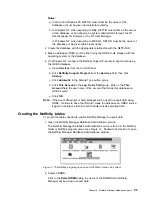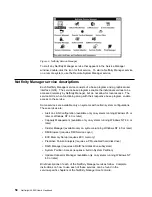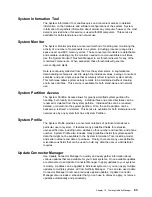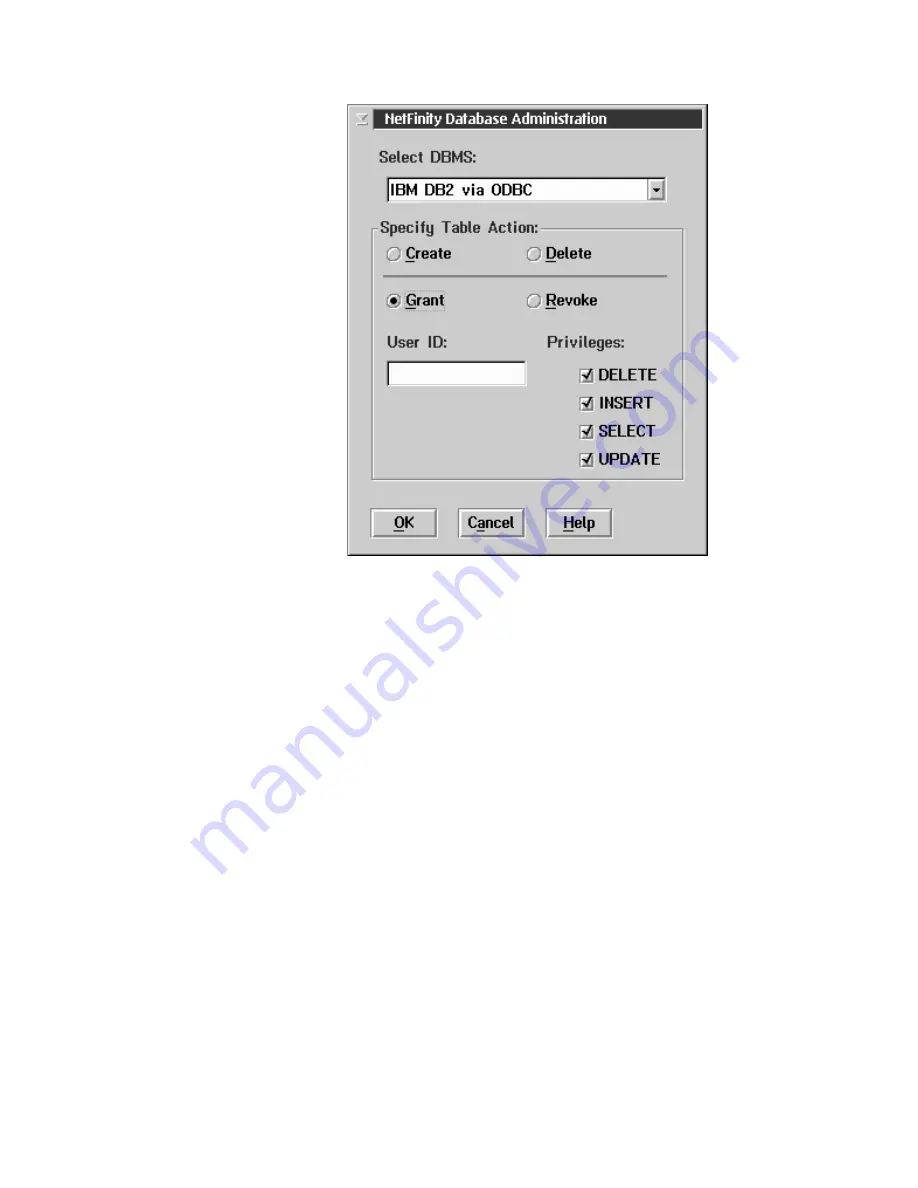
Figure 4. The Netfinity Database Administrator window
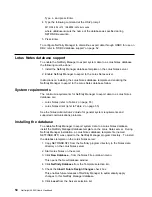
3. To create the Netfinity Manager table groups within the database, click Create
and then click OK to open the Database Server window.
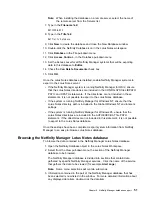
The following table actions are also available:
Delete
To remove the Netfinity Manager table groups from the database, click
Delete and then click OK to open the Database Server window.
Grant
Permits access to a database for a specified user ID. To grant access:
a. Click Grant.
b. In the User ID field type the user ID that will be permitted to access the
database.
c. Select privileges for this ID.
All privileges (Insert, Delete, Select, and Update) are selected by
default. A user ID must have all of these privileges to export data to
the database.
d. Click OK to open the Database Server window.
Revoke
Disables access to a database for a specified user ID. To revoke access:
a. Click Revoke.
b. In the User ID field type the user ID that will have access to the
database revoked.
54
Netfinity
4000R User's Handbook
Summary of Contents for NETFINITY 4000R
Page 1: ...IBM IBM Netfinity 4000R User s Handbook...
Page 2: ......
Page 3: ...IBM IBM Netfinity 4000R User s Handbook...
Page 12: ...2 Netfinity 4000R User s Handbook...
Page 32: ...22 Netfinity 4000R User s Handbook...
Page 38: ...28 Netfinity 4000R User s Handbook...
Page 48: ...38 Netfinity 4000R User s Handbook...
Page 76: ...66 Netfinity 4000R User s Handbook...
Page 81: ...Section 3 Appendixes Copyright IBM Corp 1999 71...
Page 82: ...72 Netfinity 4000R User s Handbook...
Page 86: ...76 Netfinity 4000R User s Handbook...
Page 88: ...78 Netfinity 4000R User s Handbook...
Page 98: ...88 Netfinity 4000R User s Handbook...
Page 102: ...IBM Part Number 00N9106 Printed in U S A N91 6...

