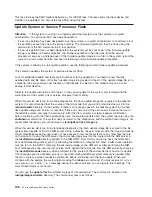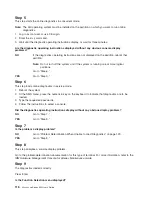
Step
12
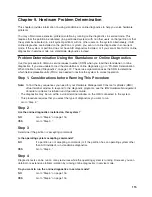
Did
the
Diagnostic
Selection
Menu
display?
NO
If
Problem
Determination
was
selected
from
the
Diagnostic
Mode
Selection
menu,
and
if
a
recent
error
has
been
logged
in
the
error
log,
the
diagnostics
automatically
begin
testing
the
resource.
Follow
the
displayed
instructions.
v
If
the
No
Trouble
Found
screen
is
displayed,
press
Enter.
v
If
another
resource
is
tested,
repeat
this
step.
v
If
the
Diagnostic
Selection
menu
is
displayed,
go
to
“Step
13.”
If
an
SRN
is
displayed,
record
it,
and
go
to
“Step
14.”
YES
Go
to
“Step
13.”
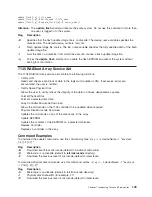
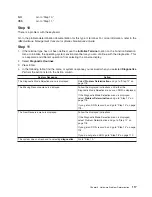
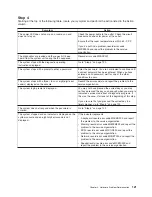
Step
13
The
All
Resources
option
checks
most
of
the
configured
adapters
and
devices.
Select
and
run
the
diagnostic
tests
on
the
resources
you
are
having
problems
with,
or
select
the
All
Resources
option
to
check
all
of
the
configured
resources.
Find
the
response
in
the
following
table
and
perform
the
action
listed
in
the
Action
column.
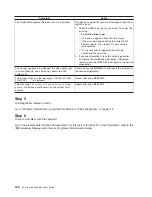
Diagnostic
Response
Action
An
SRN
is
displayed.
Go
to
“Step
14.”
The
system
hangs.
Report
SRN
109-200.
The
Testing
Complete
menu
and
the
No
trouble
was
found
message
is
displayed,
and
you
have
not
tested
all
of
the
resources.
Press
Enter
and
continue
with
the
testing.
The
Testing
Complete
menu
and
the
No
trouble
was
found
message
displayed
and
you
have
tested
all
of
the
resources.
Go
to
“Step
16”
on
page
119.
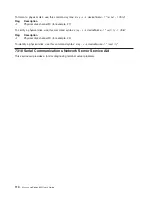
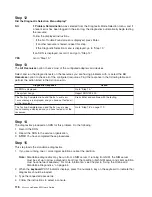
Step
14
The
diagnostics
produced
an
SRN
for
this
problem.
Do
the
following:
1.
Record
the
SRN.
2.
Report
the
SRN
to
the
service
organization.
3.
STOP.
You
have
completed
these
procedures.
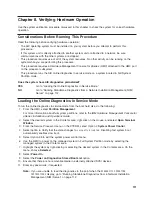
Step
15
This
step
loads
the
standalone
diagnostics.
1.
If
you
are
running
one
or
more
logical
partitions,
reboot
the
partition.
Note:
Standalone
diagnostics
may
be
run
from
a
NIM
server.
If
running
from
NIM,
the
NIM
server
must
be
set
up
to
allow
a
diagnostic
boot
from
that
partition
(both
NIM
server
and
client
partition
must
have
network
adapters).
For
more
information,
see
Chapter
6,
“Using
the
Online
and
Standalone
Diagnostics,”
on
page
65.
2.
When
the
keyboard
POST
indicator
displays,
press
the
numeric
5
key
on
the
keyboard
to
indicate
that
diagnostics
should
be
loaded.
3.
Type
the
requested
passwords.
4.
Follow
the
instructions
to
select
a
console.
118
Eserver
pSeries
655
User’s
Guide
Summary of Contents for p 655 series
Page 1: ...pSeries 655 User s Guide SA38 0617 03 ERserver...
Page 2: ......
Page 3: ...pSeries 655 User s Guide SA38 0617 03 ERserver...
Page 10: ...viii Eserver pSeries 655 User s Guide...
Page 14: ...xii Eserver pSeries 655 User s Guide...
Page 16: ...xiv Eserver pSeries 655 User s Guide...
Page 24: ...6 Eserver pSeries 655 User s Guide...
Page 32: ...14 Eserver pSeries 655 User s Guide...
Page 36: ...18 Eserver pSeries 655 User s Guide...
Page 90: ...72 Eserver pSeries 655 User s Guide...
Page 144: ...126 Eserver pSeries 655 User s Guide...
Page 208: ...190 Eserver pSeries 655 User s Guide...
Page 214: ...196 Eserver pSeries 655 User s Guide...
Page 217: ......

