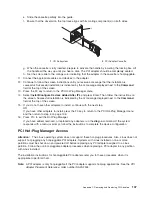
Long
Adapter
Removal
To
remove
a
long
adapter,
do
the
following:
1.
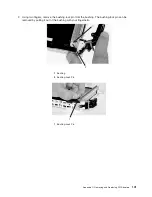
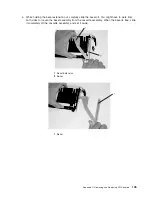
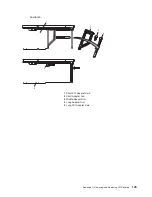
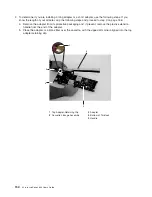
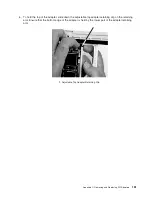
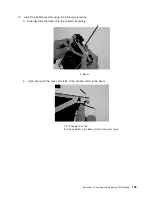
Each
adapter
arm
has
a
release
tab
that
allows
the
arm
to
be
moved
away
from
the
adapter
in
the
cassette
assembly.
Use
your
fingernail
to
lift
the
tab,
to
allow
the
arm
to
be
moved
away
from
the
adapter.
Lift
the
release
tab
on
the
long
adapter
arm,
and
slide
it
off
the
cassette
linkage
assembly.
1
Release
Tab
2.
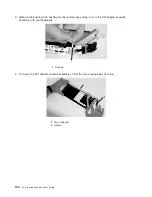
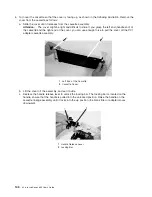
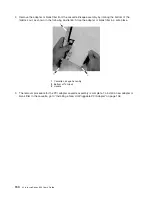
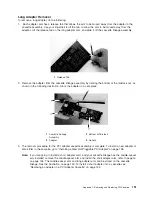
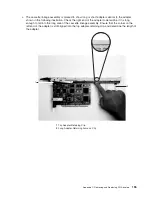
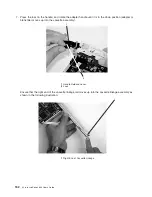
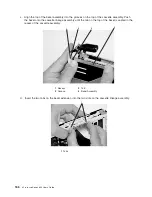
Remove
the
adapter
from
the
cassette
linkage
assembly
by
rotating
the
bottom
of
the
tailstock
out,
as
shown
in
the
following
illustration.
Store
the
adapter
in
a
safe
place.
1
Cassette
Linkage
Assembly
3
Bottom
of
Tailstock
2
Adapter
4
Handle
3.
The
removal
procedure
for
the
PCI
adapter
cassette
assembly
is
complete.
To
install
a
new
adapter
or
blank
filler
in
the
cassette,
go
to
“Installing
a
New
Hot-Pluggable
PCI
Adapter”
on
page
136.
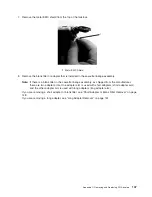
Note:
If
you
are
going
to
install
a
short
adapter
card,
and
your
cassette
linkage
has
the
middle-spacer
arm
installed,
remove
the
middle-spacer
arm
and
install
the
short
adapter
arm,
refer
to
page
1a
on
page
148.
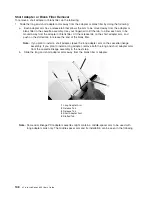
The
middle-spacer
arm
and
long
adapter
arm
can
be
stored
on
the
cassette
linkage.
See
the
illustration
on
page
149.
To
install
a
short
adapter
into
a
cassette
see
“Replacing
an
Adapter
in
a
PCI
Adapter
Cassette”
on
page
152.
Appendix
C.
Removing
and
Replacing
PCI
Adapters
151
Summary of Contents for p 655 series
Page 1: ...pSeries 655 User s Guide SA38 0617 03 ERserver...
Page 2: ......
Page 3: ...pSeries 655 User s Guide SA38 0617 03 ERserver...
Page 10: ...viii Eserver pSeries 655 User s Guide...
Page 14: ...xii Eserver pSeries 655 User s Guide...
Page 16: ...xiv Eserver pSeries 655 User s Guide...
Page 24: ...6 Eserver pSeries 655 User s Guide...
Page 32: ...14 Eserver pSeries 655 User s Guide...
Page 36: ...18 Eserver pSeries 655 User s Guide...
Page 90: ...72 Eserver pSeries 655 User s Guide...
Page 144: ...126 Eserver pSeries 655 User s Guide...
Page 208: ...190 Eserver pSeries 655 User s Guide...
Page 214: ...196 Eserver pSeries 655 User s Guide...
Page 217: ......

