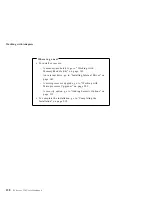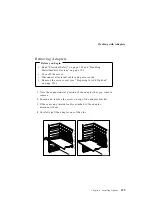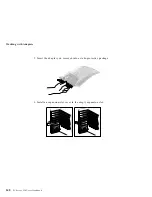
Preparing to Add Options
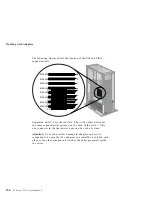
4. Unplug all power cords (cables) from electrical outlets, and then
disconnect all other cables from the back of the server.
Power Cords
Keyboard
Mouse
Monitor
Parallel Device
Serial Devices
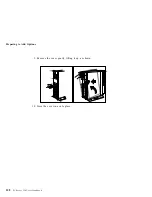
5. Remove the front door by carefully lifting it up and off of the
hinges. Set the door aside.
6. Loosen the six screws in the recessed holes on the back of the
cover.
Note: The screws stay in place; do not attempt to remove them.
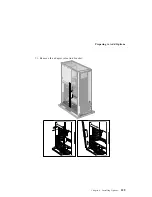
7. Grasp the sides of the cover and slide it back an inch.
8. Grasp the cover at the top edge with one hand, and just above
the expansion slots with the other hand.
Chapter 4. Installing Options
127
Summary of Contents for PC Server 330
Page 1: ...PC Server 330 User s Handbook IBM...
Page 6: ...vi PC Server 330 User s Handbook...
Page 10: ...x PC Server 330 User s Handbook...
Page 32: ...18 PC Server 330 User s Handbook...
Page 100: ...86 PC Server 330 User s Handbook...
Page 134: ...120 PC Server 330 User s Handbook...
Page 240: ...Updating the Server Configuration 226 PC Server 330 User s Handbook...
Page 326: ...Resolving Configuration Conflicts 312 PC Server 330 User s Handbook...
Page 382: ...IBM Part Number 76H8834 Printed in U S A September 1996 76H8834...


