Installing Internal Drives
Before you begin, be sure you have:
Read “Electrical Safety” on page 124 and “Handling
Static-Sensitive Devices” on page 125.
Configured your server, if it is a hot-swap server. You must
configure your server before installing any options.
Reviewed Chapter 2, “Configuring Your Disk Arrays” on
page 19 for information about the RAID adapter; then, see
“Configuring Your Disk Arrays” on page 25 for additional
details about configuration.
Attention:
Before you remove a defective hot-swap drive that is part
of an array, make sure it is defective. If you partially or completely
remove a good drive instead of a defective one, all of the data in
your array might be lost.
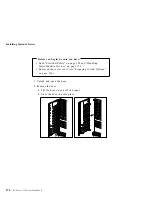
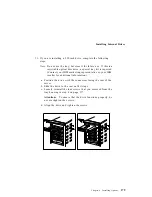
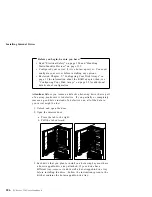
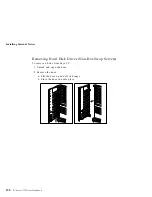
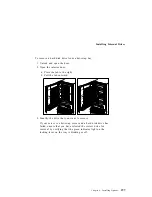
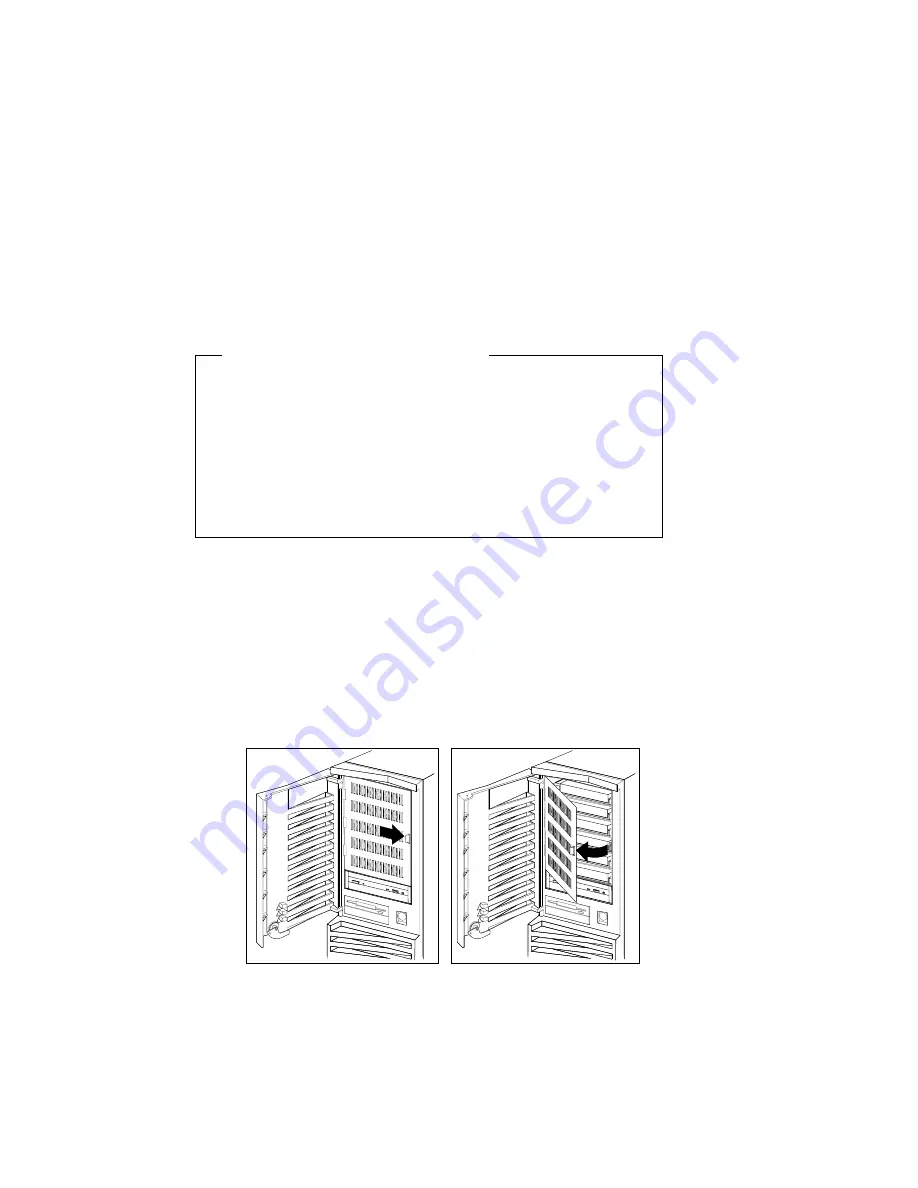
1. Unlock and open the door.
2. Open the interior door.
a. Press the tab to the right.
b. Pull the tab outward.
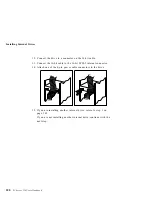
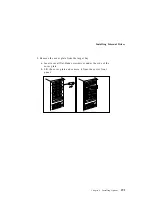
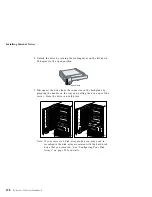
3. Each drive that you plan to install in a hot-swap bay must have
a hot-swappable-drive tray attached. If your drive has a
different tray, remove it and install a hot-swappable-drive tray
before installing the drive. Follow the instructions given in the
kit that contains the hot-swappable-drive tray.
186
PC Server 330 User's Handbook
Summary of Contents for PC Server 330
Page 1: ...PC Server 330 User s Handbook IBM...
Page 6: ...vi PC Server 330 User s Handbook...
Page 10: ...x PC Server 330 User s Handbook...
Page 32: ...18 PC Server 330 User s Handbook...
Page 100: ...86 PC Server 330 User s Handbook...
Page 134: ...120 PC Server 330 User s Handbook...
Page 240: ...Updating the Server Configuration 226 PC Server 330 User s Handbook...
Page 326: ...Resolving Configuration Conflicts 312 PC Server 330 User s Handbook...
Page 382: ...IBM Part Number 76H8834 Printed in U S A September 1996 76H8834...


