Power 775 D-Link Service Procedure
PN: 41U8487, EC N44172
16 of 27
3.3
Clean the Individual D-Link Connectors <= SSR Task
CAUTION:
Sharp edges, corners, or joints nearby. (L006)
CAUTION:
This product contains Class 1M lasers. Do not view directly with optical instruments. (C028)
STEP 11
Verify the correct identification of the connectors at each end of the cable. Typically, the easiest method of
verification will be with use of a white LED flashlight. Light shown into one end of a D-Link cable will clearly
appear at the other end of the cable. Alternatively, on smaller system configurations, label-matching, or manual
cable-tracing can be used to verify correct connector identification.
STEP 12
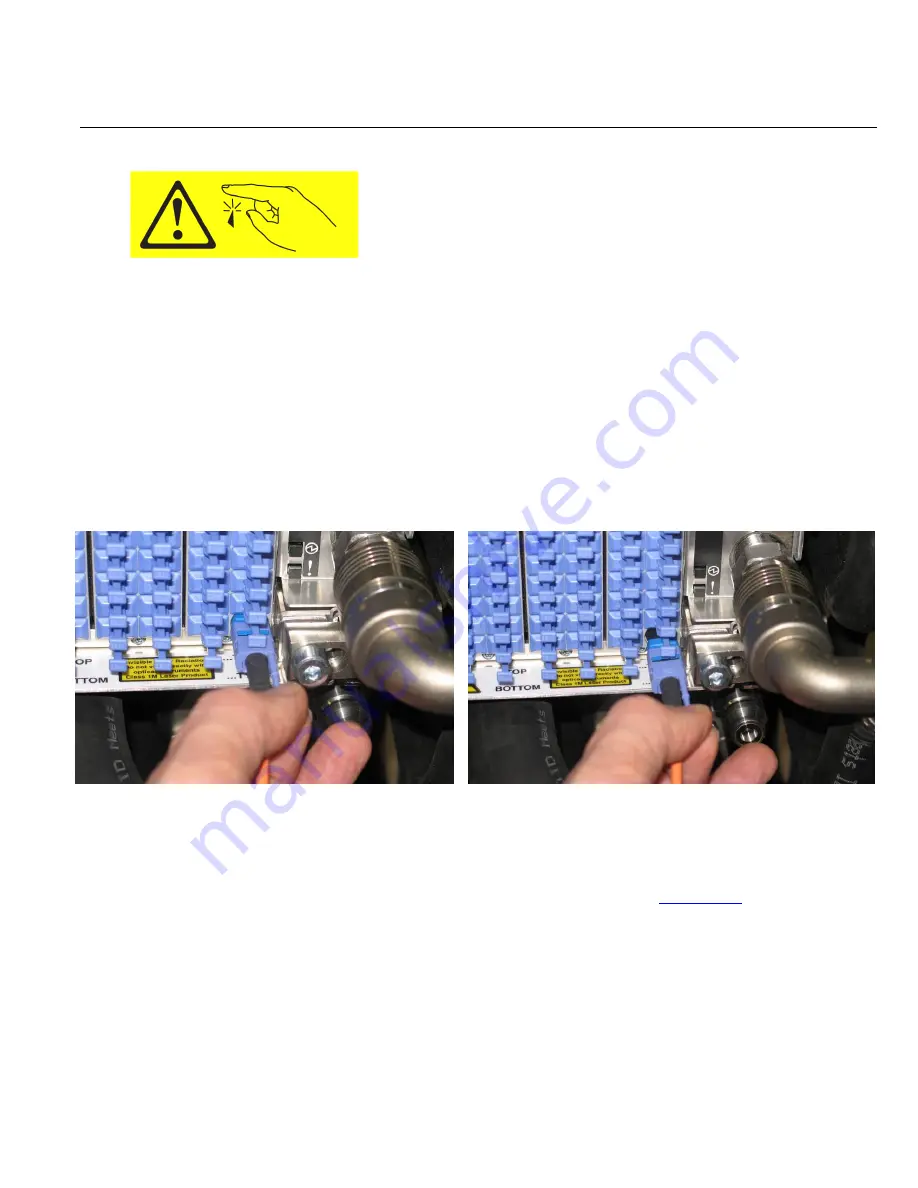
Remove the D-Link Optical connector at each end of the cable from the D-Port in the CEC drawer by pulling on
the blue-purple colored push/pull tabs on the connector (see Figures 1 and 2).
Figure 8 Grasping push/pull tab
Figure 9 Removing D-Link Connector
STEP 13
Ensure that the problem is not due to dirt, dust, or hair on one of the four connector surfaces in the link. Carefully
clean the connectors at both ends of the cable, and the D-Port connector surfaces inside the adapters in the CEC
drawers at each end of the D-Link, using the tools and procedures described in
Section 2.3.1.
STEP 14
Plug the individual D-Link cable connectors back into the ports.
Proceed to STEP 21.


