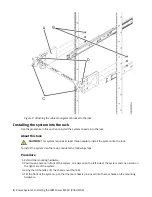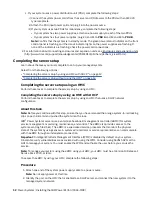
5. Tilt the front of the system down so that the chassis pins are inserted into the front and middle holes in
the mounting hardware.
6. Remove the lift handles that you installed on both sides of the chassis and store them for future use.
Removal instructions are printed on each handle.
7. Depending on the rails you have installed, slide or press the blue rail buttons on the side of each rail.
8. Push the system into the rack until it is flush with the front of the rack.
Replacing components in the system chassis
Replace the components into the system chassis, now that it is installed onto the rails.
Replacing a voltage regulator module in the 9043-MRX
To replace a voltage regulator module, complete the steps in this procedure.
Procedure
1. Ensure that you have the electrostatic discharge (ESD) wrist strap on and that the ESD clip is plugged
into a ground jack or connected to an unpainted metal surface. If not, do so now.
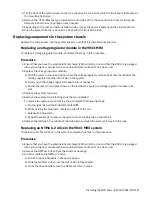
2. Replace the voltage regulator module.
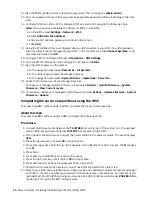
a) With the levers in the open position, hold the voltage regulator module by its levers and lower the
voltage regulator module into its slot in the system.
b) Gently push the voltage regulator module into its connector.
c) Rotate the levers in and press down on the latches to secure the voltage regulator module in its
slot.
3. Replace the system top cover.
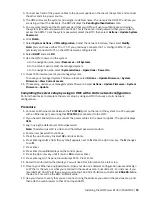
4. Remove the system-to-rail locking clips that you installed.
To remove the system-to-rail locking clips, complete the following steps:
a. On the right rail, pull the blue latch marked R.
b. While holding the blue latch, rotate the clip off of the rail.
c. Release the blue latch.
d. Repeat these steps to remove the system-to-rail locking clip on the left rail.
5. Release the latches in the middle of the rails again and push the system all way into the rack.
Replacing an NVMe U.2 drive in the 9043-MRX system
To replace an NVMe U.2 drive in the system, complete the steps in this procedure.
Procedure
1. Ensure that you have the electrostatic discharge (ESD) wrist strap on and that the ESD clip is plugged
into a ground jack or connected to an unpainted metal surface. If not, do so now.
2. Remove the NVMe U.2 drive from the antistatic package.
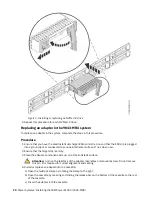
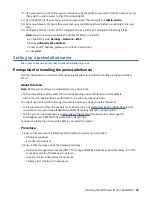
3. Install or replace the NVMe U.2 drive.
a) Ensure the drive handle is in the open position.
b) Slide the NVMe U.2 drive into the slot until it is fully seated.
c) Close the drive handle to lock the NVMe U.2 drive in place.
Installing the IBM Power E1050 (9043-MRX) 9
Summary of Contents for Power E1050
Page 1: ...Power Systems Installing the IBM Power E1050 9043 MRX IBM GI11 0003 00...
Page 4: ...iv...
Page 14: ...xiv Power Systems Installing the IBM Power E1050 9043 MRX...
Page 36: ...22 Power Systems Installing the IBM Power E1050 9043 MRX...
Page 47: ......
Page 48: ...IBM Part Number 03KG355 GI11 0003 00 1P P N 03KG355...

