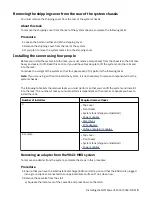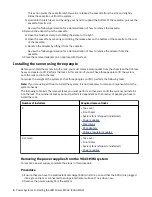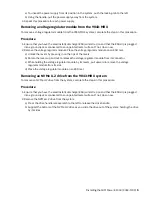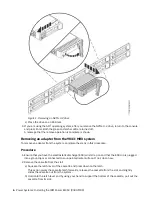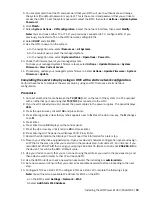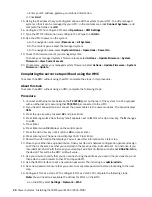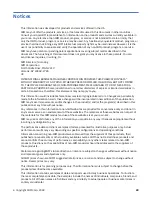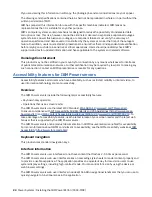
Installing the system fans
You must install the system fans after you have placed the system onto the rails.
Procedure
1. Ensure that you have the electrostatic discharge (ESD) wrist strap on and that the ESD clip is plugged
into a ground jack or connected to an unpainted metal surface. If not, do so now.
2. Replace the fan.
a) Ensure that the fan latch is open.
b) Hold on to the fan latch and using your hand to support the bottom of the fan, push the fan into its
slot.
c) Slide the fan latch to the right to lock the fan into its slot.
d) Continue to push in against the latch with your thumb until the latch is fully seated.
Installing the power supplies in the 9043-MRX system
To install a power supply, complete the steps in this procedure.
Procedure
1. Ensure that you have the electrostatic discharge (ESD) wrist strap on and that the ESD clip is plugged
into a ground jack or connected to an unpainted metal surface. If not, do so now.
2. Install the power supplies.
a) Align the power supply with the bay and slide the power supply into the system until the latch locks
in place.
b) Connect the power cord to the power supply.
c) Use the hook-and-loop fastener and tie the power cord to the power supply handle.
3. Repeat this procedure for each power supply that you removed.
4. Replace the system top cover.
5. Remove the system-to-rail locking clips that you installed.
To remove the system-to-rail locking clips, complete the following steps:
a. On the right rail, pull the blue latch marked R.
b. While holding the blue latch, rotate the clip off of the rail.
c. Release the blue latch.
d. Repeat these steps to remove the system-to-rail locking clip on the left rail.
6. Release the latches in the middle of the rails again and push the system all way into the rack.
7. If you are installing the system in a non-IBM rack with square holes, install the rail locator studs. To
install the rail locator studs, complete the following steps:
a. Install four longer-length locator studs on the front end of each of the rails.
b. Install four standard-length locator studs on the rear end of each of the rails.
Routing cables through the cable-management arm and connecting
expansion units
Use this procedure to route cables through the cable-management arm and to connect expansion units.
About this task
To route cables through the cable-management arm and to connect expansion units, complete the
following steps:
Installing the IBM Power E1050 (9043-MRX) 17
Summary of Contents for Power E1050
Page 1: ...Power Systems Installing the IBM Power E1050 9043 MRX IBM GI11 0003 00...
Page 4: ...iv...
Page 14: ...xiv Power Systems Installing the IBM Power E1050 9043 MRX...
Page 36: ...22 Power Systems Installing the IBM Power E1050 9043 MRX...
Page 47: ......
Page 48: ...IBM Part Number 03KG355 GI11 0003 00 1P P N 03KG355...

