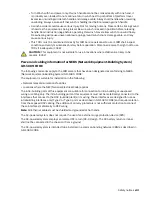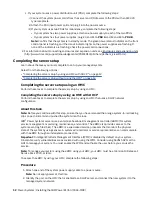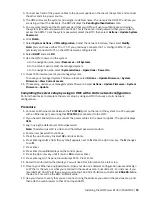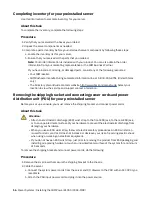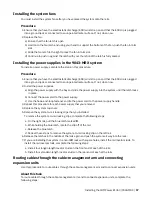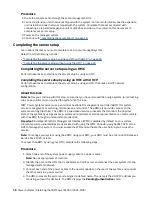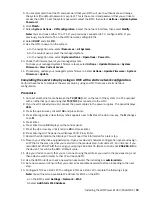
This action pivots the cassette latch forwards, releases the cassette from the slot, and slightly
slides the cassette out from the system..
b) Hold onto the latch lever and by using your hand to support the bottom of the cassette, pull out the
cassette from its slot.
Review the following animation for a demonstration of how to remove the cassette.
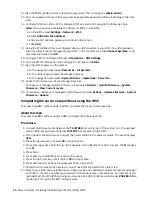
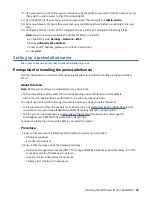
3. Remove the adapter from the cassette.
a) Open the tailstock clamp by rotating the clamp to the right.
b) Open the cassette by pressing and sliding the release bar on the bottom of the cassette to the rear
of the cassette.
c) Remove the adapter by lifting it from the cassette.
Review the following animation for a demonstration of how to remove the adapter from the
cassette.
4. Place the removed adapter on an approved ESD surface.
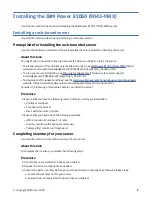
Installing the server using three people
Before you install the system into the rack, you must remove components from the chassis so that it's less
heavy and easier to lift. Perform the tasks in this section if you will have three people to lift the system
onto the rails and into the rack.
To reduce the weight of the system so that three people can lift it, perform the following tasks.
Note: If you are using a lift tool to install the system, it is not necessary to remove components from the
system chassis.
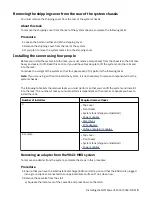
The following table lists the removal tasks you must perform so that you can lift the system and install it
into the rack. The number of tasks you must perform is dependent on the number of people you have to
install the rack.
Number of installers
Required removal tasks
3
• Top cover
• Front bezel
• System fans (shipped uninstalled)
• Power supplies
• Disk drives
• PCI adapters
• Voltage regulator modules
4 or more
• Top cover
• Front bezel
• System fans (shipped uninstalled)
• Power supplies
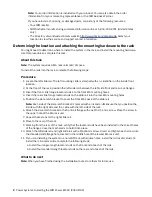
Removing the power supplies from the 9043-MRX system
To remove a power supply, complete the steps in this procedure.
Procedure
1. Ensure that you have the electrostatic discharge (ESD) wrist strap on and that the ESD clip is plugged
into a ground jack or connected to an unpainted metal surface. If not, do so now.
2. Remove the power supply from the system.
4 Power Systems: Installing the IBM Power E1050 (9043-MRX)
Summary of Contents for Power E1050
Page 1: ...Power Systems Installing the IBM Power E1050 9043 MRX IBM GI11 0003 00...
Page 4: ...iv...
Page 14: ...xiv Power Systems Installing the IBM Power E1050 9043 MRX...
Page 36: ...22 Power Systems Installing the IBM Power E1050 9043 MRX...
Page 47: ......
Page 48: ...IBM Part Number 03KG355 GI11 0003 00 1P P N 03KG355...


