background image

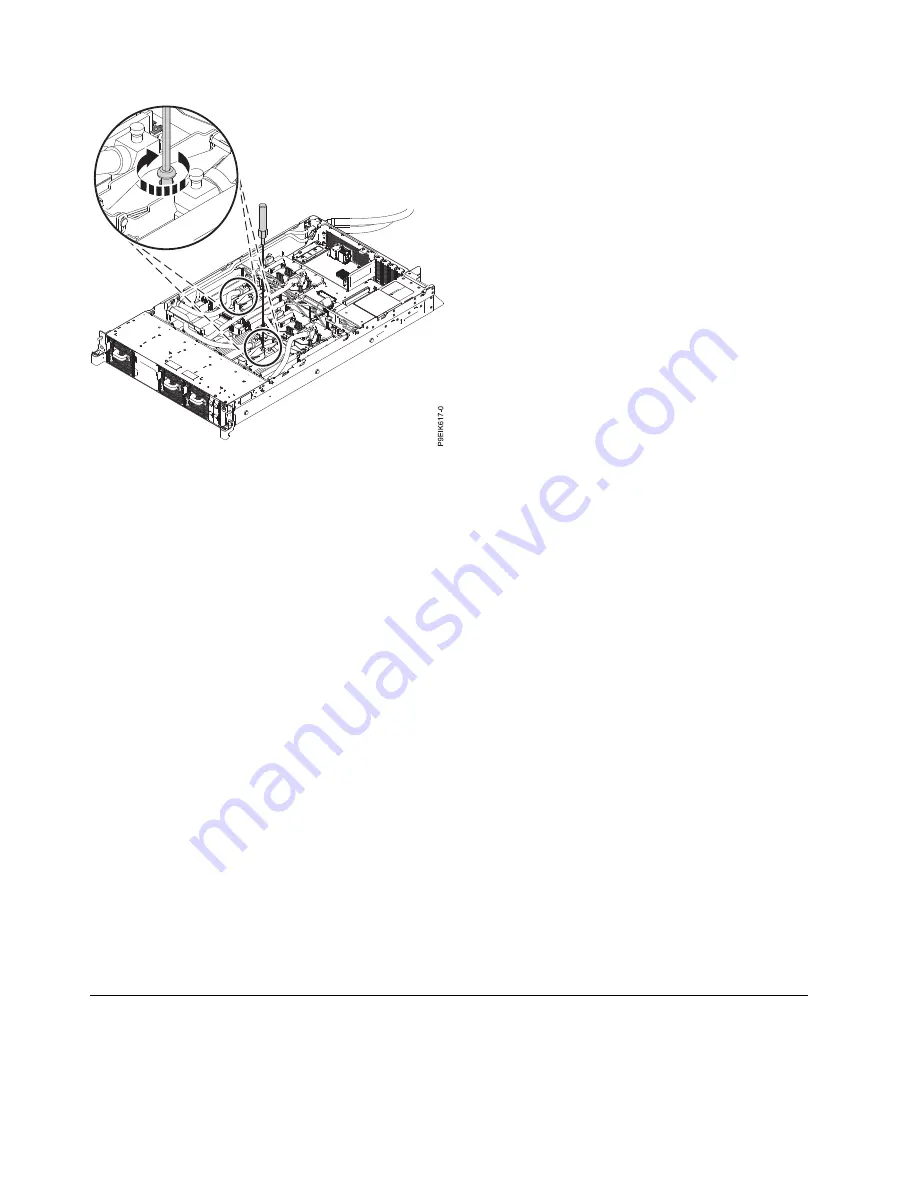
Figure 49. Tightening the cold plate retainer screw

This May 18, 2018 edition applies to IBM Power Systems

servers that contain the POWER9

processor and to all

associated models.

© Copyright IBM Corporation 2018.
US Government Users Restricted Rights – Use, duplication or disclosure restricted by GSA ADP Schedule Contract
with IBM Corp.

Summary of Contents for Power System AC922

Page 1: ...ctrostatic discharge ESD procedures when working on the system and parts IBM recommends wearing gloves and an ESD wrist strap to avoid possible damage to the equipment The information about the 8335 GTX system is available online in the IBM Knowledge Center http www ibm com support knowledgecenter 8335 GTX Parts Use this information to find the field replaceable unit FRU part numbers Figure 1 Rack...

Page 2: ...Figure 2 System parts 2 ...

Page 3: ...Figure 3 Additional system parts 8335 GTC 8335 GTG or 8335 GTH air cooled system 3 ...

Page 4: ...Figure 4 Additional system parts 8335 GTW or 8335 GTX water cooled system with 4 GPUs 4 ...

Page 5: ...Figure 5 Additional system parts 8335 GTW or 8335 GTX water cooled system with 6 GPUs 5 ...

Page 6: ...anagement Interface IPMI serial 3 Ethernet Use the top Ethernet port for the BMC IPMI interface as PHY0 and direct OS usage Use the bottom Ethernet port for only direct OS usage as PHY1 4 USB 3 0 Installing and removing IBM Power System AC922 8335 GTX parts Figure 6 Rear view of the system with ports displayed 6 ...

Page 7: ...Figure 7 Removing the power supplies from the system Figure 8 Removing the cover Figure 9 Disk drive lock detail Figure 10 Removing a fan from the system 7 ...

Page 8: ...Figure 11 Removing the disk and fan signal cable Figure 12 Removing the fan power cable from the system Figure 13 Removing the front pipe holder Figure 14 Moving the front pipe away 8 ...

Page 9: ...Figure 15 Screw locations for the disk drive and fan card Figure 16 Removing the disk drive and fan card Figure 17 Removing a memory module Figure 18 Location of the memory modules 9 ...

Page 10: ...Figure 19 Removing the time of day battery from the system backplane Figure 20 Removing a PCIe adapter Figure 21 Removing the BMC card 10 ...

Page 11: ...ctors for the USB cable and connector and the power switch and cable Figure 23 Removing the power switch and cable from the system backplane Figure 24 Removing the rack installation support Figure 25 Remove the top and side screws 11 ...

Page 12: ...Figure 26 Pull out the power switch and cable Figure 27 Removing USB cable and connector from the power switch Figure 28 Open the cold plate retainer Figure 29 Remove the cold plate attach to clip 12 ...

Page 13: ...Figure 30 Remove eight GPU screws per GPU do not loosen the four spring loaded screws Figure 31 Remove GPU Figure 32 Replace GPU Figure 33 Replacing the GPU assembly into GPU socket 13 ...

Page 14: ...Figure 34 Aligning the cold plate on the GPUs Figure 35 Secure the cold plate retainer screw Figure 36 Remove the middle support side screws Figure 37 System backplane screw locations 14 ...

Page 15: ...Figure 38 Lifting out the system backplane Figure 39 Loosening the cold plate retainer screw Figure 40 Removing the cold plate and attaching the protective cover 15 ...

Page 16: ...stem processor module Figure 42 Removing dust and debris from the system processor module area Figure 43 Lowering the removal tool onto the system processor module Figure 44 Placing the tool at an angle on the top cover of the packaging 16 ...

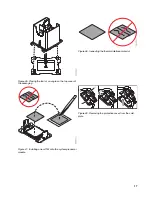
Page 17: ...l at an angle on the top cover of the packaging Figure 46 Inspecting the thermal interface material Figure 47 Installing a new TIM onto the system processor module Figure 48 Removing the protective cover from the cold plate 17 ...

Page 18: ...2018 edition applies to IBM Power Systems servers that contain the POWER9 processor and to all associated models Copyright IBM Corporation 2018 US Government Users Restricted Rights Use duplication or disclosure restricted by GSA ADP Schedule Contract with IBM Corp ...

Reviews: