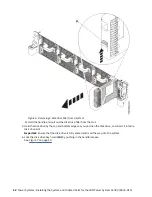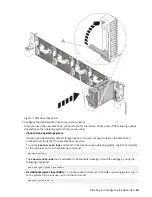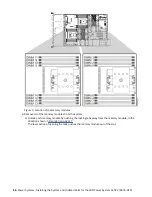
Figure 5. Drive locations; positions 5 and 6
2. Remove the front cover. For instructions, see “Removing the front cover from an 8335-GTC, 8335-
GTG, 8335-GTH, 8335-GTW, or 8335-GTX system” on page 100.
3. Attach the electrostatic discharge (ESD) wrist strap.
The ESD wrist strap must be connected to an unpainted metal surface until the service procedure is
completed, and if applicable, until the service access cover is replaced.
Attention:
• Attach an electrostatic discharge (ESD) wrist strap to the front ESD jack, to the rear ESD jack,
or to an unpainted metal surface of your hardware to prevent the electrostatic discharge from
damaging your hardware.
• When you use an ESD wrist strap, follow all electrical safety procedures. An ESD wrist strap is
used for static control. It does not increase or decrease your risk of receiving electric shock
when using or working on electrical equipment.
• If you do not have an ESD wrist strap, just prior to removing the product from ESD packaging
and installing or replacing hardware, touch an unpainted metal surface of the system for a
minimum of 5 seconds. If at any point in this service process you move away from the
system, it is important to again discharge yourself by touching an unpainted metal surface for
at least 5 seconds before you continue with the service process.
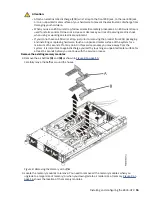
4. If the slot you want to use contains a disk drive filler, remove the disk drive filler from the slot.
a) Push the lock (A) on the handle of the disk drive filler.
Installing and configuring the 8335-GTX 11
Summary of Contents for Power System AC922
Page 4: ...iv...
Page 105: ...or or or or Installing and configuring the 8335 GTX 91...
Page 137: ......
Page 138: ...IBM...

