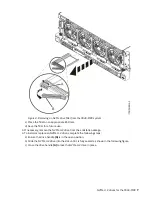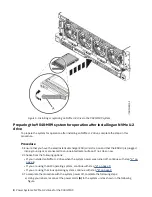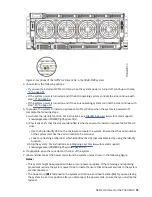
• Look for a flashing amber LED, which identifies the slot that was selected by using the identify
function.
c) Stop the system. For instructions, see Stopping a system (www.ibm.com/support/
knowledgecenter/POWER9/p9haj/crustopsys.htm).
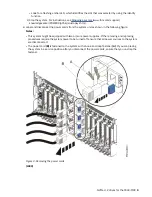
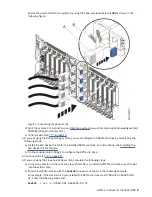
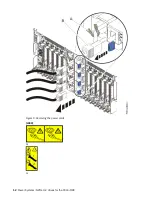
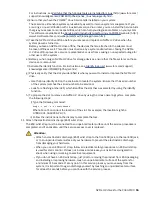
8. Label and disconnect the power cords from the system unit as shown in the following figure.
Notes:
• This system might be equipped with two or more power supplies. If the removing and replacing
procedures require the system power to be turned off, ensure that all power sources to the system
are disconnected.
• The power cord (B) is fastened to the system with a hook-and-loop fastener (A). If you are placing
the system in a service position after you disconnect the power cords, ensure that you unstrap the
fastener.
Figure 3. Removing the power cords
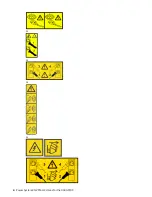
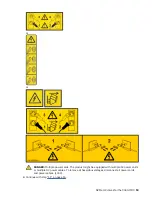
(L003)
NVMe U.2 drives for the 9040-MR9 3
Summary of Contents for Power System System E950
Page 1: ...Power Systems NVMe U 2 drives for the 9040 MR9 IBM...
Page 4: ...iv...
Page 14: ...xiv Power Systems NVMe U 2 drives for the 9040 MR9...
Page 18: ...or or or or 4 Power Systems NVMe U 2 drives for the 9040 MR9...
Page 26: ...Figure 9 Removing the power cords L003 or or 12 Power Systems NVMe U 2 drives for the 9040 MR9...
Page 44: ...30 Power Systems NVMe U 2 drives for the 9040 MR9...
Page 55: ......
Page 56: ...IBM...

