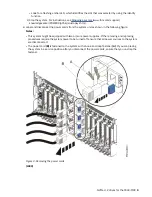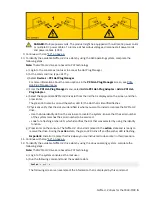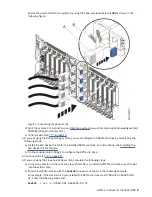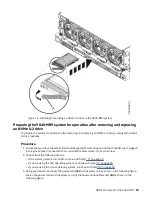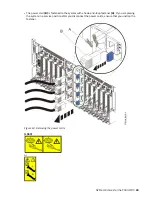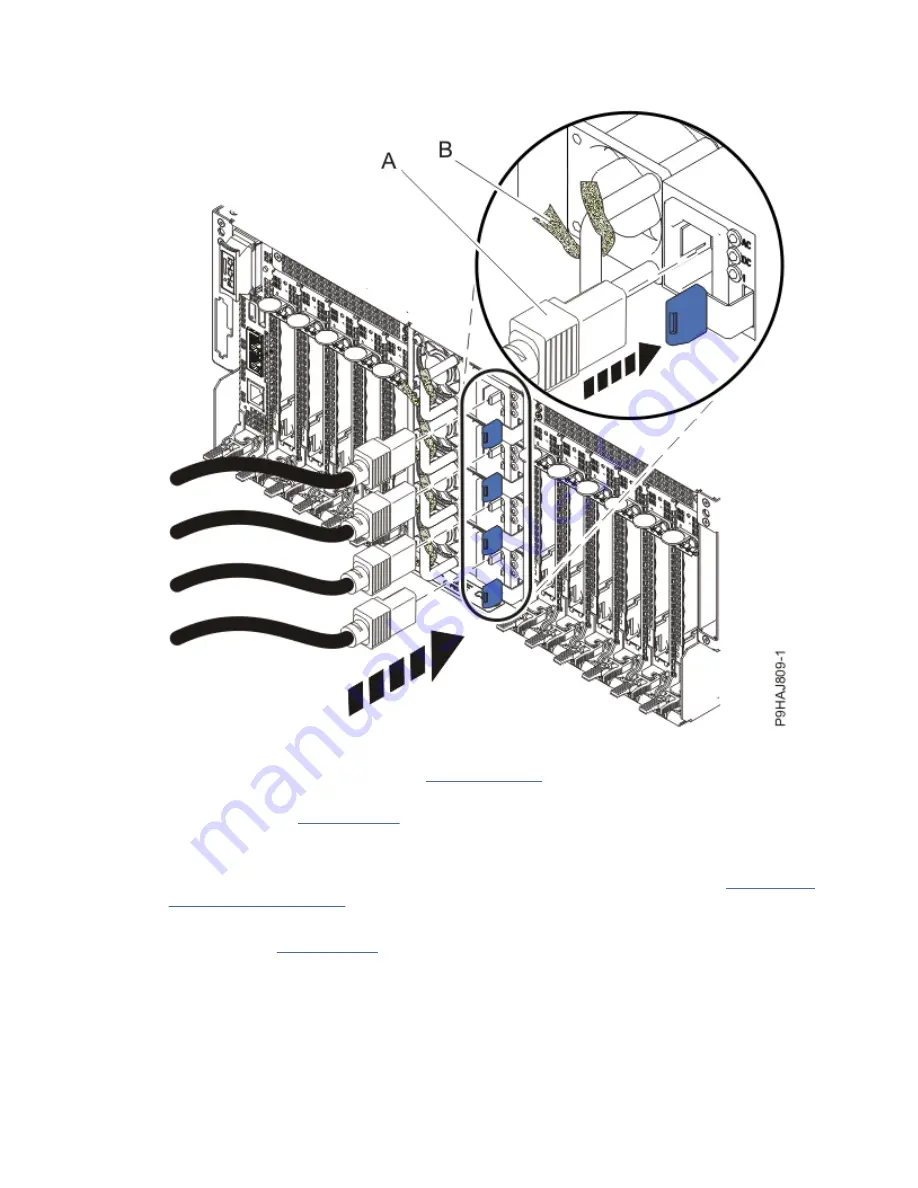
Fasten the power cords to the system by using the hook-and-loop fasteners (B) as shown in the
following figure.
Figure 6. Connecting the power cords
b) Start the system. For instructions, see Starting a system (www.ibm.com/support/knowledgecenter/
POWER9/p9haj/crustartsys.htm).
c) Continue with step “7” on page 10.
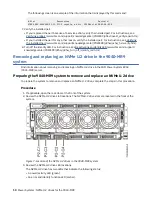
4. If you are using the AIX operating system, you must configure the NVMe U.2 drive by completing the
following steps:
a) Install the AIX device drivers for the installed NVMe U.2 drive. For instructions, see Installing the
b) On the console, enter
cfgmgr
to configure the NVMe U.2 drive.
5. Continue with step “7” on page 10.
6. If you are using the Linux operating system, complete the following steps:
a) In the Linux session on the console, press Enter after you install the NVMe U.2 drive to put the slot
into the action state.
b) Enter the slot information with the
lsslot
command, as shown in the following example.
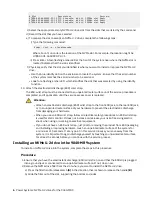
For example, if the slot in which you installed the NVMe U.2 drive was U78D4.001.AAAXXXX-P2-
C1, enter the following command:
lsslot -c pci -s U78D4.001.AAAXXXX-P2-C1
NVMe U.2 drives for the 9040-MR9 9
Summary of Contents for Power System System E950
Page 1: ...Power Systems NVMe U 2 drives for the 9040 MR9 IBM...
Page 4: ...iv...
Page 14: ...xiv Power Systems NVMe U 2 drives for the 9040 MR9...
Page 18: ...or or or or 4 Power Systems NVMe U 2 drives for the 9040 MR9...
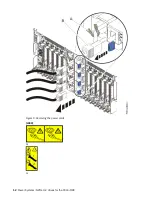
Page 26: ...Figure 9 Removing the power cords L003 or or 12 Power Systems NVMe U 2 drives for the 9040 MR9...
Page 44: ...30 Power Systems NVMe U 2 drives for the 9040 MR9...
Page 55: ......
Page 56: ...IBM...

