Attaching slide rails to the system and rack
Attach slide rails to the system and then to the rack.
About this task
Attention:
To avoid rail failure and potential danger to yourself and to the unit, ensure that you have
the correct rails and fittings for your rack. If your rack has square support flange holes or screw-thread
support flange holes, ensure that the rails and fittings match the support flange holes that are used on
your rack. Do not install mismatched hardware by using washers or spacers. If you do not have the
correct rails and fittings for your rack, contact your IBM reseller.
The slide rails arrive fully assembled. To install the slide rails into the rack, you must disassemble the
slide rails into four pieces.
Procedure
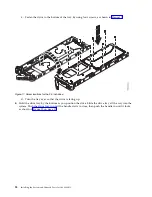
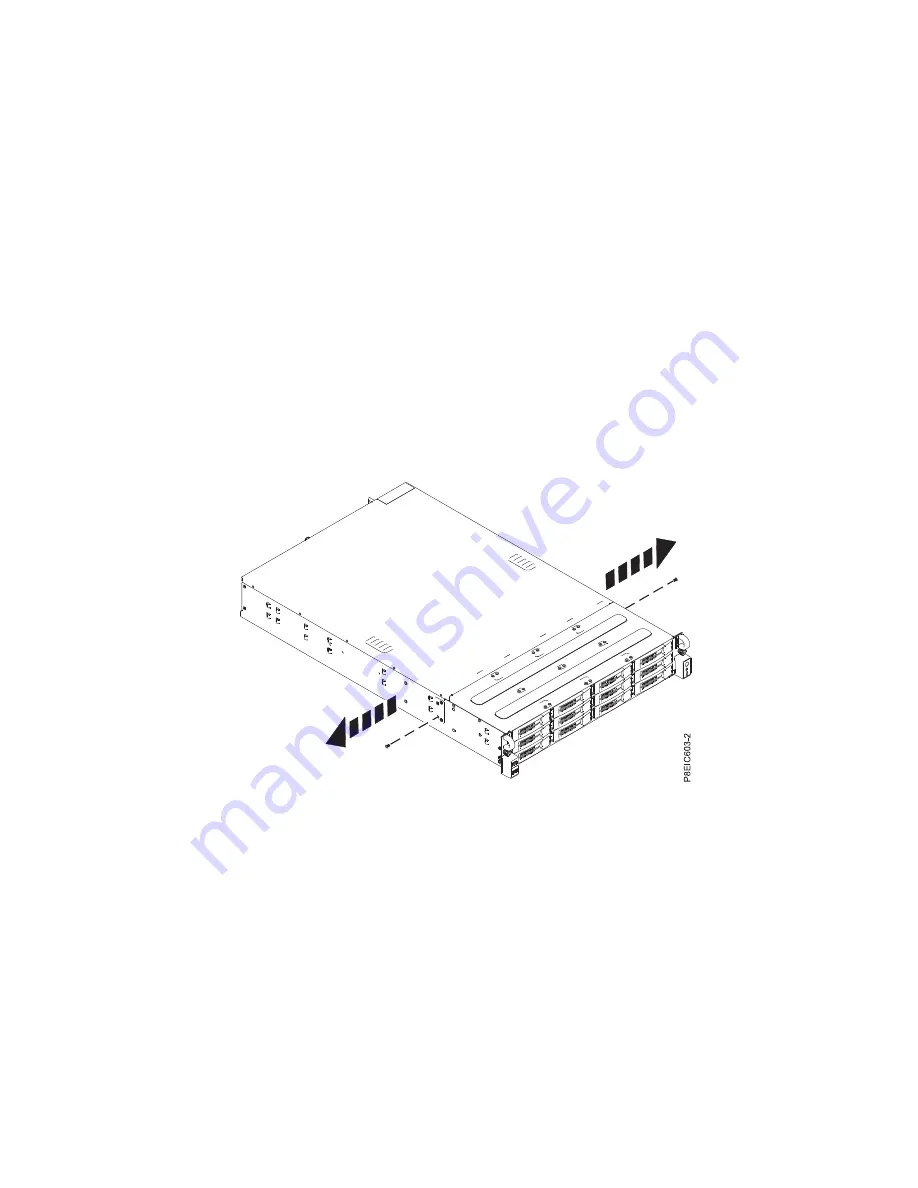
1.
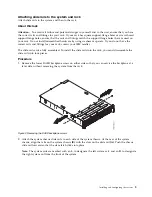
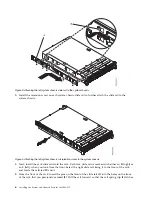
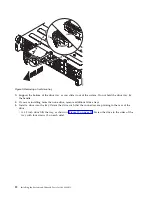
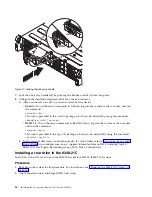
Remove the lower DASD backplane screw on either side so that you can service the backplane at a
later date without removing the system from the rack.
2.
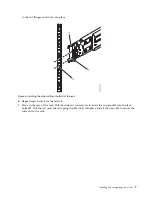
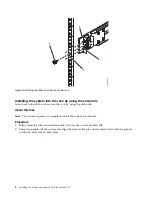
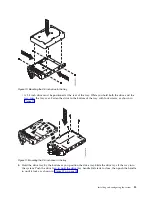
Attach the system chassis slide rails to each side of the system chassis. At the rear of the system
chassis, align the tabs on the system chassis (B) with the slots on the slide rail (A). Push the chassis
slide rail forward so that the slam latch clicks into place.
Note:
The system rails are marked with an L, to designate the left system rail, and an R, to designate
the right system rail from the front of the system.
Figure 2. Removing the DASD backplane screws
Installing and configuring the system
5
Summary of Contents for Power Systems S812LC 8348-21C
Page 2: ......
Page 6: ...iv Installing the System and Ordered Parts for the 8348 21C...
Page 16: ...xiv Installing the System and Ordered Parts for the 8348 21C...
Page 76: ...or or 1 2 3 4 or 1 2 3 4 or 60 Installing the System and Ordered Parts for the 8348 21C...
Page 88: ...72 Installing the System and Ordered Parts for the 8348 21C...
Page 108: ...92 Installing the System and Ordered Parts for the 8348 21C...
Page 109: ......
Page 110: ...IBM Printed in USA...

