3.
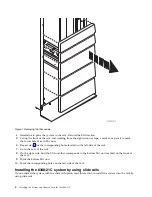
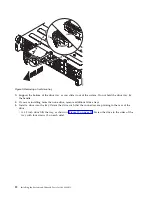
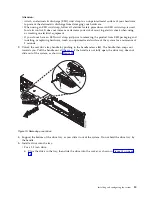
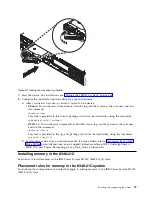
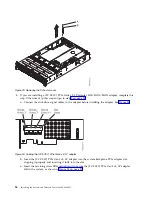
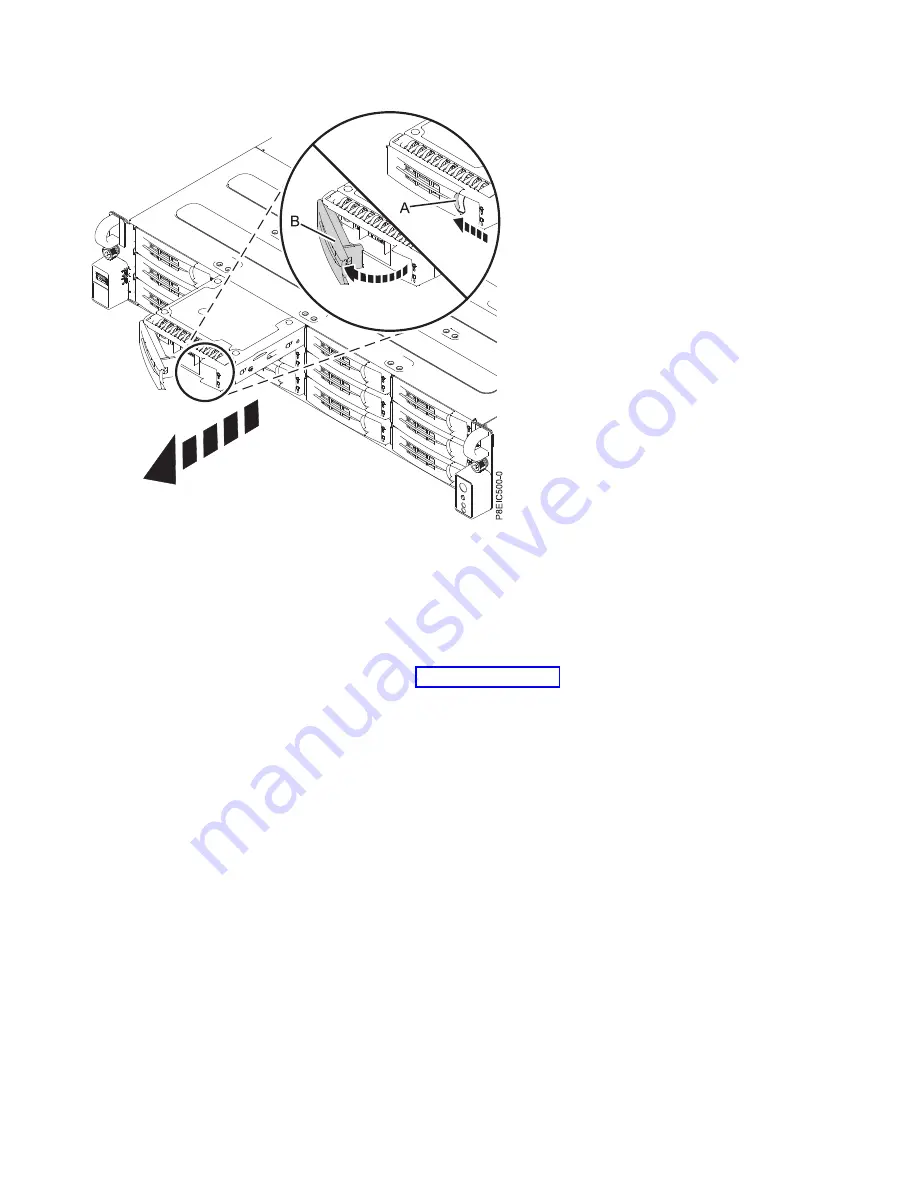
Support the bottom of the drive tray as you slide it out of the system. Do not hold the drive tray by
the handle.
4.
If you are installing more than one drive, remove additional drive trays.
5.
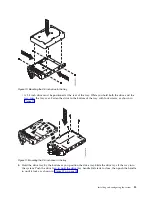
Install a drive into the tray. Orient the drive such that the connectors are pointing to the rear of the
drive.
v
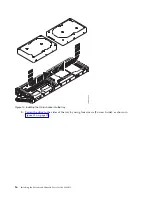
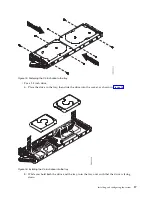
A 3.5 inch drive fills the tray, as shown in Figure 10 on page 13. Fasten the drive to the sides of the
tray with four screws (2 on each side).
Figure 9. Removing a front drive tray
12
Installing the System and Ordered Parts for the 8348-21C
Summary of Contents for Power Systems S812LC 8348-21C
Page 2: ......
Page 6: ...iv Installing the System and Ordered Parts for the 8348 21C...
Page 16: ...xiv Installing the System and Ordered Parts for the 8348 21C...
Page 76: ...or or 1 2 3 4 or 1 2 3 4 or 60 Installing the System and Ordered Parts for the 8348 21C...
Page 88: ...72 Installing the System and Ordered Parts for the 8348 21C...
Page 108: ...92 Installing the System and Ordered Parts for the 8348 21C...
Page 109: ......
Page 110: ...IBM Printed in USA...

