Attention:
v
Attach an electrostatic discharge (ESD) wrist strap to an unpainted metal surface of your hardware
to prevent the electrostatic discharge from damaging your hardware.
v
When using an ESD wrist strap, follow all electrical safety procedures. An ESD wrist strap is used
for static control. It does not increase or decrease your risk of receiving electric shock when using
or working on electrical equipment.
v
If you do not have an ESD wrist strap, just prior to removing the product from ESD packaging and
installing or replacing hardware, touch an unpainted metal surface of the system for a minimum of
5 seconds.
3.
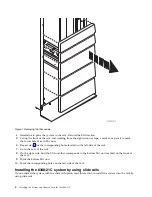
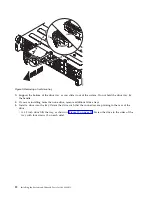
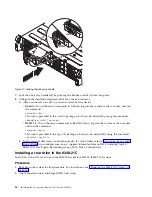
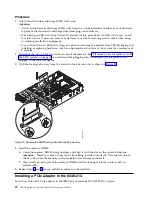
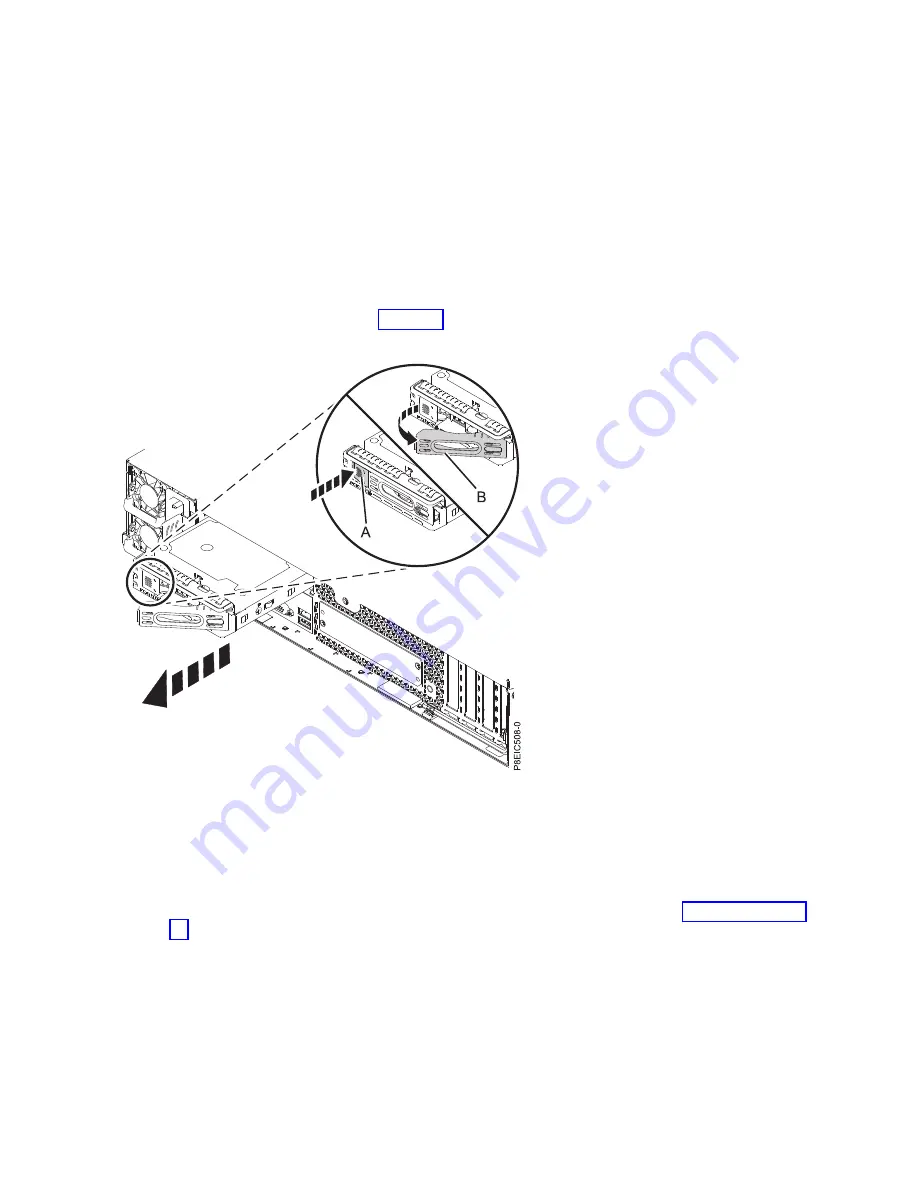
Unlock the rear drive tray handle by pushing in the handle release (A). The handle then snaps out
towards you. Pull the handle out all the way; if the handle is not fully open, the drive tray does not
slide out of the system, as shown in Figure 13.
4.
Support the bottom of the drive tray as you slide it out of the system. Do not hold the drive tray by
the handle.
5.
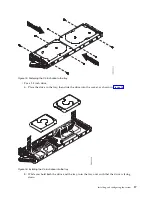
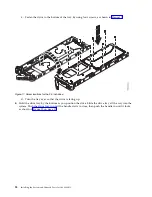
Install a drive into the tray.
v
For a 3.5 inch drive:
a.
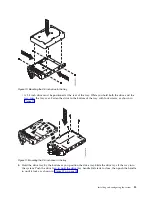
Place the drive in the tray, then slide the drive into the socket, as shown in Figure 14 on page
16.
Figure 13. Removing a rear drive
Installing and configuring the system
15
Summary of Contents for Power Systems S812LC 8348-21C
Page 2: ......
Page 6: ...iv Installing the System and Ordered Parts for the 8348 21C...
Page 16: ...xiv Installing the System and Ordered Parts for the 8348 21C...
Page 76: ...or or 1 2 3 4 or 1 2 3 4 or 60 Installing the System and Ordered Parts for the 8348 21C...
Page 88: ...72 Installing the System and Ordered Parts for the 8348 21C...
Page 108: ...92 Installing the System and Ordered Parts for the 8348 21C...
Page 109: ......
Page 110: ...IBM Printed in USA...

