4
Connect
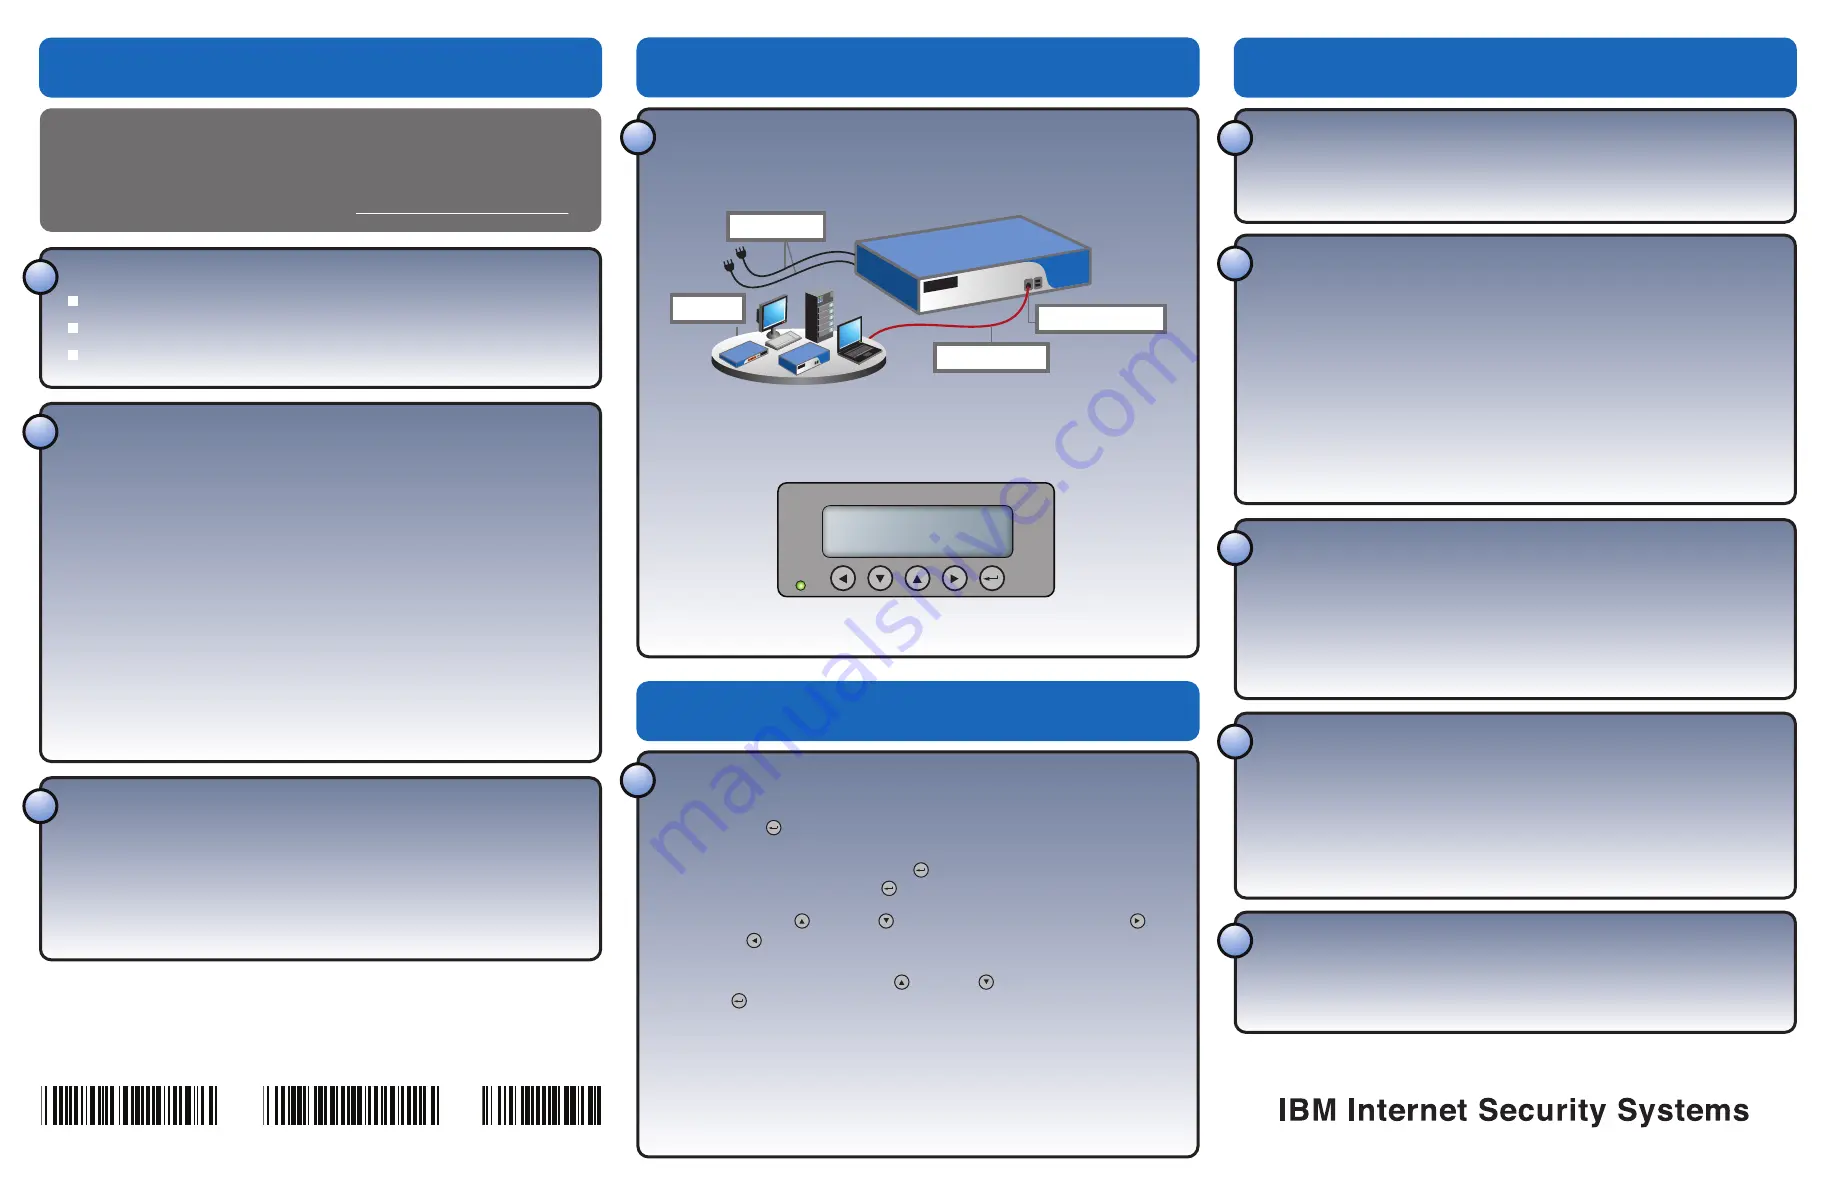
Connect the Appliance
4.1 Connect the power cords
• Connect both power cords to the appliance to prevent warning signals from
sounding
4.2 Connect the management port
• Connect the network to the management port using the supplied Ethernet cable
4.3 Turn on the appliance
• The power button is on back of appliance
4.4 When the LCD display reads “IBM ISS Proventia SP1001,” proceed to Initial
Configuration.
ETHERNET CABLE
POWER CORDS
MANAGEMENT PORT
NETWORK
PWR
IBM ISS
Proventia SP1001
8
9
Gather Materials
❑
Proventia Management SiteProtector SP1001
❑
Ethernet cable (included with appliance)
❑
2 power cords (included with appliance)
This card provides connection and initial configuration information for the Proventia Management
SiteProtector SP1001. The steps you perform here will allow you remote network access to the
appliance so that you can perform more advanced configuration tasks. You will find more
advanced configuration information in the
Proventia
®
Management SiteProtector SP1001
Hardware Configuration Guide
available on the Web at
www.iss.net/support/documentation
Download Console
To connect to Proventia Manager for the first time:
7.1 Read and accept the End User License Agreement.
7.2 The system then displays the Proventia Management SiteProtector SP1001 home
page with the following three links:
• SiteProtector Web Access
• Install SiteProtector Console
• Internet Security Systems
7.3 Right-click the “Install SiteProtector Console” link, and then select (Save/Run) from
the pop-up menu.
7.4 Follow the steps on the installation wizard to install the SiteProtector console on
the local workstation.
Launch Console and Log In
• Launch the SiteProtector console
• Right-click on the My Sites node in the left pane
• Select
New › Site
• Enter the following information:
Server:
The IP address configured in step 5
User:
Administrator
Password: ISSADMIN
Configure Advanced Settings
9.1 Change the Administrative password
9.2 Change the Database (SA) password
9.3 Install the following licenses:
• Graphical Management Reporting
• SecurityFusion™ Module
• Proventia Server for Windows
10
Configure Your Site
The
Proventia Management SiteProtector Configuration Guide
walks you through other
important tasks such as configuring your security policy, creating firewall rules to
protect your network, tracking alerts and monitoring important system information.
Copyright© 2008 IBM Internet Security Systems. All rights reserved worldwide.
Proventia is a registered trademark of IBM Internet Security Systems. All other marks and trade names mentioned are the
property of their owners, as indicated. All marks are the property of their respective owners and used in an editorial context
without intent of infringement. Specifications and content are subject to change without notice.
Distribution: General: PM-SPAPPQSC-0608
1
7
Identify Console Workstation
Select a local workstation on which to install a SiteProtector console. From this local
workstation, point a Web browser to the Proventia Management SiteProtector SP1001’s
management address (https://<configured address>:3994).
6
Before You Begin
Initial Configuration
Next Steps
5
Enter Network Information
To enter the network information gathered in Step 2:
5.1 Press
ENTER on the LCD panel. “Appliance PIN” appears in the LCD menu.
5.2 If you want to specify a personal identification number that users must enter to
configure the appliance, press
ENTER , specify a 4-digit number in the field
provided, and then press
ENTER again.
Note: Use the UP and DOWN buttons to specify digits and the RIGHT
and
LEFT buttons to navigate between the fields.
5.3 To configure the appliance to communicate with other devices, navigate to the
Configuration menu (using the
UP and DOWN buttons), then press the
ENTER button to go into the network configuration. Enter the information the
same way you entered information in Step 5.2.
• IP Address (required)
• Subnet Mask
• Default Gateway
• DNS Server
• Host Name
Note: A reboot occurs after you complete your network configuration.
Gather Network Information
Use this table to record important network information you need to configure
the appliance:
Settings
Your Settings
IP Address
____________ . ____________ . ____________ . ____________
Subnet Mask
____________ . ____________ . ____________ . ____________
Default Gateway
____________ . ____________ . ____________ . ____________
DNS Server
____________________________________________________
Hostname
____________________________________________________
2
Gather Product Key
Use this space to document the Product Key of the appliance's operating system.
This Product Key can be found on the Certificate of Authenticity that is affixed to the
appliance. It will be needed in the event of a system restore.
Product Key ________________________________________________________________
3
See the SP1001 Hardware
Configuration Guide for
detailed information.
(P) PN: 51J1750
(2P) EC: L67999
(4L) Origin: US
Printed in USA


