Long
Adapter
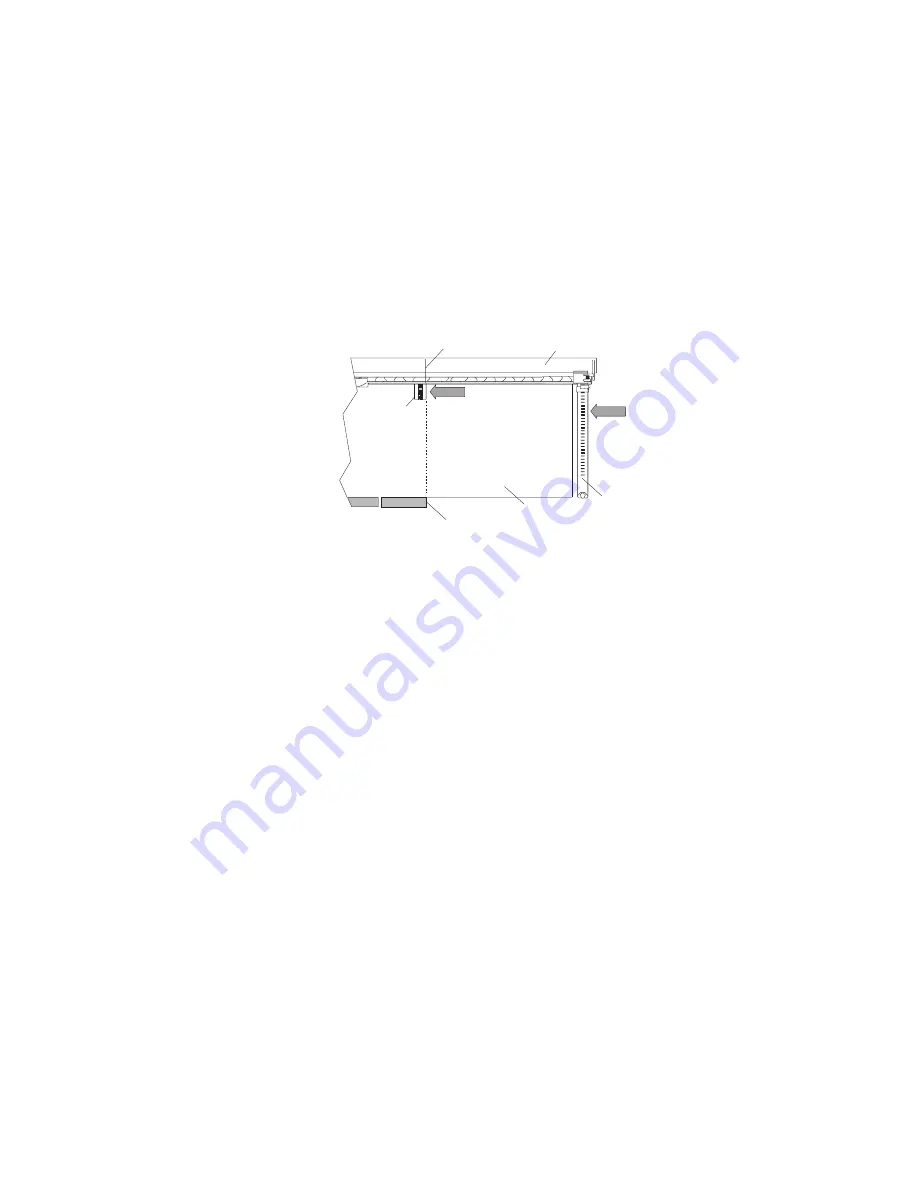
Installation
To
install
a
long
adapter,
use
the
following
procedure.
1.
If
installed,
remove
both
long
and
short
adapter
retaining
arms.
See
step
1a
on
page
70
to
remove
the
arms.
2.
Install
the
middle-spacer
arm,
see
the
following
illustration.
Note:
Some
long
adapters
are
shipped
with
a
middle-spacer
arm.
If
your
adapter
uses
the
middle-spacer
arm,
slide
it
onto
the
cassette
linkage
as
shown
in
the
following
illustration.
If
there
is
an
embossed
line
on
the
face
of
the
top
rail,
align
the
middle-spacer
arm
as
shown
in
the
following
illustration.
If
there
is
no
line
embossed
on
the
face
of
the
top
rail,
align
the
middle-spacer
arm
with
the
leading
edge
of
the
adapter’s
connector,
as
shown
in
the
following
illustration.
4
6
5
3
1
2
1
Embossed
Middle-Spacer
Alignment
Lines
4
Adapter
Connector
(Leading
Edge)
2
Top
Cassette
Rail
5
Long
Adapter
Card
3
Middle-Spacer
Arm
6
Long
Adapter
Arm
3.
Place
the
adapter
into
the
cassette
so
that
the
upper-left
corner
of
the
adapter
engages
the
top
adjustable
adapter-retaining
clip
as
shown
in
the
following
illustration:
Chapter
4.
Installation
and
Removal
Procedures
95
Summary of Contents for pseries 655
Page 1: ...pSeries 655 Installation Guide SA38 0616 03 ERserver...
Page 2: ......
Page 3: ...pSeries 655 Installation Guide SA38 0616 03 ERserver...
Page 14: ...xii Eserver pSeries 655 Installation Guide...
Page 22: ...6 Eserver pSeries 655 Installation Guide...
Page 54: ...38 Eserver pSeries 655 Installation Guide...
Page 101: ...2 1 1 Top of Cassette 2 Handle Chapter 4 Installation and Removal Procedures 85...
Page 125: ...1 Metal EMC Shield 2 Adapter Bracket Chapter 4 Installation and Removal Procedures 109...
Page 128: ...112 Eserver pSeries 655 Installation Guide...
Page 132: ...116 Eserver pSeries 655 Installation Guide...
Page 156: ...140 Eserver pSeries 655 Installation Guide...
Page 204: ...188 Eserver pSeries 655 Installation Guide...
Page 211: ......
Page 212: ...Part Number 80P3836 Printed in USA February 2004 SA38 0616 03 1P P N 80P3836...


