Remove
the
Rack
Top
Frame
for
Clearance
Through
Doorways
Use
the
following
procedure
to
remove
the
rack
top
frame:
1.
Use
the
jack
screws
to
stabilize
and
lift
the
rack
off
the
floor.
a.
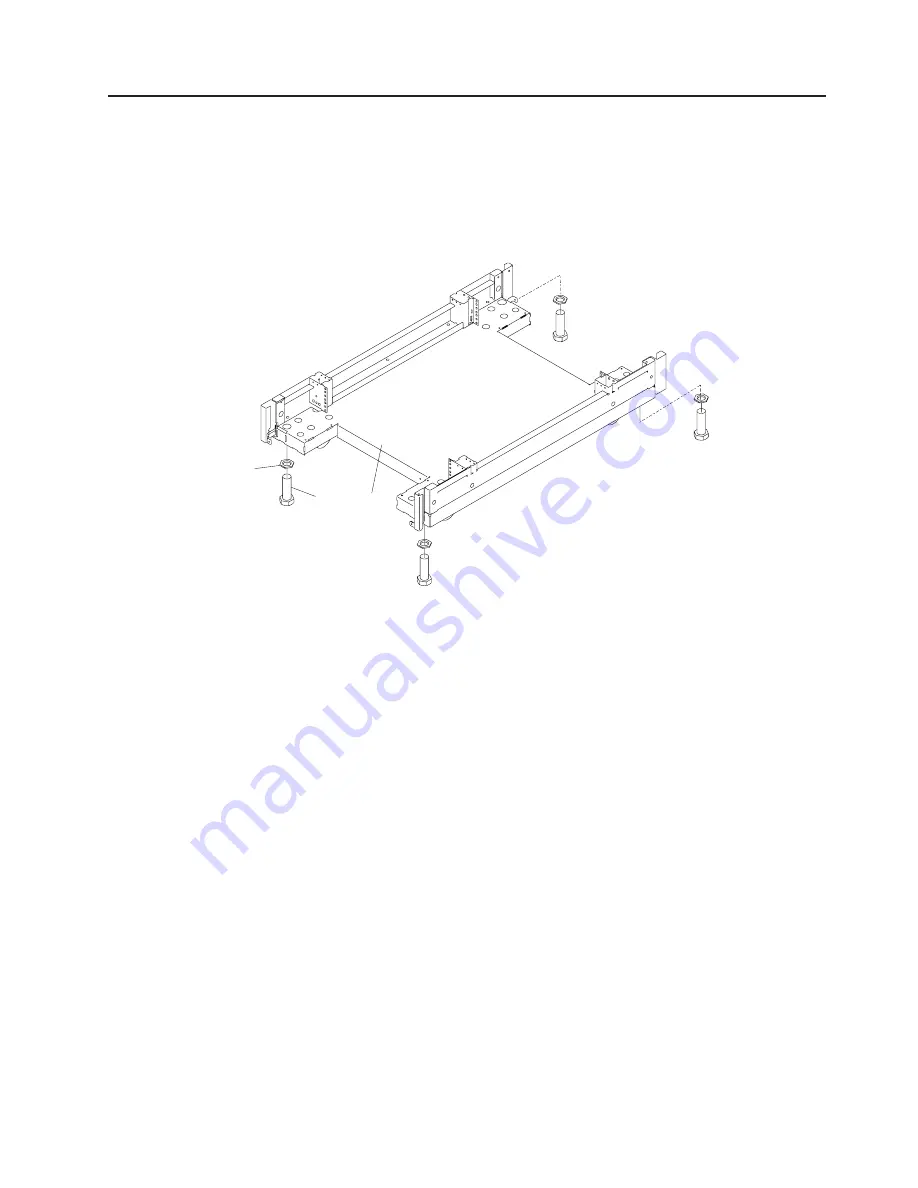
Loosen
the
jam
nut
on
each
leveling
foot
by
turning
the
nut
counterclockwise.
b.
Rotate
each
leveling
foot
downward
until
it
contacts
the
surface
on
which
the
rack
is
placed.
c.
Adjust
the
leveling
feet
downward
as
needed
until
the
rack
is
level.
When
the
rack
is
level,
tighten
the
jam
nuts
against
the
base
by
turning
the
nut
clockwise.
1
2
3
1
Jam
Nut
2
Leveling
Foot
3
Rack
Base
2.
Disconnect
cables
from
the
BPDs.
3.
Remove
the
front
and
rear
BPRs,
BPDs,
BPCs,
fan
assemblies,
and
BPJs.
Attention:
Make
note
of
the
location
identification
of
the
BPRs
and
BPEs
for
later
reinstallation.
if
these
components
are
not
reinstalled
in
their
original
location,
the
system
will
not
power
on.
Appendix
I.
Removing
and
Installing
the
Rack
Top
Frame
175
Summary of Contents for pseries 655
Page 1: ...pSeries 655 Installation Guide SA38 0616 03 ERserver...
Page 2: ......
Page 3: ...pSeries 655 Installation Guide SA38 0616 03 ERserver...
Page 14: ...xii Eserver pSeries 655 Installation Guide...
Page 22: ...6 Eserver pSeries 655 Installation Guide...
Page 54: ...38 Eserver pSeries 655 Installation Guide...
Page 101: ...2 1 1 Top of Cassette 2 Handle Chapter 4 Installation and Removal Procedures 85...
Page 125: ...1 Metal EMC Shield 2 Adapter Bracket Chapter 4 Installation and Removal Procedures 109...
Page 128: ...112 Eserver pSeries 655 Installation Guide...
Page 132: ...116 Eserver pSeries 655 Installation Guide...
Page 156: ...140 Eserver pSeries 655 Installation Guide...
Page 204: ...188 Eserver pSeries 655 Installation Guide...
Page 211: ......
Page 212: ...Part Number 80P3836 Printed in USA February 2004 SA38 0616 03 1P P N 80P3836...


