Media Drive in Bays 3 through 8
CAUTION:
A class 3 laser is contained in the device. Do not attempt to operate the drive
while it is disassembled. Do not attempt to open the covers of the drive as it
is not serviceable and is to be replaced as a unit.
Removal
1. If you have not already done so, remove the covers as described in “Covers” on
page 7-3.
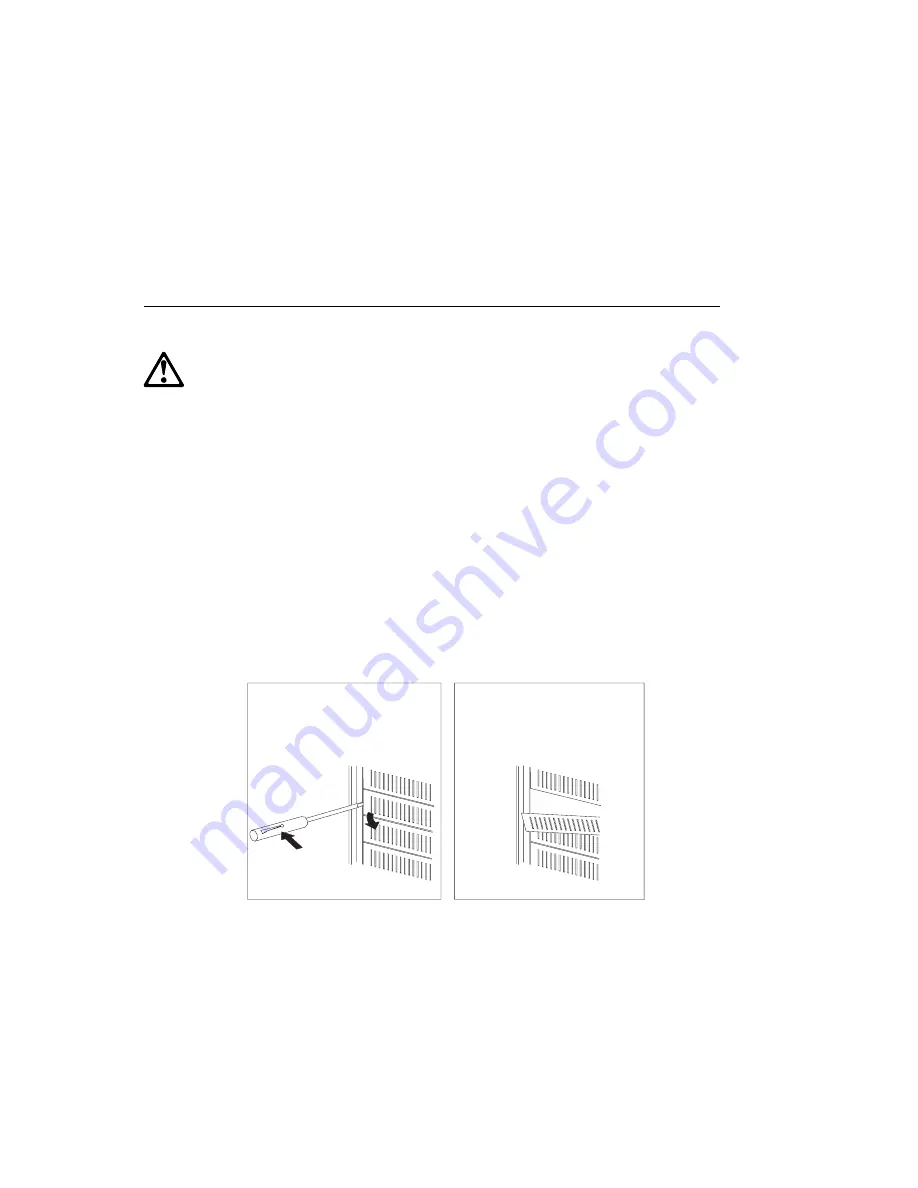
2. Remove the cover plate from the target bay if installed:
a. Insert a small flat-blade screwdriver under the side of the cover plate.
b. Lift the cover plate and remove it from the server's front panel. (Save the
cover plate for future use.)
3. Complete the following steps:
a. Find the drive you plan to remove.
b. Disconnect the cables (signal and power) from the rear of the drive.
c. If you are removing a 3.5-inch drive, remove the screws that hold the drive
tray in place. Then remove the drive from the tray.
d. If you are removing a 5.25-inch drive, slide the drive out of the bay.
Chapter 7. Removal and Replacement Procedures
7-9
Summary of Contents for RS/6000 7024 E Series
Page 1: ...RS 6000 7024 E Series IBM Service Guide SA38 0502 03...
Page 5: ...Power Cables 8 5 Appendix A Firmware Checkpoint Three Digit Codes A 1 Index X 1 Preface v...
Page 6: ...vi Service Guide...
Page 18: ...xviii Service Guide...
Page 20: ...xx Service Guide...
Page 22: ...Rear View 1 2 Service Guide...
Page 23: ...Side View with Covers Removed Chapter 1 Reference Information 1 3...
Page 24: ...Recommended SCSI IDs 1 4 Service Guide...
Page 82: ...3 18 Service Guide...
Page 122: ...Replacement To replace the cover perform the removal steps in reverse order 7 6 Service Guide...
Page 148: ...7 32 Service Guide...
Page 149: ...Chapter 8 Parts Information Chapter 8 Parts Information 8 1...
Page 150: ...8 2 Service Guide...


