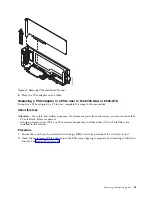
11.
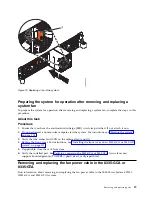
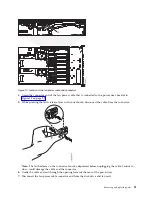
Place the front USB cable and connector and the power switch and cable on the table.
Replacing the front USB cable and connector in the 8335-GCA or
8335-GTA system
Follow these steps to replace the front USB cable and connector in the IBM Power System S822LC
(8335-GCA and 8335-GTA) system.
Procedure
1.
Ensure that you have the electrostatic discharge (ESD) wrist strap attached. If not, attach it now.
2.
Find the replacement front USB cable and connector and remove it from the protective plastic
envelope.
3.
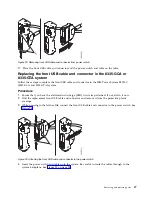
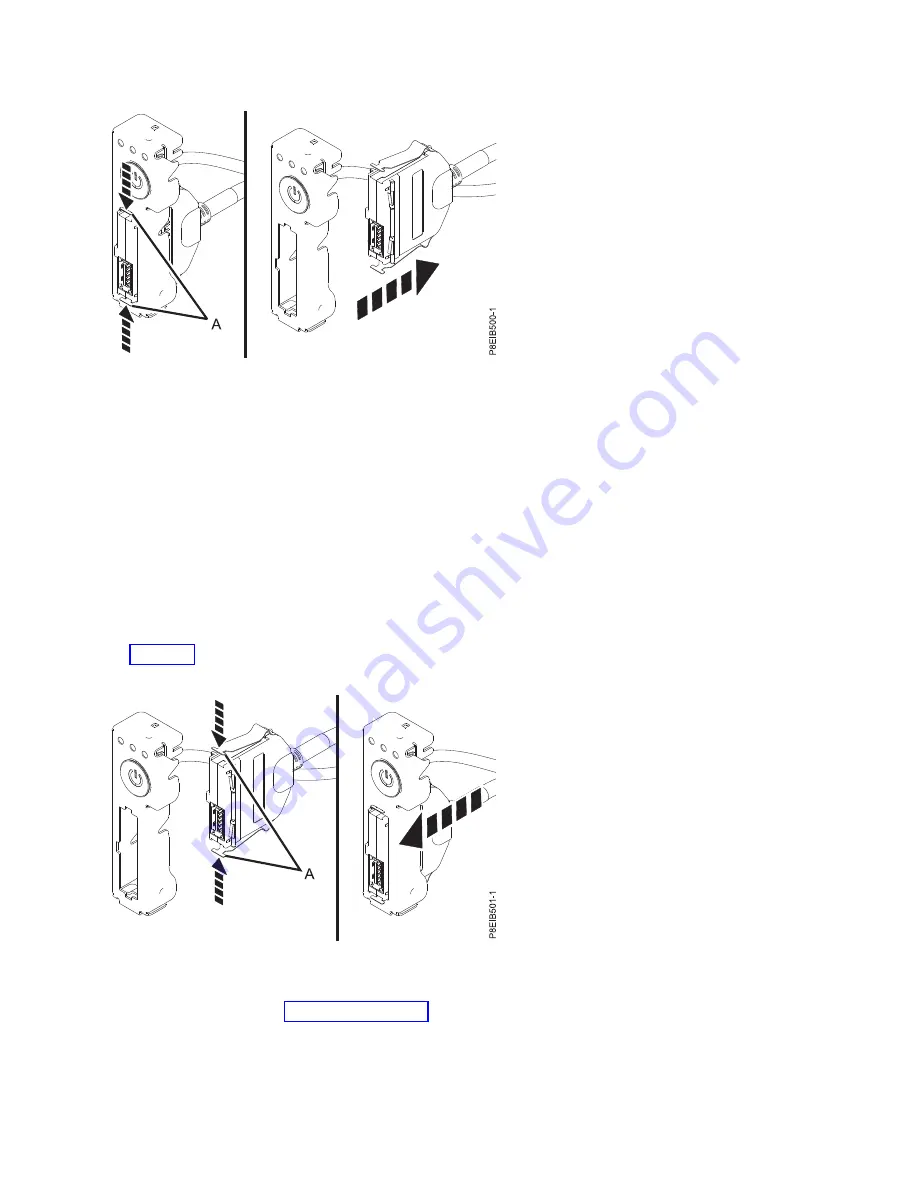
While pressing in the latches (A), connect the front USB cable and connector to the power switch. See
Figure 24.
4.
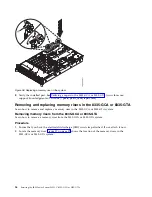
Insert the power switch and cables into the system. Be careful to route the cables through to the
system backplane. See Figure 25 on page 28.
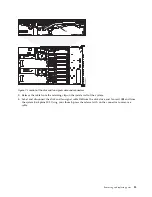
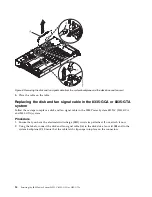
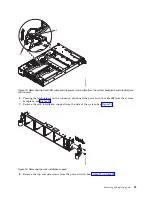
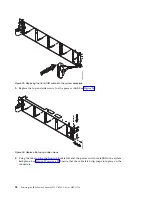
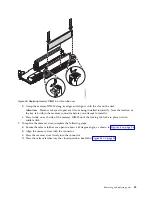
Figure 23. Removing front USB cable and connector from power switch
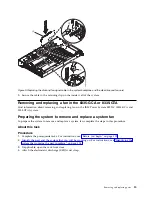
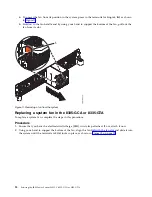
Figure 24. Attaching the front USB cable and connector to the power switch
Removing and replacing parts
27
Summary of Contents for S822LC
Page 1: ...Power Systems Servicing the IBM Power System S822LC 8335 GCA or 8335 GTA IBM...
Page 2: ......
Page 3: ...Power Systems Servicing the IBM Power System S822LC 8335 GCA or 8335 GTA IBM...
Page 16: ...xiv Servicing the IBM Power System S822LC 8335 GCA or 8335 GTA...
Page 134: ...118 Servicing the IBM Power System S822LC 8335 GCA or 8335 GTA...
Page 145: ...Notices 129...
Page 146: ...IBM Printed in USA...

