Procedure
1.
Ensure that you have the electrostatic discharge (ESD) wrist strap attached. If not, attach it now.
2.
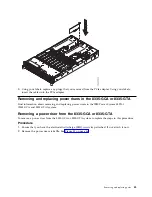
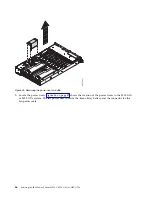
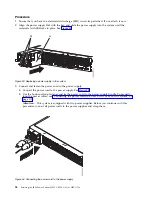
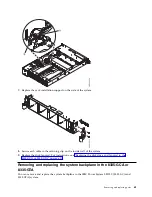
Align the power supply (A) with the bay and slide the power supply into the system until the
terracotta latch (B) locks in place. See Figure 53.
3.
Connect and fasten the power cord to the power supply.
a.
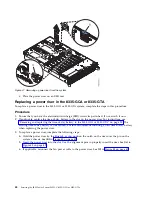
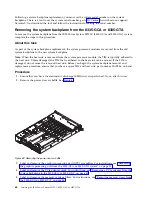
Connect the power cord to the power supply. See Figure 54.
b.
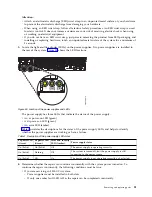
Use the hook-and-loop fastener and tie the power cord to the power supply handle. To properly
loop the power cables, see “Connecting the power cords to an 8335-GCA or 8335-GTA system” on
page 115
Attention:
This system is equipped with two power supplies. Before you continue with this
procedure, connect all power cords to the power supplies and strap them.
Figure 53. Replacing a power supply in the system
Figure 54. Connecting the power cord to the power supply
54
Servicing the IBM Power System S822LC (8335-GCA or 8335-GTA)
Summary of Contents for S822LC
Page 1: ...Power Systems Servicing the IBM Power System S822LC 8335 GCA or 8335 GTA IBM...
Page 2: ......
Page 3: ...Power Systems Servicing the IBM Power System S822LC 8335 GCA or 8335 GTA IBM...
Page 16: ...xiv Servicing the IBM Power System S822LC 8335 GCA or 8335 GTA...
Page 134: ...118 Servicing the IBM Power System S822LC 8335 GCA or 8335 GTA...
Page 145: ...Notices 129...
Page 146: ...IBM Printed in USA...


