For more information about the power supply indicators, see “ SAN Volume Controller 2145-92F
expansion enclosure LEDs and indicators” on page 130.
Removing the fascia: 2145-92F
To complete some service tasks, you can remove each component of the fascia from the front of a
2145-92F expansion enclosure.
About this task
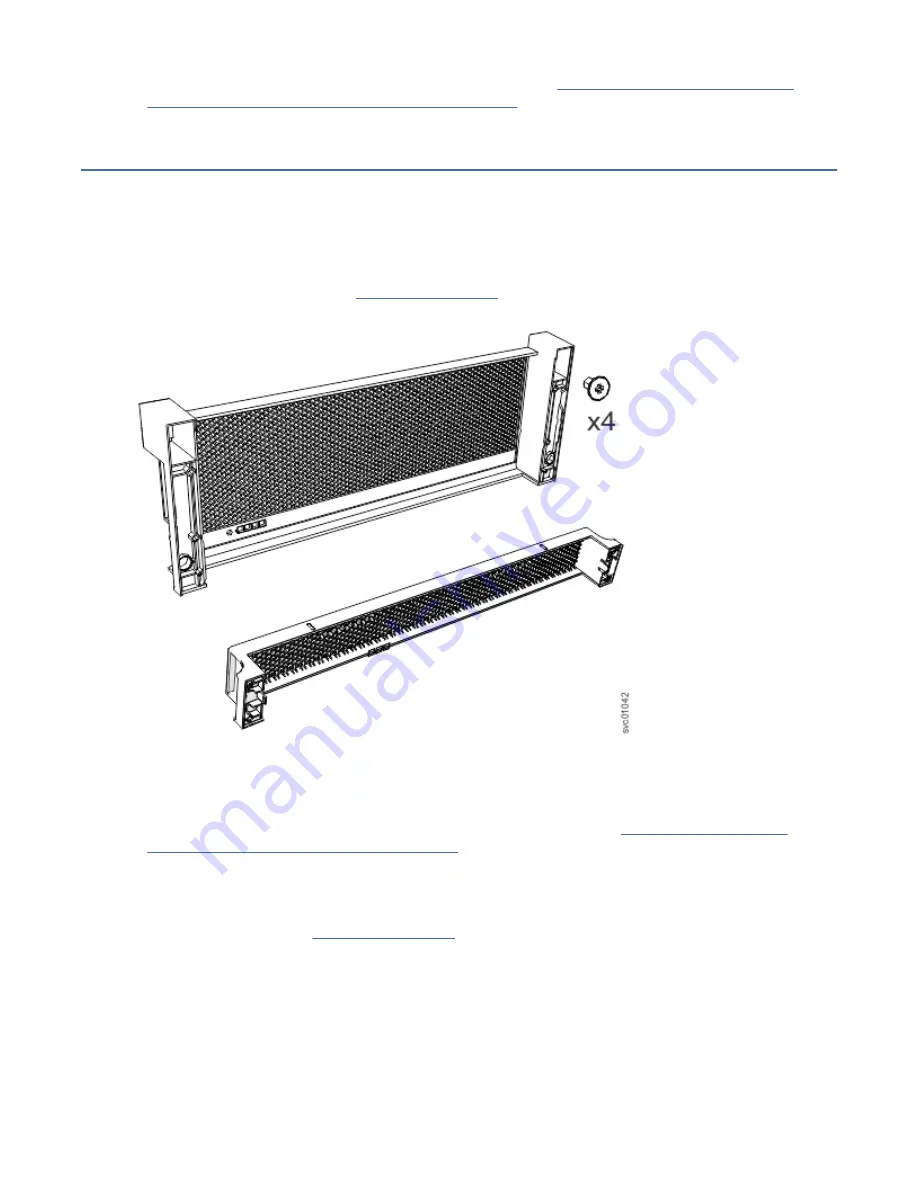
The expansion enclosure has a 4U front fascia that covers the display panel and a 1U fascia that covers
the power supply units (PSUs). As Figure 95 on page 85 shows, the fascias are independent; you can
remove or replace one without having to remove or replace the other.
Figure 95. Fascia components on the expansion enclosure
Procedure
1. Use the slide rails to pull the enclosure out of the rack, as described in “Removing an expansion
enclosure from a rack: 2145-92F ” on page 94.
Ensure that a mechanical lift is available to support the weight of the enclosure.
Remove the front (4U) fascia
2. Remove the front fascia by removing the two screws that attach the fascia to the flange on each side of
the chassis, as shown in Figure 96 on page 86.
Chapter 4. Installing an optional 5U SAS expansion enclosure 85
Summary of Contents for SAN Volume Controller 2145-SV1
Page 1: ...IBM SAN Volume Controller Hardware Installation Guide IBM...
Page 6: ...vi...
Page 48: ...16 SAN Volume Controller Model 2145 SV1 Hardware Installation Guide...
Page 62: ...30 SAN Volume Controller Model 2145 SV1 Hardware Installation Guide...
Page 72: ...40 SAN Volume Controller Model 2145 SV1 Hardware Installation Guide...
Page 168: ...136 SAN Volume Controller Model 2145 SV1 Hardware Installation Guide...
Page 176: ...144 SAN Volume Controller Model 2145 SV1 Hardware Installation Guide...
Page 178: ...146 SAN Volume Controller Model 2145 SV1 Hardware Installation Guide...
Page 182: ...150 SAN Volume Controller Model 2145 SV1 Hardware Installation Guide...
Page 192: ...160 SAN Volume Controller Model 2145 SV1 Hardware Installation Guide...
Page 193: ......
Page 194: ...IBM...


