Replacing a 2.5" drive assembly or blank carrier
This topic describes how to remove a 2.5" drive assembly or blank carrier.
Attention:
If your drive is configured for use, go to the management GUI and
follow the fix procedures. Performing the replacement actions without the
assistance of the fix procedures results in loss of data or access to data.
Attention:
Do not leave a drive slot empty. Do not remove a drive or drive
assembly before you have a replacement available.
To replace the drive assembly or blank carrier, perform the following steps:
1.
Read the safety information to which “Preparing to remove and replace parts”
on page 79 refers.
2.
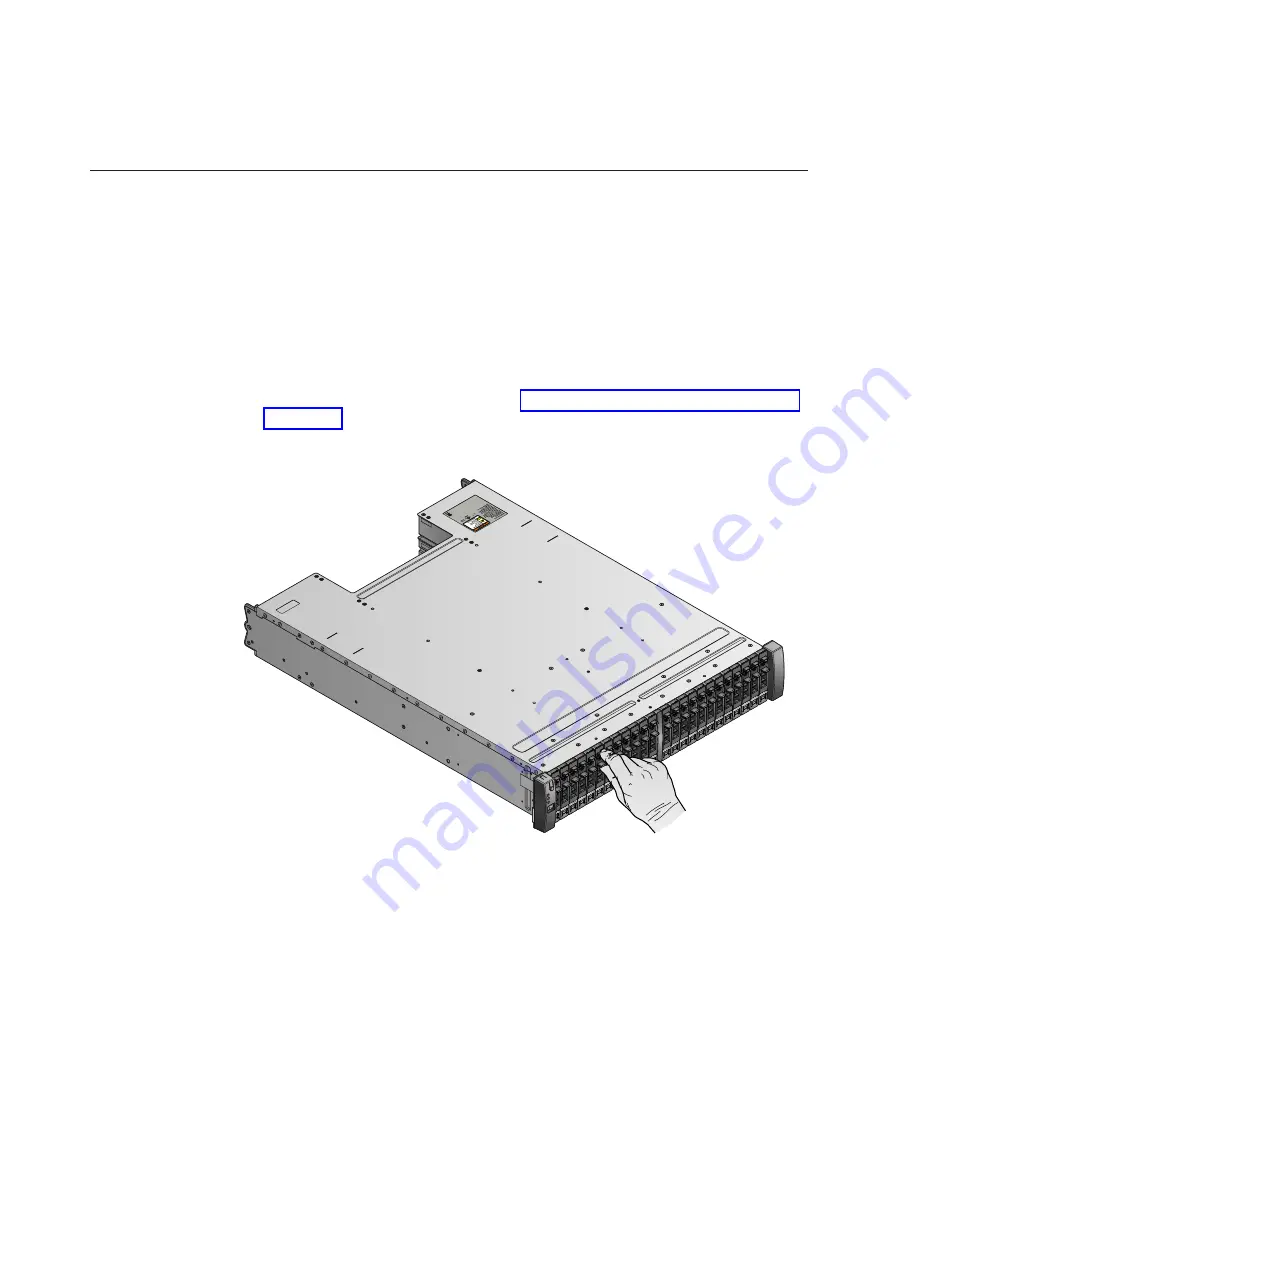
Unlock the module by squeezing together the tabs at the top.
3.
Open the handle to the full extension.
svc00614
Figure 36. Unlocking the 2.5" drive
98
Storwize V7000: Troubleshooting, Recovery, and Maintenance Guide
Summary of Contents for Storwize V7000
Page 1: ...IBM Storwize V7000 Version 6 3 0 Troubleshooting Recovery and Maintenance Guide GC27 2291 02...
Page 6: ...vi Storwize V7000 Troubleshooting Recovery and Maintenance Guide...
Page 8: ...viii Storwize V7000 Troubleshooting Recovery and Maintenance Guide...
Page 10: ...x Storwize V7000 Troubleshooting Recovery and Maintenance Guide...
Page 34: ...18 Storwize V7000 Troubleshooting Recovery and Maintenance Guide...
Page 42: ...26 Storwize V7000 Troubleshooting Recovery and Maintenance Guide...
Page 80: ...64 Storwize V7000 Troubleshooting Recovery and Maintenance Guide...
Page 128: ...112 Storwize V7000 Troubleshooting Recovery and Maintenance Guide...
Page 156: ...140 Storwize V7000 Troubleshooting Recovery and Maintenance Guide...
Page 166: ...150 Storwize V7000 Troubleshooting Recovery and Maintenance Guide...
Page 171: ......
Page 172: ...Printed in USA GC27 2291 02...


