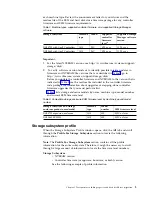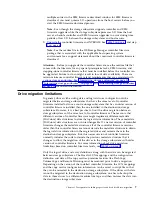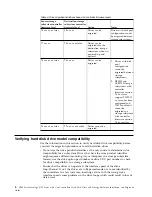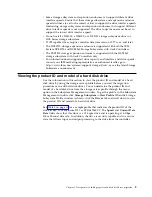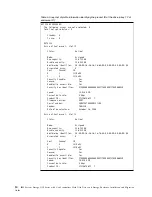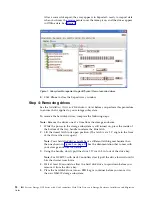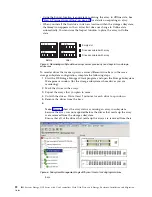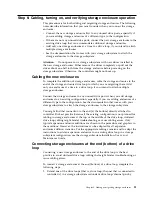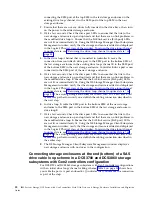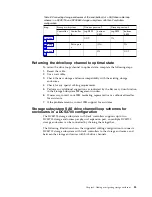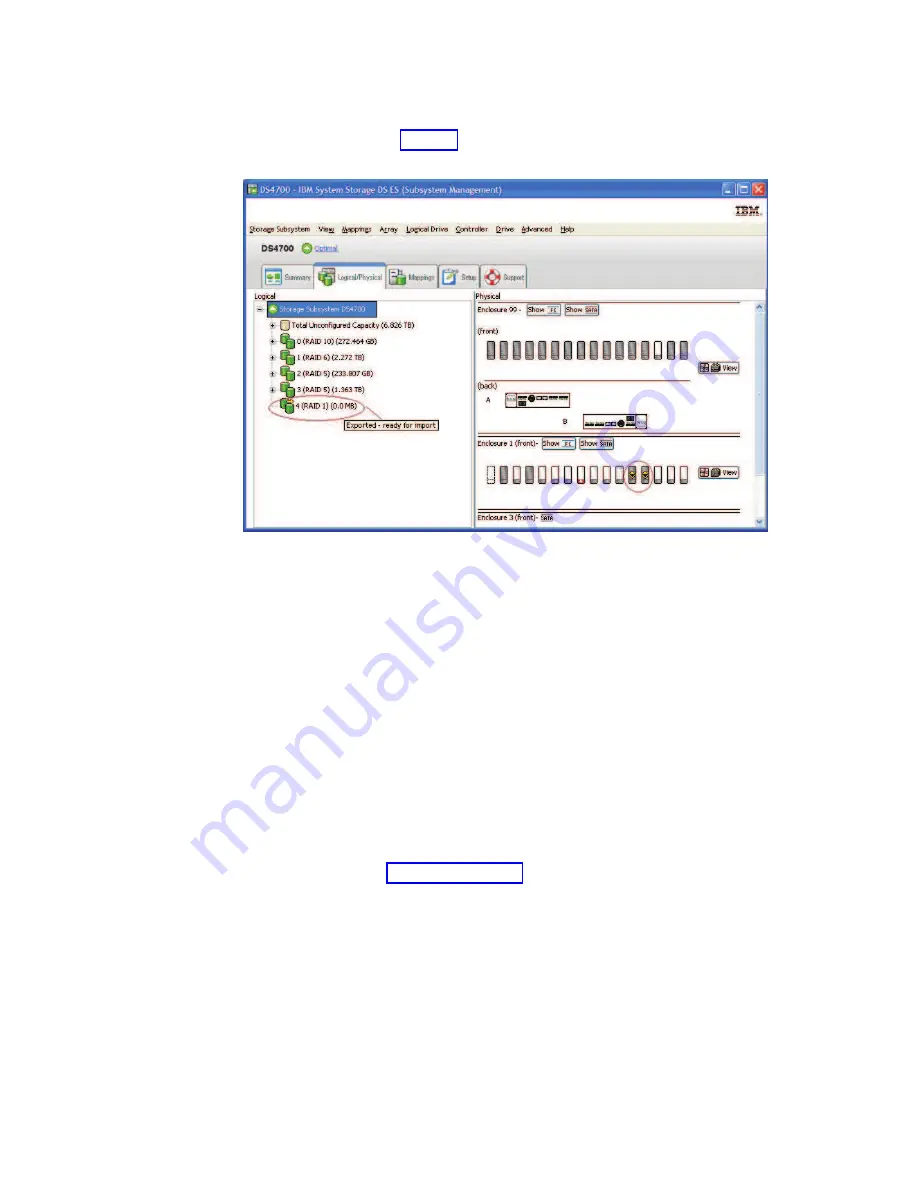
After a successful export, the array appears in Exported - ready to import state
when you hover the mouse pointer over the Array icon, and the drives appear
in Offline state. See Figure 1.
6.
Click Close to close the Export Array window.
Step 4: Removing drives
See the Installation, User’s and Maintenance Guide before you perform this procedure
to ensure that it applies to your storage subsystem.
To remove the hard disk drives, complete the following steps.
Note:
Remove the drives one at a time from the storage enclosure.
1.
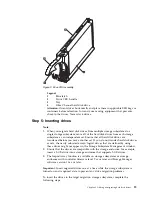
While the power to the storage subsystem is still turned on, press the inside of
the bottom of the tray handle to release the blue latch.
2.
Lift the closed latch to its open position. (The latch is at a 90° angle to the front
of the drive when it is open.)
Note:
Your hard disk drives might have a different latching mechanism than
the one shown in Figure 2 on page 19. See the documentation that comes with
your storage enclosure for details.
3.
Using the handle, slowly pull the drive 1.27 cm (0.5 in.) out of the drive bay.
Note:
For DCS3700 with Gen2 Controllers slowly pull the drive forward until it
hits the drawer cross brace.
4.
Wait at least 30 seconds to allow the hard disk drive to spin down before you
remove it from the drive bay.
5.
Place the hard disk drive into an ESD bag or container before you move it to
the new DS4000 storage subsystem.
Figure 1. Subsystem Management Logical/Physical View of exported drives
18
IBM System Storage DCS Series with Gen2 controllers Hard Disk Drive and Storage Enclosure Installation and Migration
Guide
Summary of Contents for System Storage DCS Series
Page 89: ......


