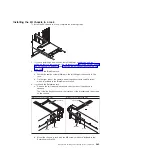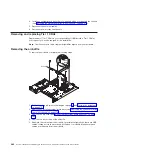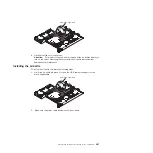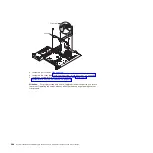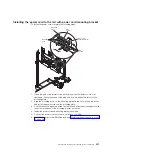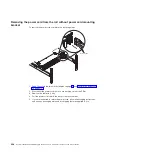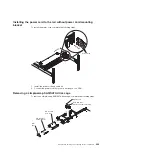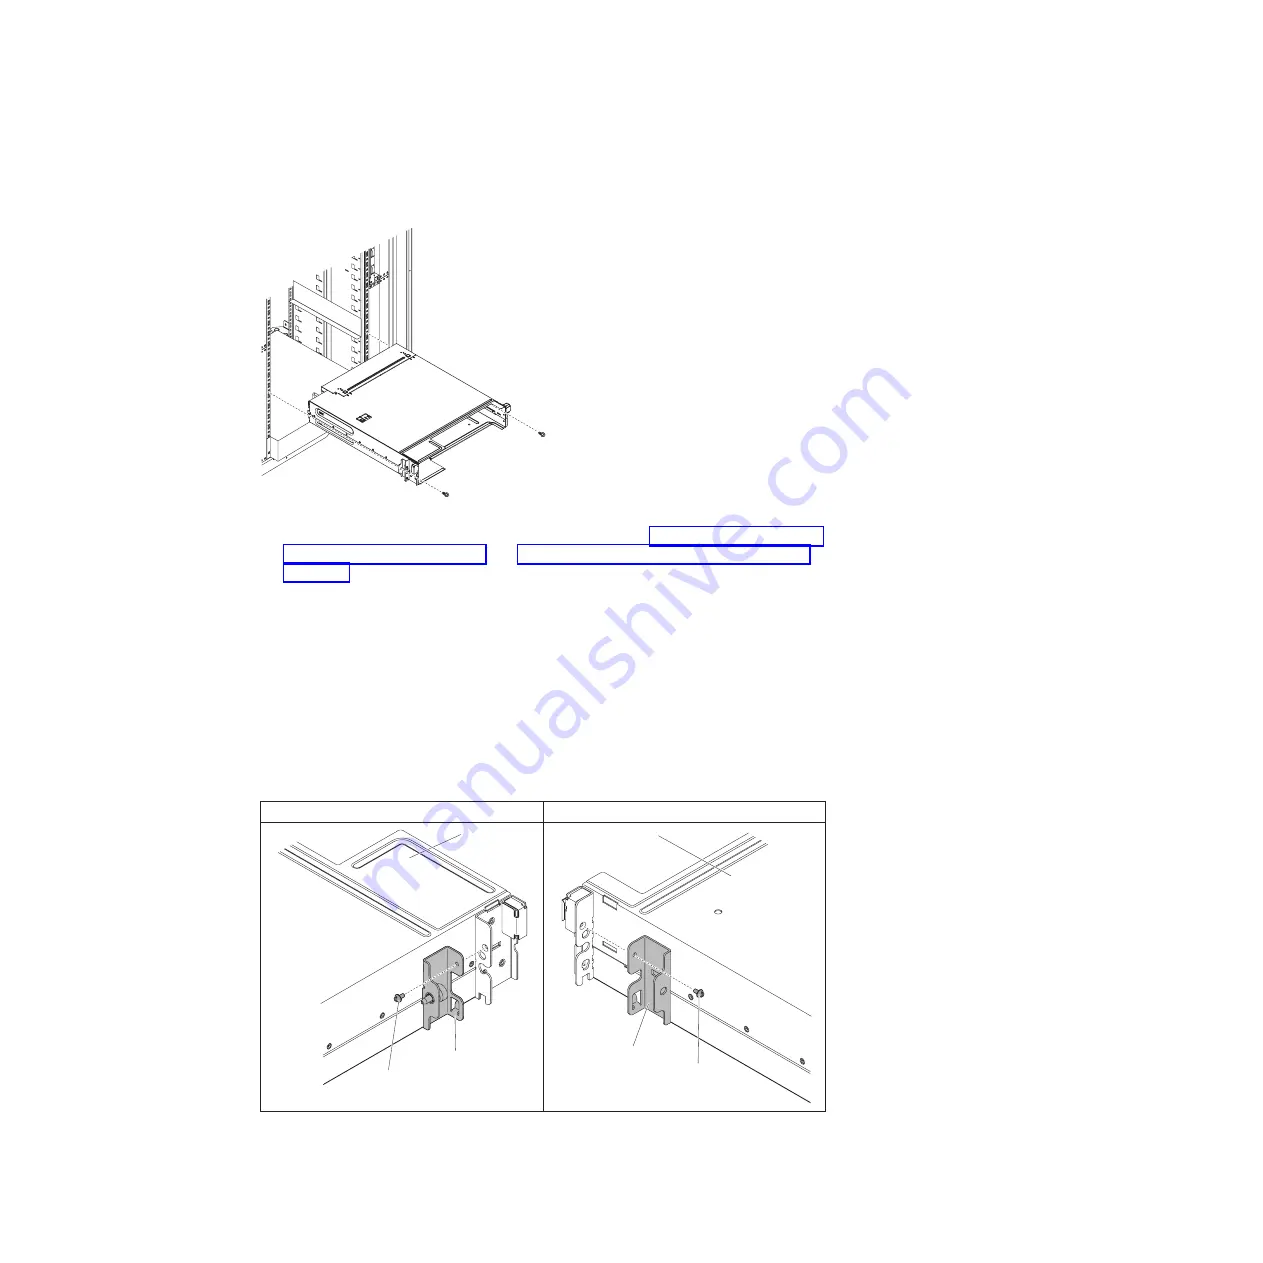
Installing the 2U chassis in a rack
To install the 2U chassis in a rack, complete the following steps.
1. If you are installing a new chassis, install the power supply cage and fan
assembly that you removed from the old chassis (see “Installing a power supply
in a 2U chassis” on page 317 and “Installing the 2U chassis fan assembly” on
page 290).
2. If you have the iDataPlex rack:
a. Fasten the captive screw affiliated to the left flange of the chassis to the
rack.
b. On the right side of the chassis, mount the chassis with one M6 screw
which is included in the iDataPlex rack rail kit.
3. If you have the Enterprise rack:
a. Remove the two removable brackets on both sides of the chassis in
advance.
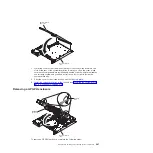
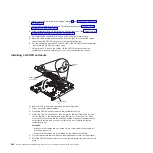
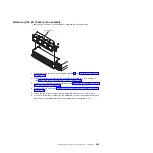
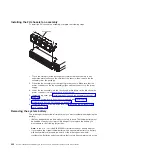
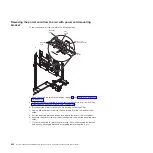
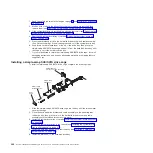
The following illustrations show the locations of the brackets and the screws
on the chassis.
Bracket on the left hand side
Bracket on the right hand side
2U chassis
Screw
Bracket
2U chassis
Screw
Bracket
b. Mount the chassis to rack with two M6 screws which are included in the
Enterprise rack rail kit.
Chapter 5. Removing and replacing server components
285
Summary of Contents for System x iDataPlex dx360 M4 7912
Page 1: ...System x iDataPlex dx360 M4 Types 7912 and 7913 Problem Determination and Service Guide...
Page 2: ......
Page 3: ...System x iDataPlex dx360 M4 Types 7912 and 7913 Problem Determination and Service Guide...
Page 22: ...4 System x iDataPlex dx360 M4 Types 7912 and 7913 Problem Determination and Service Guide...
Page 278: ...260 System x iDataPlex dx360 M4 Types 7912 and 7913 Problem Determination and Service Guide...
Page 292: ...274 System x iDataPlex dx360 M4 Types 7912 and 7913 Problem Determination and Service Guide...
Page 392: ...374 System x iDataPlex dx360 M4 Types 7912 and 7913 Problem Determination and Service Guide...
Page 399: ......
Page 400: ...Part Number 46W8218 Printed in USA 1P P N 46W8218...

