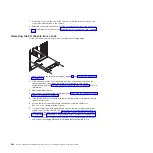

1. Read the safety information that begins on page vii and “Installation guidelines”
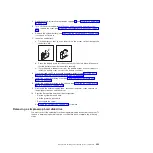
2. Touch the static-protective package that contains the drive to any
unpainted
metal surface on the outside of the chassis or rack; then, remove the hard disk
drive from the package.
Attention:
Do not press on the top of the drive. Pressing the top might
damage the drive.
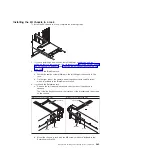
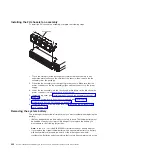
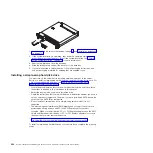
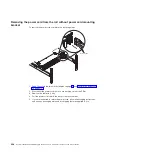
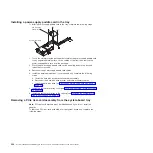
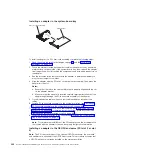
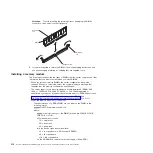
3. Align the drive with the guide rails in the drive bay.
4. Slide the retention tab; then, carefully slide the drive into the bay until it stops,
and release the retention tab.
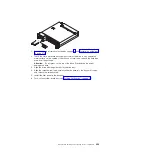
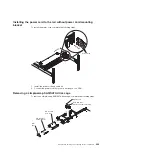
5. Install the filler panel in the drive bay.
6. Turn on the system-board tray (see “Turning on the node” on page 10).
Chapter 5. Removing and replacing server components
295
Summary of Contents for System x iDataPlex dx360 M4 7912
Page 1: ...System x iDataPlex dx360 M4 Types 7912 and 7913 Problem Determination and Service Guide...
Page 2: ......
Page 3: ...System x iDataPlex dx360 M4 Types 7912 and 7913 Problem Determination and Service Guide...
Page 22: ...4 System x iDataPlex dx360 M4 Types 7912 and 7913 Problem Determination and Service Guide...
Page 278: ...260 System x iDataPlex dx360 M4 Types 7912 and 7913 Problem Determination and Service Guide...
Page 292: ...274 System x iDataPlex dx360 M4 Types 7912 and 7913 Problem Determination and Service Guide...
Page 392: ...374 System x iDataPlex dx360 M4 Types 7912 and 7913 Problem Determination and Service Guide...
Page 399: ......
Page 400: ...Part Number 46W8218 Printed in USA 1P P N 46W8218...


