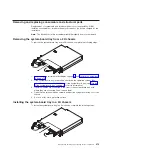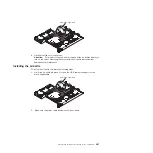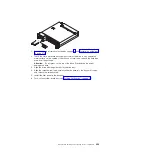
6. Reconnect cables to the power board on the system-board tray if they were
disconnected.
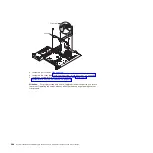
7. Install the system-board tray in the chassis (see “Installing the system-board
tray in a 2U chassis” on page 279).
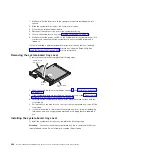
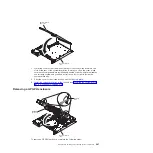
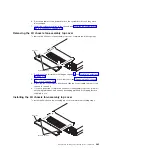
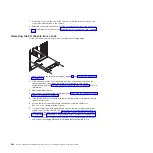
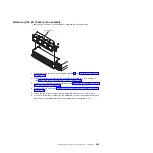
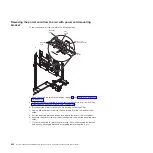
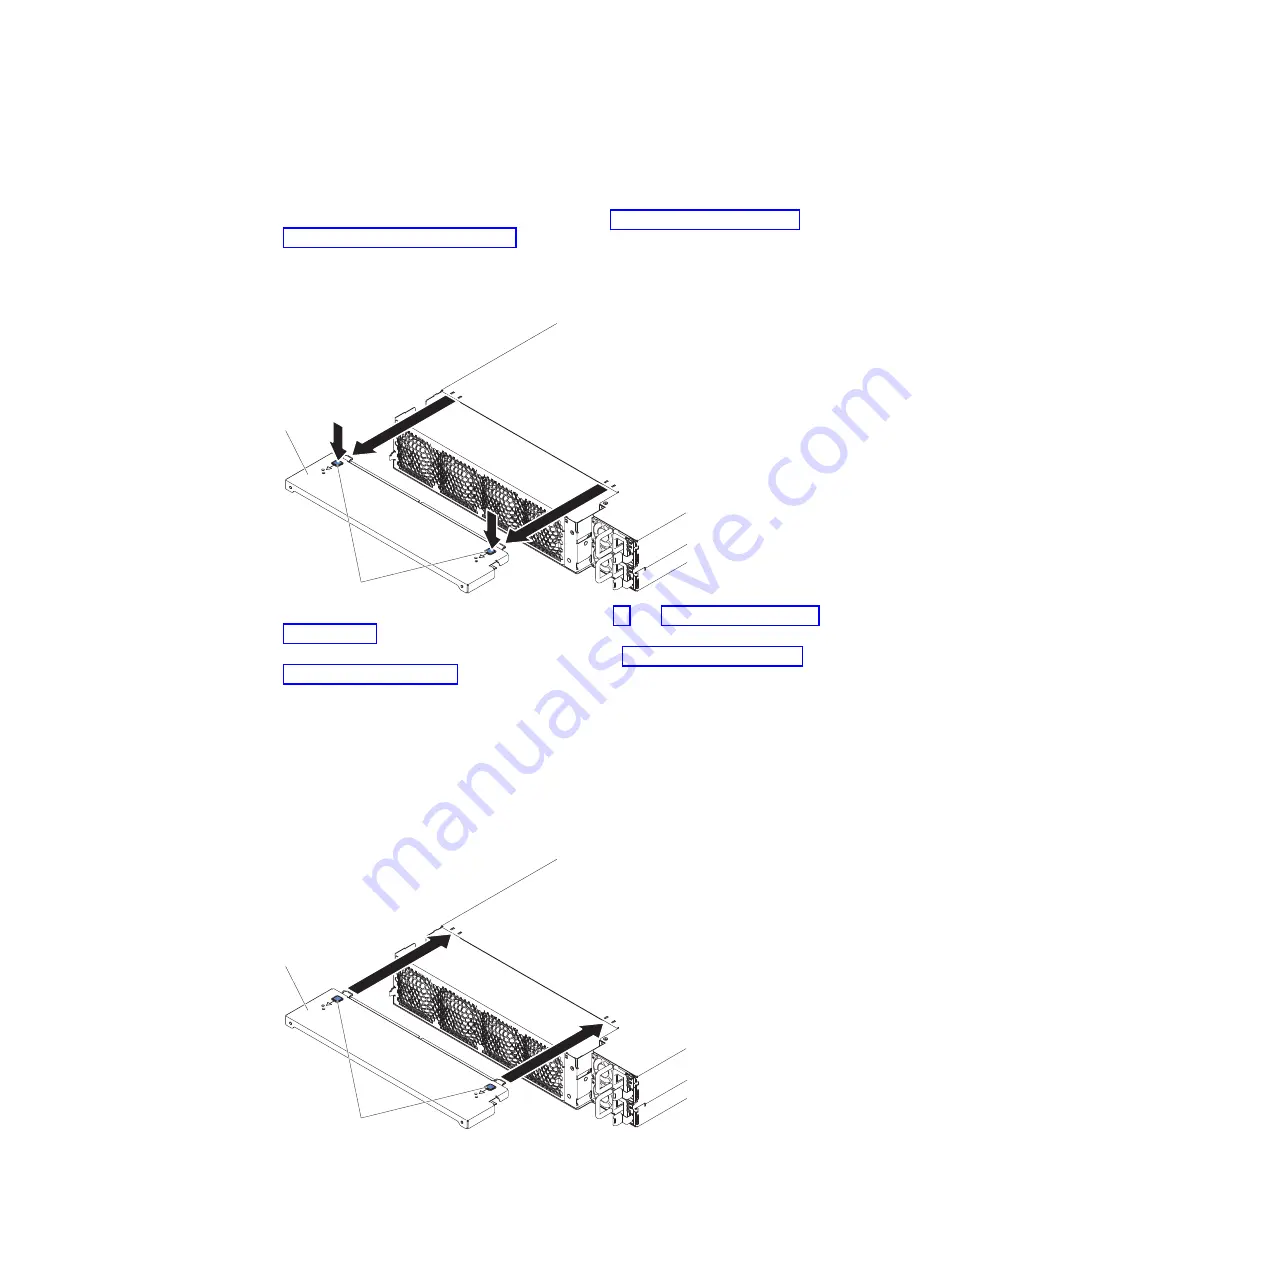
Removing the 2U chassis fan-assembly top cover
To remove the 2U chassis fan-assembly top cover, complete the following steps.
Top cover
Release buttons
1. Read the safety information that begins on page vii and “Installation guidelines”
2. If the chassis is installed in a rack, remove it (see “Removing the 2U chassis
3. Press the two cover-release buttons and slide the cover toward the rear of the
chassis to remove it.
4. If you are instructed to return the 2U chassis fan-assembly top cover, follow all
packaging instructions, and use any packaging materials for shipping that are
supplied to you.
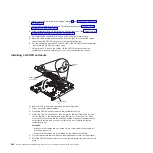
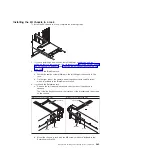
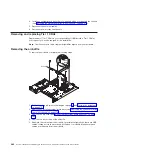
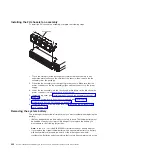
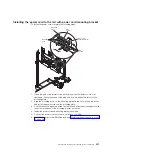
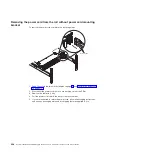
Installing the 2U chassis fan-assembly top cover
To install the 2U chassis fan-assembly top cover, complete the following steps.
Top cover
Release buttons
Chapter 5. Removing and replacing server components
283
Summary of Contents for System x iDataPlex dx360 M4 7912
Page 1: ...System x iDataPlex dx360 M4 Types 7912 and 7913 Problem Determination and Service Guide...
Page 2: ......
Page 3: ...System x iDataPlex dx360 M4 Types 7912 and 7913 Problem Determination and Service Guide...
Page 22: ...4 System x iDataPlex dx360 M4 Types 7912 and 7913 Problem Determination and Service Guide...
Page 278: ...260 System x iDataPlex dx360 M4 Types 7912 and 7913 Problem Determination and Service Guide...
Page 292: ...274 System x iDataPlex dx360 M4 Types 7912 and 7913 Problem Determination and Service Guide...
Page 392: ...374 System x iDataPlex dx360 M4 Types 7912 and 7913 Problem Determination and Service Guide...
Page 399: ......
Page 400: ...Part Number 46W8218 Printed in USA 1P P N 46W8218...

