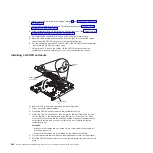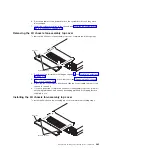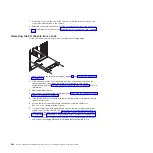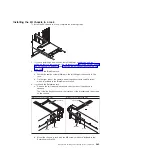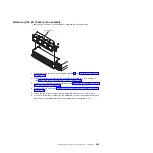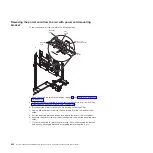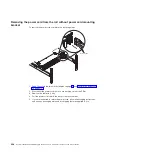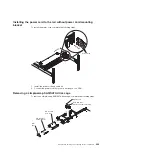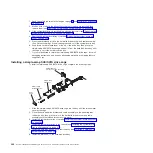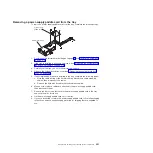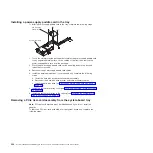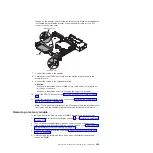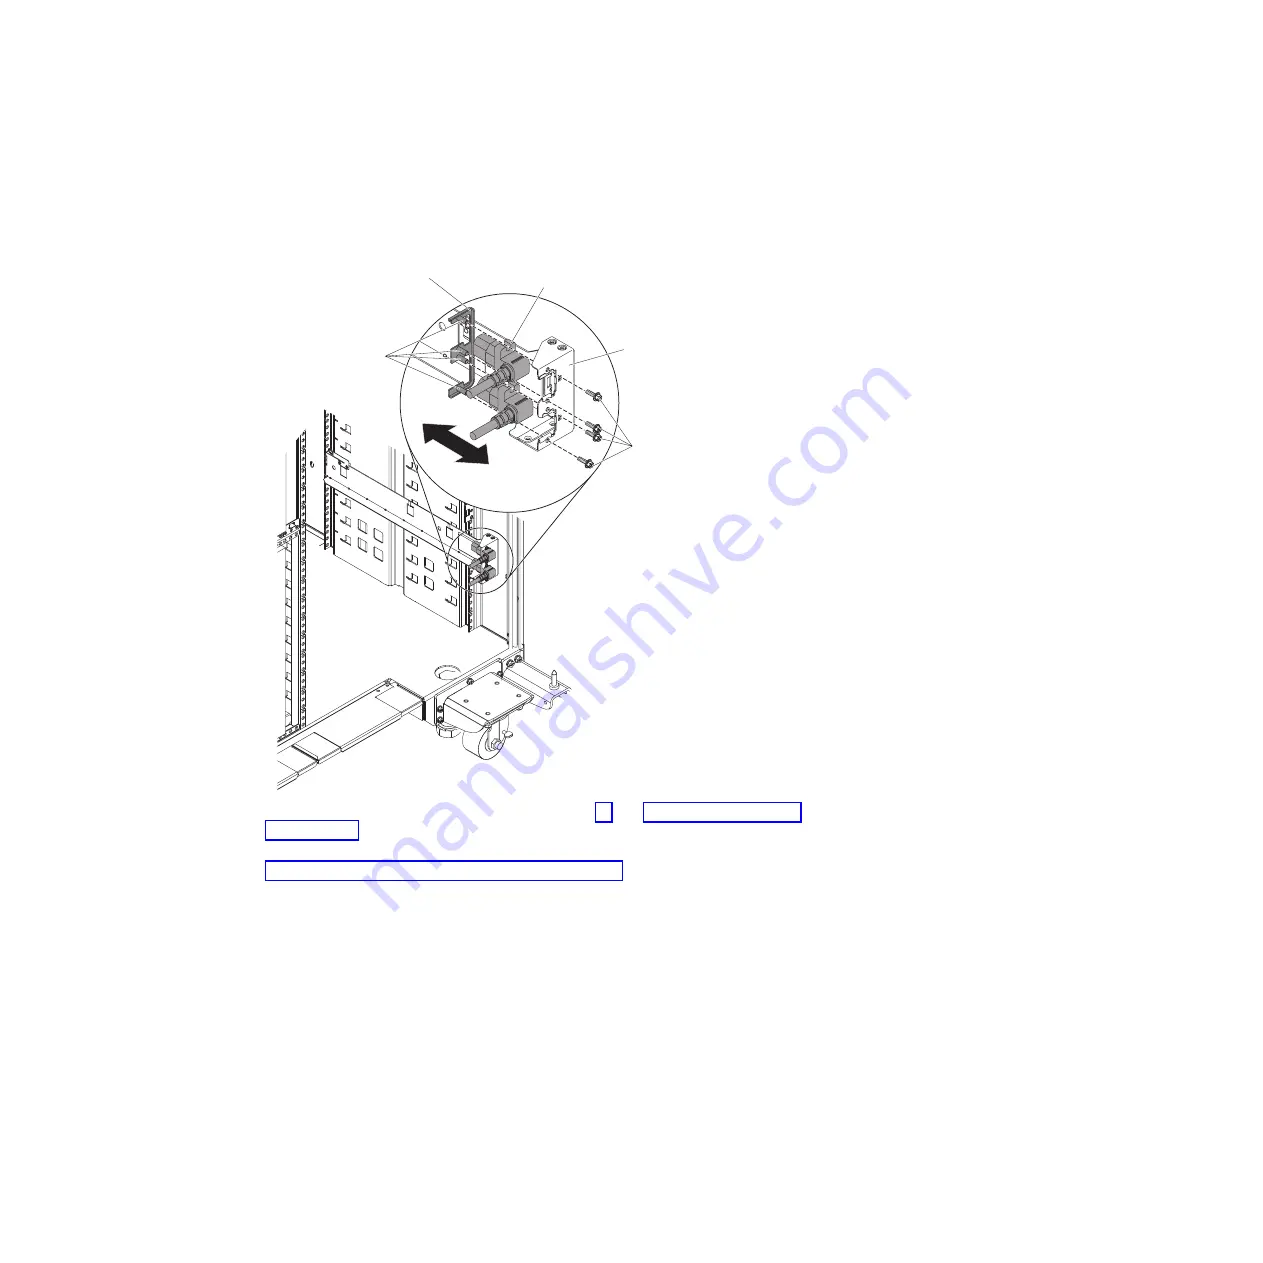
Removing the power cord from the rail with power cord mounting
bracket
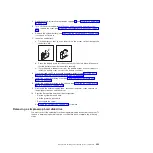
To remove the power cord, complete the following steps.
M3
screws
Mounting
post
Mounting
plate
Plug
mount
Power cord
mounting bracket
1. Read the safety information that begins on page vii and “Installation guidelines”
2. If the 2U chassis is installed in a rack, remove the chassis from the rack (see
“Removing the 2U chassis from a rack” on page 284).
3. Disconnect the power cord that you are working on from the PDU.
4. Use an M3 hex driver to remove the two screws from the rail, and set them
aside.
5. Pull the mounting plate and power cord toward the front of the rack cabinet.
6. Separate the power cord from the mounting plate; then, set the mounting plate
aside.
7. If you are instructed to return the power cord, follow all packaging instructions,
and use any packaging materials for shipping that are supplied to you.
296
System x iDataPlex dx360 M4 Types 7912 and 7913: Problem Determination and Service Guide
Summary of Contents for System x iDataPlex dx360 M4 7912
Page 1: ...System x iDataPlex dx360 M4 Types 7912 and 7913 Problem Determination and Service Guide...
Page 2: ......
Page 3: ...System x iDataPlex dx360 M4 Types 7912 and 7913 Problem Determination and Service Guide...
Page 22: ...4 System x iDataPlex dx360 M4 Types 7912 and 7913 Problem Determination and Service Guide...
Page 278: ...260 System x iDataPlex dx360 M4 Types 7912 and 7913 Problem Determination and Service Guide...
Page 292: ...274 System x iDataPlex dx360 M4 Types 7912 and 7913 Problem Determination and Service Guide...
Page 392: ...374 System x iDataPlex dx360 M4 Types 7912 and 7913 Problem Determination and Service Guide...
Page 399: ......
Page 400: ...Part Number 46W8218 Printed in USA 1P P N 46W8218...

