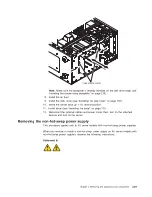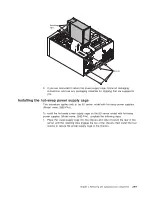
5. Remove the air duct.
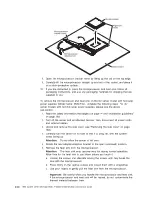
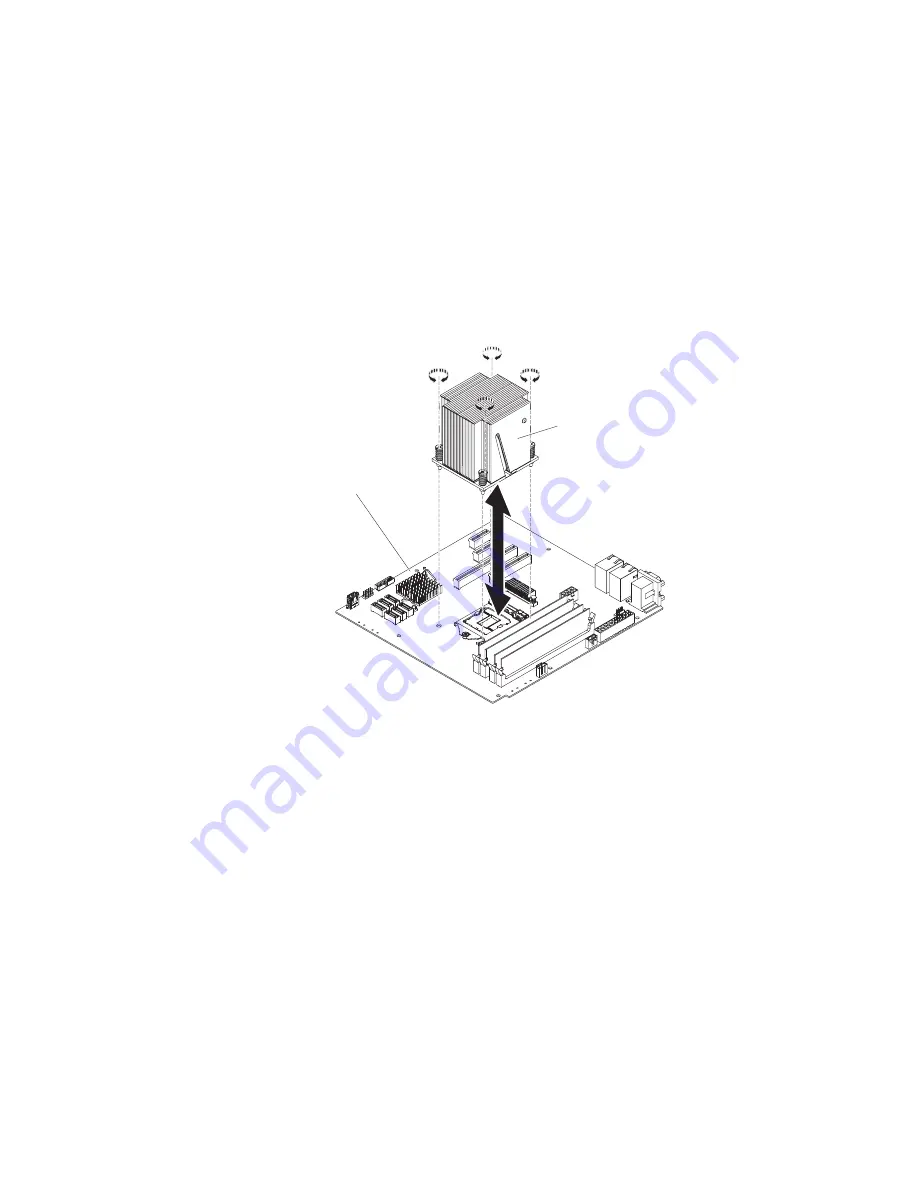
6. Remove the heat sink from the microprocessor:
Attention:
The heat sink may become very hot during normal operation.
Allow time for the heat sink to cool down before you touch it.
a. Loosen the screws and alternate among the screws until they break the
seal with the microprocessor.
b. Press firmly on the captive screws and loosen them with a screwdriver.
c. Use your fingers to gently pull the heat sink from the microprocessor.
Important:
Be careful when you handle the microprocessor and heat sink.
If the microprocessor and heat sink will be reused, do not contaminate the
thermal material between them.
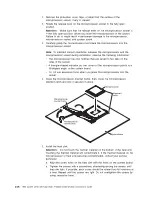
Heat sink
System board
Attention:
The microprocessor retention latch is spring-loaded when the
microprocessor is in place. Releasing the latch too quickly or allowing it to
spring upward can damage the microprocessor and surrounding components.
7. Release the microprocessor retention latch by pressing down on the end,
moving it to the side, and slowly releasing it to the open (up) position.
Chapter 5. Removing and replacing server components
251
Summary of Contents for System x3100 M4
Page 1: ...IBM System x3100 M4 Type 2582 Problem Determination and Service Guide...
Page 2: ......
Page 3: ...IBM System x3100 M4 Type 2582 Problem Determination and Service Guide...
Page 24: ...4 IBM System x3100 M4 Type 2582 Problem Determination and Service Guide...
Page 42: ...22 IBM System x3100 M4 Type 2582 Problem Determination and Service Guide...
Page 170: ...150 IBM System x3100 M4 Type 2582 Problem Determination and Service Guide...
Page 182: ...162 IBM System x3100 M4 Type 2582 Problem Determination and Service Guide...
Page 286: ...266 IBM System x3100 M4 Type 2582 Problem Determination and Service Guide...
Page 316: ...296 IBM System x3100 M4 Type 2582 Problem Determination and Service Guide...
Page 324: ...304 IBM System x3100 M4 Type 2582 Problem Determination and Service Guide...
Page 331: ......
Page 332: ...Part Number 00V9701 Printed in USA 1P P N 00V9701...


