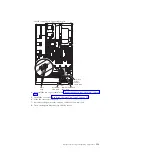
Removing and replacing FRUs
FRUs must be replaced or installed only by trained service technicians.
The illustrations in this document might differ slightly from the hardware.
Removing a microprocessor and heat sink
Attention:
v
Be extremely careful, the contacts are very fragile.
v
Do not allow the thermal grease on the microprocessor and heat sink to come in
contact with anything. Contact with any surface can compromise the thermal
grease and the microprocessor socket.
v
Do not touch the microprocessor contacts; handle the microprocessor by the
edges only. Contaminants on the microprocessor contacts, such as oil from your
skin, can cause connection failures between the contacts and the socket.
v
Use the microprocessor installation tool that came with the new microprocessor
to remove and install the microprocessor.
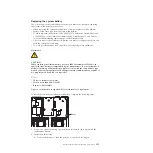
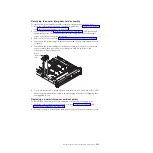
To remove a microprocessor and heat sink, complete the following steps:
1.
Read the safety information and installation guidelines, see “Safety” on page
vii and “Installation guidelines” on page 261.
2.
Turn off the server (see “Turning off the server” on page 17) and all attached
peripheral devices. Disconnect all power cords; then, disconnect all external
cables as necessary to replace the device.
3.
Remove the server cover (see “Removing the server top cover” on page 264).
4.
Disconnect any cables that impede access to the heat sink and microprocessor.
5.
Disconnect any cables from the adapters that are installed in the PCI riser-card
in slot 1 on the system board.
6.
Remove memory tray, if one is installed (see “Removing the memory tray” on
page 266).
7.
Remove the DIMM air baffle, if one is installed (see “Removing the DIMM air
baffle” on page 270).
8.
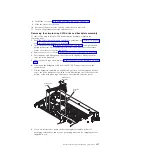
Remove the riser-card assembly from slot 1 on the system board. Grasp the
riser-card assembly by the front and rear and pull it out of the slot on the
system board.
9.
Remove the microprocessor air baffle (see “Removing the microprocessor air
baffle” on page 268).
10.
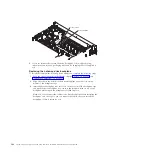
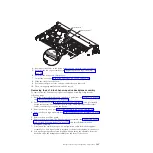
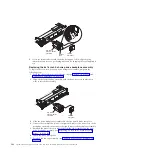
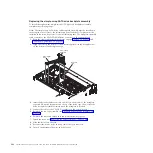
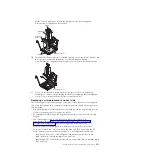
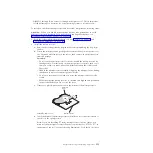
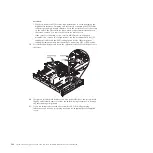
Open the heat sink release lever to the fully open position.
11.
Lift the heat sink out of the server. After removal, place the heat sink on its
side on a clean, flat surface.
Chapter 5. Removing and replacing components
349
Summary of Contents for System x3690 X5
Page 1: ...System x3690 X5 Types 7147 7148 7149 and 7192 Problem Determination and Service Guide...
Page 2: ......
Page 3: ...System x3690 X5 Types 7147 7148 7149 and 7192 Problem Determination and Service Guide...
Page 8: ...vi System x3690 X5 Types 7147 7148 7149 and 7192 Problem Determination and Service Guide...
Page 13: ...Safety statements Safety xi...
Page 22: ...4 System x3690 X5 Types 7147 7148 7149 and 7192 Problem Determination and Service Guide...
Page 266: ...248 System x3690 X5 Types 7147 7148 7149 and 7192 Problem Determination and Service Guide...
Page 278: ...260 System x3690 X5 Types 7147 7148 7149 and 7192 Problem Determination and Service Guide...
Page 386: ...368 System x3690 X5 Types 7147 7148 7149 and 7192 Problem Determination and Service Guide...
Page 407: ...1 2 Chapter 5 Removing and replacing components 389...
Page 444: ...426 System x3690 X5 Types 7147 7148 7149 and 7192 Problem Determination and Service Guide...
Page 454: ...436 System x3690 X5 Types 7147 7148 7149 and 7192 Problem Determination and Service Guide...
Page 461: ...weight of memory enclosure 28 Index 443...
Page 462: ...444 System x3690 X5 Types 7147 7148 7149 and 7192 Problem Determination and Service Guide...
Page 463: ......
Page 464: ...Part Number 47C8865 Printed in USA 1P P N 47C8865...

