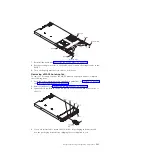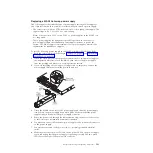
8.
Remove all hot-swap fans (see “Removing a MAX5 hot-swap fan” on page
381).
9.
If you are instructed to return the system-board tray, follow all packaging
instructions, and use any packaging materials for shipping that are supplied to
you.
Replacing the MAX5 system-board tray assembly
To replace the system-board tray, complete the following steps:
Note:
1.
When you reassemble the components in the MAX5, be sure to route all cables
carefully so that they are not exposed to excessive pressure.
2.
When you replace the system-board tray, make sure that host server firmware
is at the latest level (See “Updating the firmware” on page 397).
Attention:
Installing the wrong firmware or device-driver update might cause
the server to malfunction. Before you install a firmware or device-driver
update, read any readme and change history files that are provided with the
downloaded update. These files contain important information about the
update and the procedure for installing the update, including any special
procedure for updating from an early firmware or device-driver version to the
latest version.
3.
Before you attach a MAX5 to the server and try to use it, you must update the
server firmware with the latest level of firmware or code. If you attach and try
to use the MAX5 without updating the server firmware, you might get
unexpected system behavior or the server might not power on. For special
instructions to follow before you attach the MAX5 to the server, go to
http://www.ibm.com/support/entry/portal/docdisplay?lndocid=MIGR-
5085756.
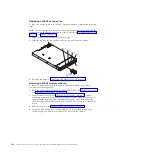
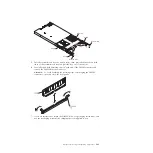
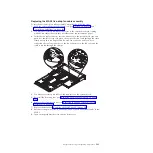
1.
Reinstall the DIMMs (see “Replacing a MAX5 memory module” on page 384).
2.
Reinstall the air baffle (see “Replacing the MAX5 air baffle” on page 378).
3.
Reinstall the hot-swap fans (see “Replacing a MAX5 hot-swap fan” on page
382).
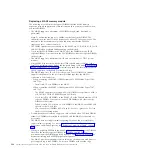
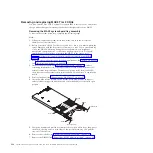
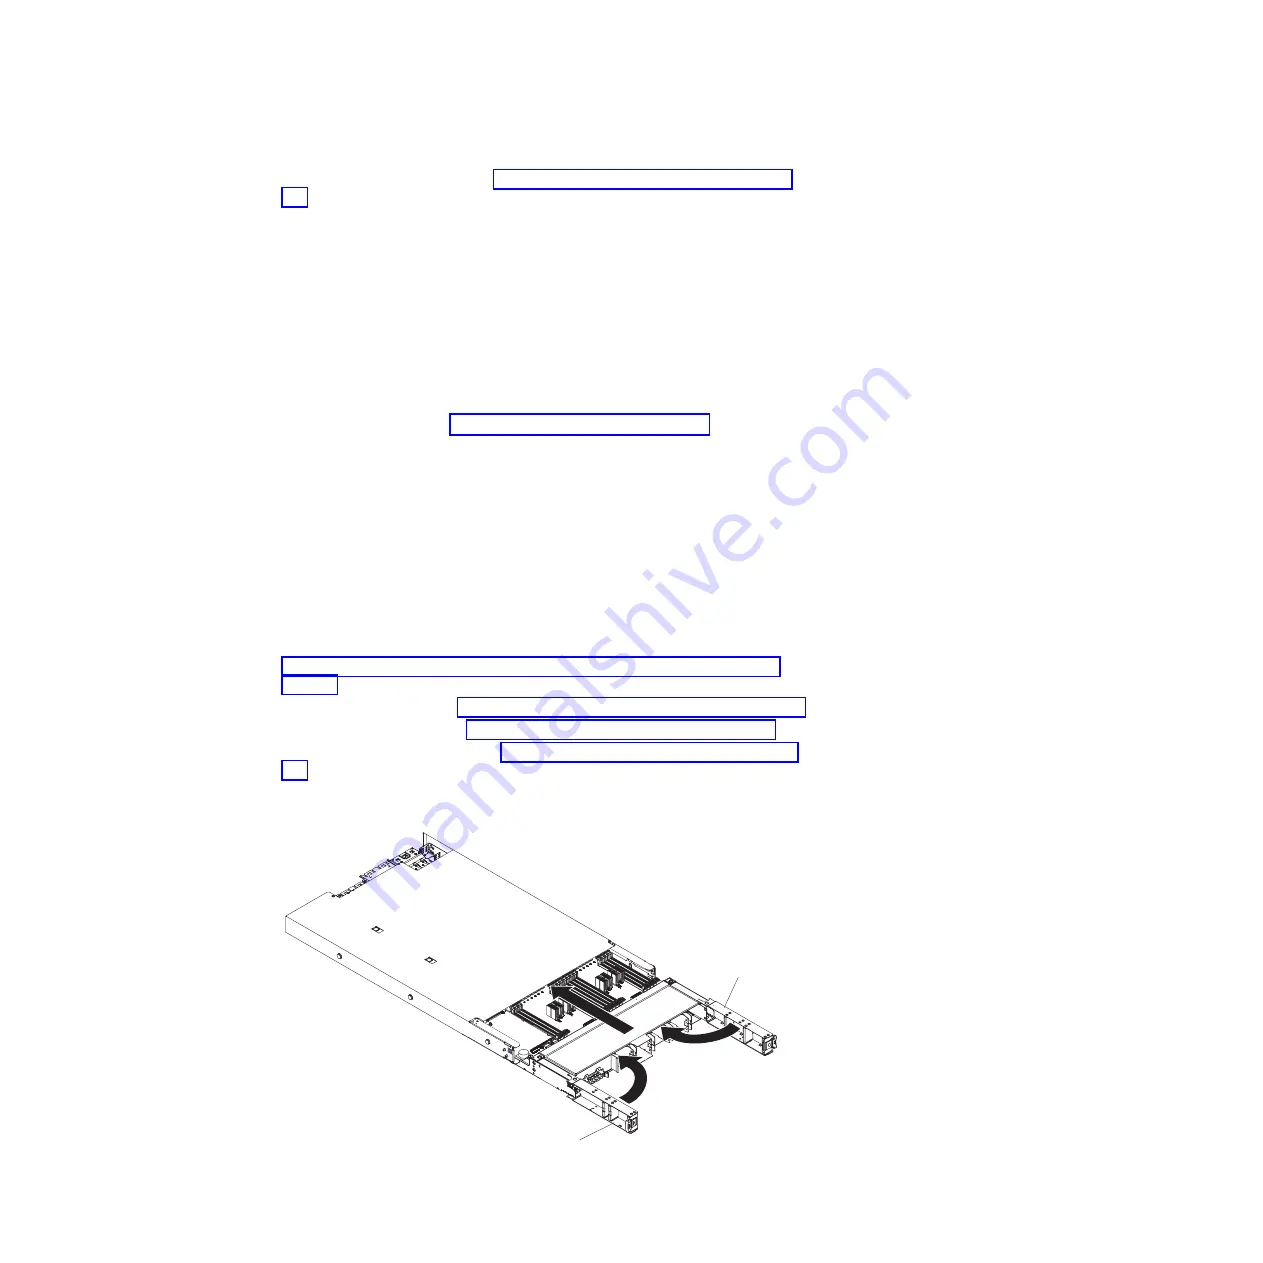
4.
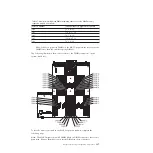
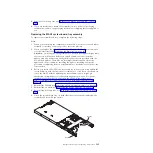
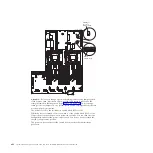
Grasp the system-board tray on both sides (near the stop-tabs) and align the
system-board tray with the chassis.
Handle
Handle
Chapter 5. Removing and replacing components
395
Summary of Contents for System x3690 X5
Page 1: ...System x3690 X5 Types 7147 7148 7149 and 7192 Problem Determination and Service Guide...
Page 2: ......
Page 3: ...System x3690 X5 Types 7147 7148 7149 and 7192 Problem Determination and Service Guide...
Page 8: ...vi System x3690 X5 Types 7147 7148 7149 and 7192 Problem Determination and Service Guide...
Page 13: ...Safety statements Safety xi...
Page 22: ...4 System x3690 X5 Types 7147 7148 7149 and 7192 Problem Determination and Service Guide...
Page 266: ...248 System x3690 X5 Types 7147 7148 7149 and 7192 Problem Determination and Service Guide...
Page 278: ...260 System x3690 X5 Types 7147 7148 7149 and 7192 Problem Determination and Service Guide...
Page 386: ...368 System x3690 X5 Types 7147 7148 7149 and 7192 Problem Determination and Service Guide...
Page 407: ...1 2 Chapter 5 Removing and replacing components 389...
Page 444: ...426 System x3690 X5 Types 7147 7148 7149 and 7192 Problem Determination and Service Guide...
Page 454: ...436 System x3690 X5 Types 7147 7148 7149 and 7192 Problem Determination and Service Guide...
Page 461: ...weight of memory enclosure 28 Index 443...
Page 462: ...444 System x3690 X5 Types 7147 7148 7149 and 7192 Problem Determination and Service Guide...
Page 463: ......
Page 464: ...Part Number 47C8865 Printed in USA 1P P N 47C8865...

