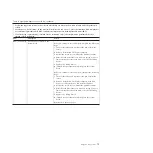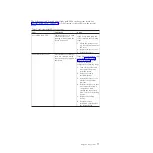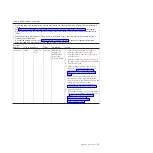
Table 6. Light path diagnostics panel LEDs (continued)
v
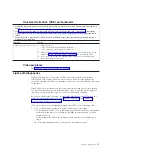
Follow the suggested actions in the order in which they are listed in the Action column until the problem is
solved.
v
See Chapter 3, "Parts listing", in the
Problem Determination and Service Guide
to determine which components
are customer replaceable units (CRU) and which components are field replaceable units (FRU).
v
If a action step is preceded by "(Trained service technician only)," that step must be performed only by a
trained service technician.
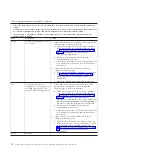
LED
Description
Action
DASD
A hard disk drive has failed or is
missing.
1.
Check the LEDs on the hard disk drives for the drive
with a lit status LED and reseat the hard disk drive.
2.
Make sure that the cables are correctly connected to the
hard disk drive backplane.
3.
For more information, see “Hard disk drive problems” on
page 52.
4.
If the error remains, replace the following components in
the order listed, restarting the server after each:
a.
Replace the hard disk drive.
b.
Replace the hard disk drive backplane.
5.
If the error remains, replace the following components
one at a time, in the order listed, restarting the server
after each:
a.
Replace the hard disk drive.
b.
Replace the hard disk drive backplane.
6.
If the problem remains, go to http://www.ibm.com/
systems/support/supportsite.wss/
docdisplay?brandind=5000008&lndocid=SERV-CALL.
RAID
Reserved.
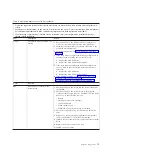
BRD
An error has occurred on the
system board.
1.
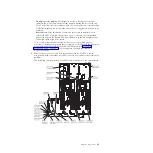
Check the LEDs on the server and the front of the MAX5
(if installed).
2.
Check the LEDs on the system board to identify the
component that caused the error. The BRD LED can be lit
due to any of the following reasons:
v
Battery
v
Missing PCI riser-card assembly
v
12V channel fault
v
Failed system board
v
Failed MAX5 system-board tray (if attached
3.
Check the system-event log for information about the
error.
4.
Replace any failed or missing replacement components,
such as the battery or PCI riser-card assembly.
5.
(Trained service technician only) replace the server system
board.
6.
Replace the MAX5 system-board tray.
Continued on the next page.
Chapter 3. Diagnostics
73
Summary of Contents for System x3690 X5
Page 1: ...System x3690 X5 Types 7147 7148 7149 and 7192 Problem Determination and Service Guide...
Page 2: ......
Page 3: ...System x3690 X5 Types 7147 7148 7149 and 7192 Problem Determination and Service Guide...
Page 8: ...vi System x3690 X5 Types 7147 7148 7149 and 7192 Problem Determination and Service Guide...
Page 13: ...Safety statements Safety xi...
Page 22: ...4 System x3690 X5 Types 7147 7148 7149 and 7192 Problem Determination and Service Guide...
Page 266: ...248 System x3690 X5 Types 7147 7148 7149 and 7192 Problem Determination and Service Guide...
Page 278: ...260 System x3690 X5 Types 7147 7148 7149 and 7192 Problem Determination and Service Guide...
Page 386: ...368 System x3690 X5 Types 7147 7148 7149 and 7192 Problem Determination and Service Guide...
Page 407: ...1 2 Chapter 5 Removing and replacing components 389...
Page 444: ...426 System x3690 X5 Types 7147 7148 7149 and 7192 Problem Determination and Service Guide...
Page 454: ...436 System x3690 X5 Types 7147 7148 7149 and 7192 Problem Determination and Service Guide...
Page 461: ...weight of memory enclosure 28 Index 443...
Page 462: ...444 System x3690 X5 Types 7147 7148 7149 and 7192 Problem Determination and Service Guide...
Page 463: ......
Page 464: ...Part Number 47C8865 Printed in USA 1P P N 47C8865...


