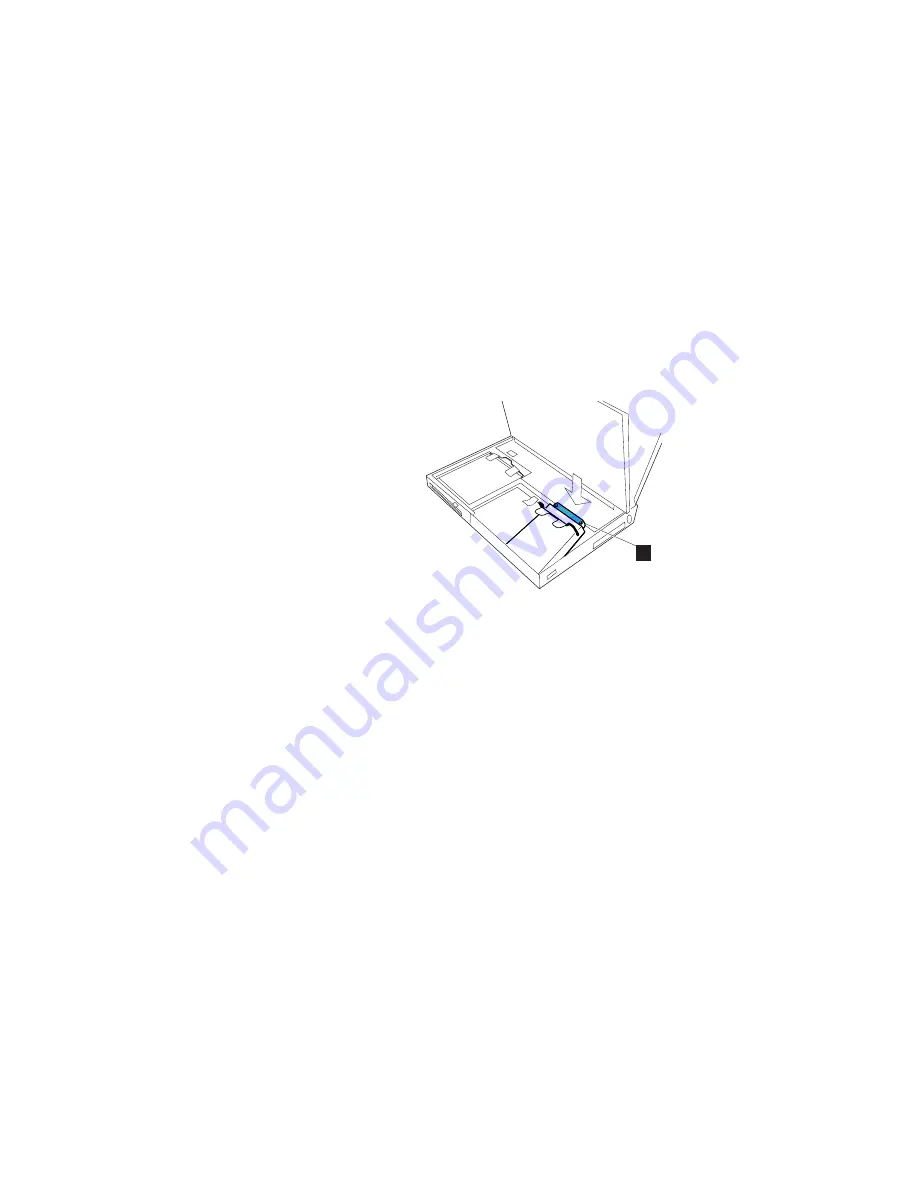
Replacing the Hard Disk Drive
6
Insert the replacement drive. Press on the shaded area
1
as shown until the drive snaps into the connector
and then replace the hard disk drive handle.
1
7
Replace the battery pack and then close the keyboard.
8
Connect the AC Adapter to the computer; then turn on
the computer.
You have completed the replacement of the hard disk drive. To
install your operating system and other necessary software, see
“What You Need for Your Computer” on page 178.
Chapter 6. Installing and Removing Options
151
Summary of Contents for ThinkPad 760C
Page 2: ...i...
Page 11: ...x IBM ThinkPad 760C User s Guide...
Page 17: ...Index 301 xvi IBM ThinkPad 760C User s Guide...
Page 27: ...Getting Started 5 4 1 1 2 2 10 IBM ThinkPad 760C User s Guide...
Page 29: ...Getting Started 6 7 8 2 2 3 3 1 1 12 IBM ThinkPad 760C User s Guide...
Page 53: ...Carrying the Computer Mwave Telephone Answering Machine 82 36 IBM ThinkPad 760C User s Guide...
Page 153: ...Using Locks 136 IBM ThinkPad 760C User s Guide...
Page 193: ...Attaching an IBM Dock I or Dock II Expansion Unit 176 IBM ThinkPad 760C User s Guide...
Page 259: ...Getting Service 242 IBM ThinkPad 760C User s Guide...
Page 265: ...Avoiding Hardware Conflicts 248 IBM ThinkPad 760C User s Guide...
Page 283: ...Advanced Information for PC Cards 266 IBM ThinkPad 760C User s Guide...
Page 289: ...Information for Mwave DSP Features 272 IBM ThinkPad 760C User s Guide...


