Installing a Secondary Hard Disk Drive in the UltraBay
Note:
You can see the lamp on the
secondary hard disk, which turns on
when data in the secondary hard
disk drive is accessed, through the
diskette drive bezel.
7
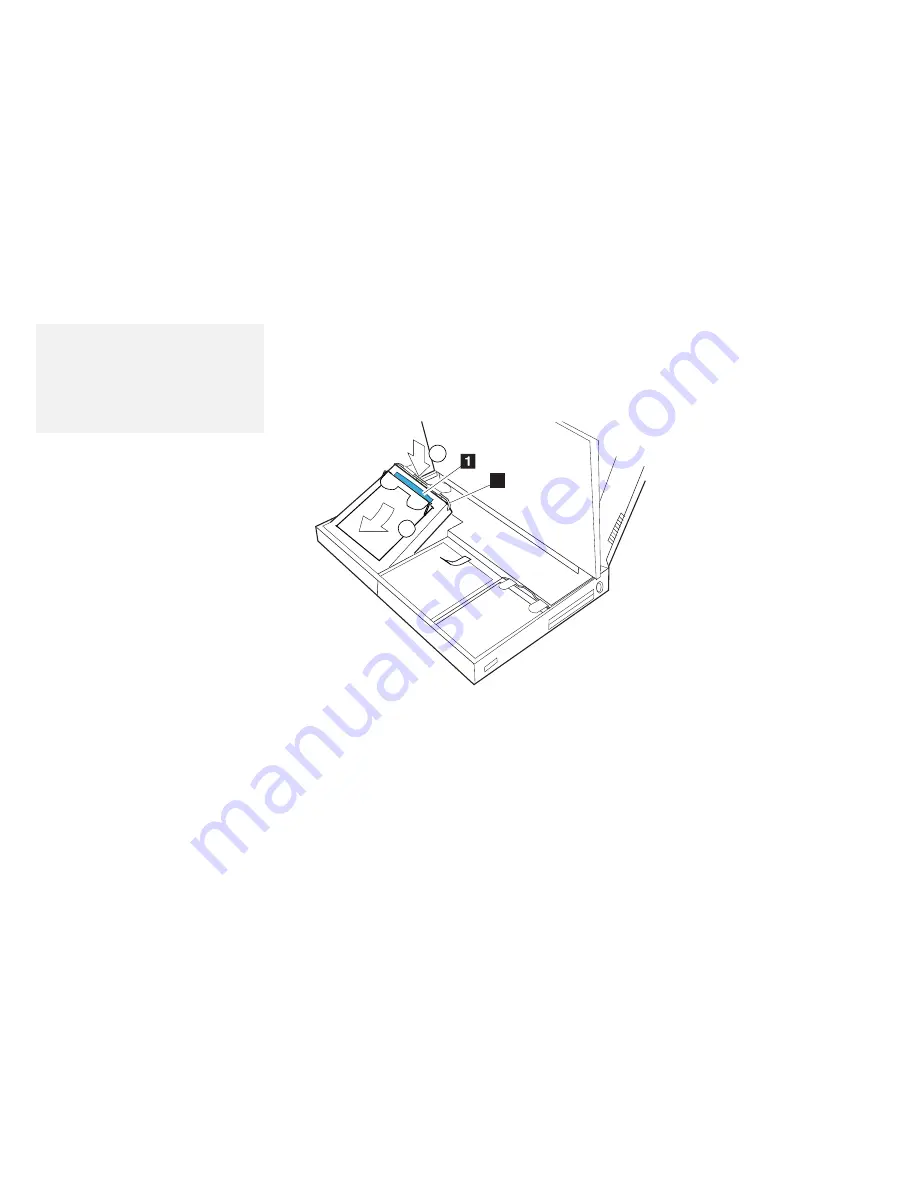
Place the hard disk holder (with the hard disk drive
attached) into the UltraBay. Press on the shaded area
1
as shown until the drive snaps into the connector;
then replace the drive handle
2
.
1
1
2
2
2
2
8
Replace the battery pack.
9
Close the keyboard; then reconnect all cables.
You have completed the installation of the secondary hard disk
drive.
158
IBM ThinkPad 760C User's Guide
Summary of Contents for ThinkPad 760C
Page 2: ...i...
Page 11: ...x IBM ThinkPad 760C User s Guide...
Page 17: ...Index 301 xvi IBM ThinkPad 760C User s Guide...
Page 27: ...Getting Started 5 4 1 1 2 2 10 IBM ThinkPad 760C User s Guide...
Page 29: ...Getting Started 6 7 8 2 2 3 3 1 1 12 IBM ThinkPad 760C User s Guide...
Page 53: ...Carrying the Computer Mwave Telephone Answering Machine 82 36 IBM ThinkPad 760C User s Guide...
Page 153: ...Using Locks 136 IBM ThinkPad 760C User s Guide...
Page 193: ...Attaching an IBM Dock I or Dock II Expansion Unit 176 IBM ThinkPad 760C User s Guide...
Page 259: ...Getting Service 242 IBM ThinkPad 760C User s Guide...
Page 265: ...Avoiding Hardware Conflicts 248 IBM ThinkPad 760C User s Guide...
Page 283: ...Advanced Information for PC Cards 266 IBM ThinkPad 760C User s Guide...
Page 289: ...Information for Mwave DSP Features 272 IBM ThinkPad 760C User s Guide...


