Removal
and
Replacement
of
the
Front
or
Rear
Door
It
is
possible
that
inspection
or
service
procedures
for
certain
drawers
might
require
removing
the
front
or
rear
door
for
better
access.
If
this
is
necessary,
follow
these
instructions.
Removal
This
section
covers
the
removal
procedure
for
the
front
or
rear
door.
1.
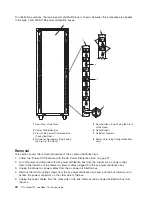
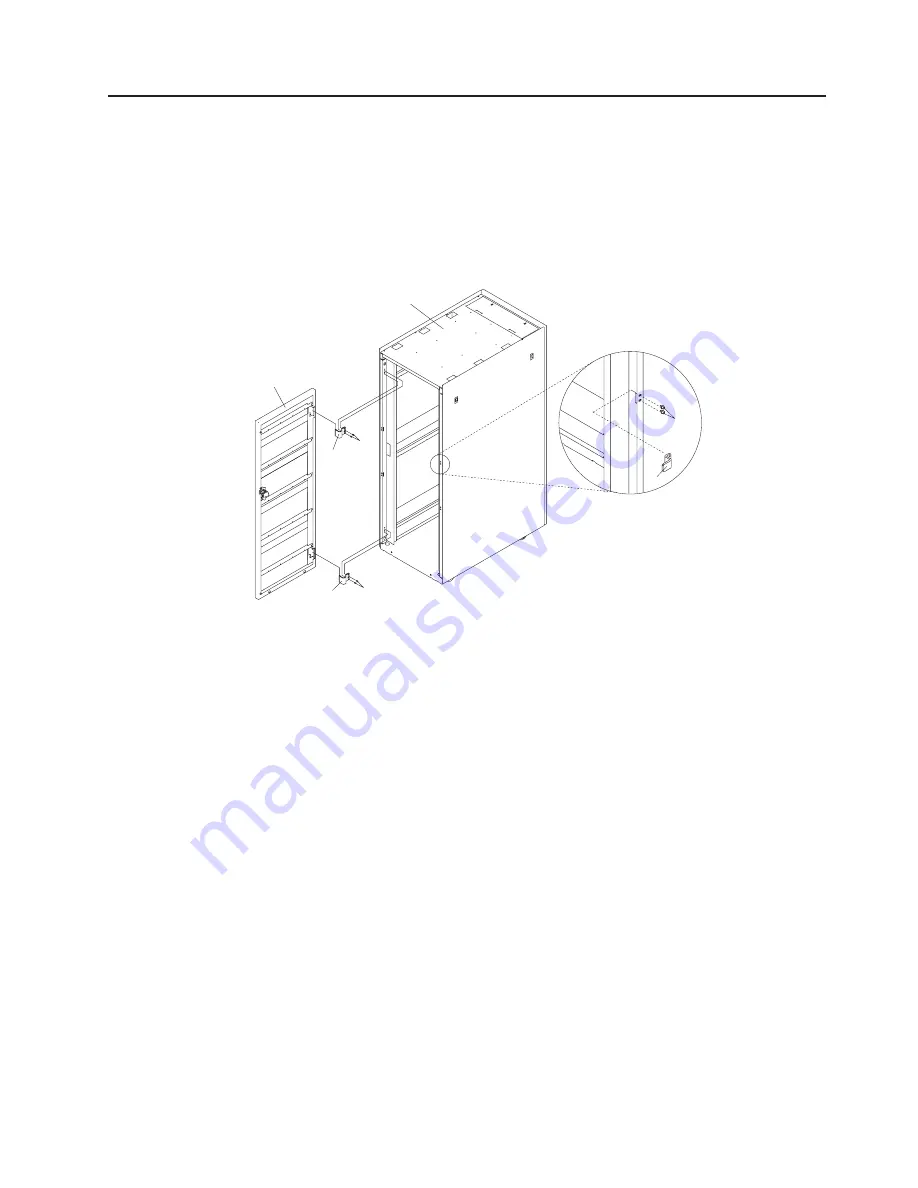
Open
the
door
of
the
rack.
2.
Remove
the
door
by
lifting
it
up
and
out.
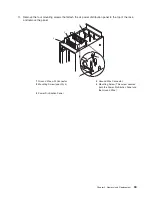
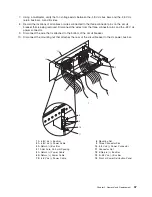
1
2
3
3
4
4
5
6
1
Rack
Cabinet
4
Hinge
Retaining
Screws
2
Front
Rack
Door
5
Door
Latch
3
Door
Hinge
6
Door
Latch
Mounting
Screws
3.
If
necessary,
remove
the
hinge
bracket
by
removing
the
mounting
screws
that
attach
the
bracket
to
the
rack.
4.
If
necessary,
also
remove
the
latch
plate
by
removing
the
mounting
screws
that
attach
the
plate
to
the
rack.
Replacement
This
section
covers
the
replacement
procedure
for
the
front
or
rear
door.
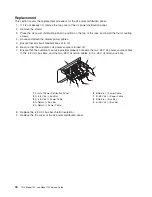
1.
Install
the
hinges
on
the
rack
by
positioning
them
on
the
rack
and
inserting
and
securely
tightening
the
screws.
2.
Install
the
latch
plate.
3.
Install
the
bottom
hinge
pin
on
the
door.
The
bottom
hinge
pin
is
the
longest
of
the
two
hinge
pins
on
the
door.
4.
Install
the
top
hinge
pin
on
the
door.
The
top
hinge
pin
is
the
shortest
of
the
two
hinge
pins
on
the
door.
5.
Position
the
door
at
the
rack
with
the
hinge
pin
ends
slightly
above
and
adjacent
to
the
hinges
on
the
rack.
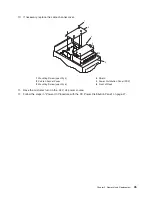
Lower
the
door
so
the
hinge
pins
slide
into
the
hinges.
6.
Close
the
door
on
the
rack.
Chapter
3.
Removal
and
Replacement
39
Summary of Contents for THINKPAD T42 -
Page 1: ...7014 Series Model T00 and Model T42 System Rack Service Guide SA38 0577 05 ERserver...
Page 2: ......
Page 3: ...7014 Series Model T00 and Model T42 System Rack Service Guide SA38 0577 05 ERserver...
Page 10: ...viii 7014 Model T00 and Model T42 Service Guide...
Page 36: ...24 7014 Model T00 and Model T42 Service Guide...
Page 72: ...60 7014 Model T00 and Model T42 Service Guide...
Page 80: ...68 7014 Model T00 and Model T42 Service Guide...
Page 85: ......

