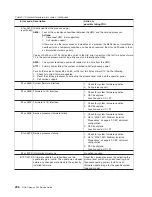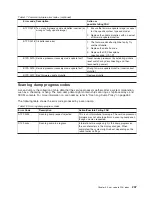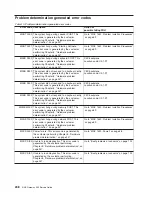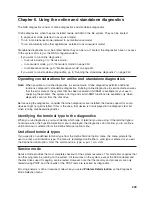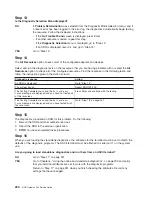
Step 13
Is the Diagnostic Selection Menu displayed?
NO
If
Problem Determination
was selected from the Diagnostic Mode Selection menu, and if
a recent error has been logged in the error log, the diagnostics automatically begin testing
the resource. Follow the displayed instructions.
v
If the
No Trouble Found
screen is displayed, press Enter.
v
If another resource is tested, repeat this step.
v
If the
Diagnostic Selection
menu is displayed, go to “Step 14”.
v
If an SRN is displayed, record it, and go to “Step 15”.
YES
Go to “Step 14”.
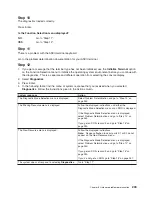
Step 14
The
All Resources
option checks most of the configured adapters and devices.
Select and run the diagnostic tests on the resources that you are having problems with or select the
All
Resources
option to check all of the configured resources. Find the response in the following table, and
follow the instructions given in the Action column.
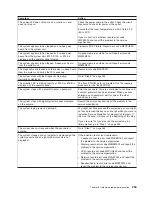
Diagnostic response
Action
An SRN is displayed.
Go to “Step 15”.
The system hangs.
Report SRN 109-200.
The Testing Complete menu and the
No trouble was
found
message are displayed and you have not tested all
of the resources.
Press Enter and continue with the testing.
The Testing Complete menu and the
No trouble was
found
message are displayed and you have tested all of
the resources.
Go to “Step 18” on page 251.
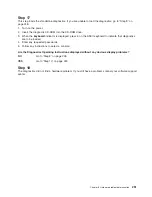
Step 15
The diagnostics produced an SRN for this problem. Do the following:
1. Record the SRN and other numbers read out.
2. Report the SRN to the service organization.
3.
STOP.
You have completed these procedures.
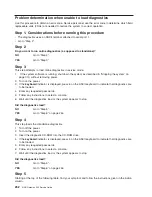
Step 16
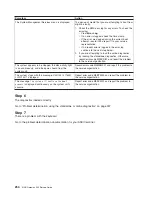
When you are loading the standalone diagnostics, the attributes for the terminal must be set to match the
defaults of the diagnostic programs. The ASCII terminal must be attached to serial port 1 on the system
unit.
Are you going to load standalone diagnostics and run them from an ASCII terminal?
NO
Go to “Step 17” on page 251.
YES
Go to Chapter 6, “Using the online and standalone diagnostics”, on page 239 and verify
that your terminal attributes are set to work with the diagnostic programs.
Return to “Step 17” on page 251 when you finish checking the attributes. Record any
settings that have changed.
250
NAS Gateway 500 Service Guide
Summary of Contents for TotalStorage NAS Gateway 500
Page 1: ...IBM TotalStorage NAS Gateway 500 Service Guide GY27 0418 00 ...
Page 2: ......
Page 3: ...IBM TotalStorage NAS Gateway 500 Service Guide GY27 0418 00 ...
Page 16: ...xiv NAS Gateway 500 Service Guide ...
Page 20: ...xviii NAS Gateway 500 Service Guide ...
Page 36: ...System logic flow Note Not all components are supported 16 NAS Gateway 500 Service Guide ...
Page 52: ...32 NAS Gateway 500 Service Guide ...
Page 58: ...38 NAS Gateway 500 Service Guide ...
Page 112: ...92 NAS Gateway 500 Service Guide ...
Page 266: ...246 NAS Gateway 500 Service Guide ...
Page 326: ...306 NAS Gateway 500 Service Guide ...
Page 353: ...Chapter 11 Removal and replacement procedures 333 ...
Page 392: ...372 NAS Gateway 500 Service Guide ...
Page 402: ...382 NAS Gateway 500 Service Guide ...
Page 412: ...392 NAS Gateway 500 Service Guide ...
Page 440: ...420 NAS Gateway 500 Service Guide ...
Page 446: ...426 NAS Gateway 500 Service Guide ...
Page 448: ...428 NAS Gateway 500 Service Guide ...
Page 466: ...446 NAS Gateway 500 Service Guide ...
Page 469: ......
Page 470: ... Printed in U S A GY27 0418 00 ...
Page 471: ...Spine information IBM TotalStorage NAS Gateway 500 NAS Gateway 500 Service Guide GY27 0418 00 ...

