Appendix C
Page 243
You may add or delete rows as necessary so that the total number
of rows corresponds to the number of Sections in your custom
Expense Report. To clear all of the existing settings in a row, click
to select the row and press
CTRL
+
DELETE
. Name each row to
correspond to a Section of your custom Expense Report.
9.
Determine the Label settings.
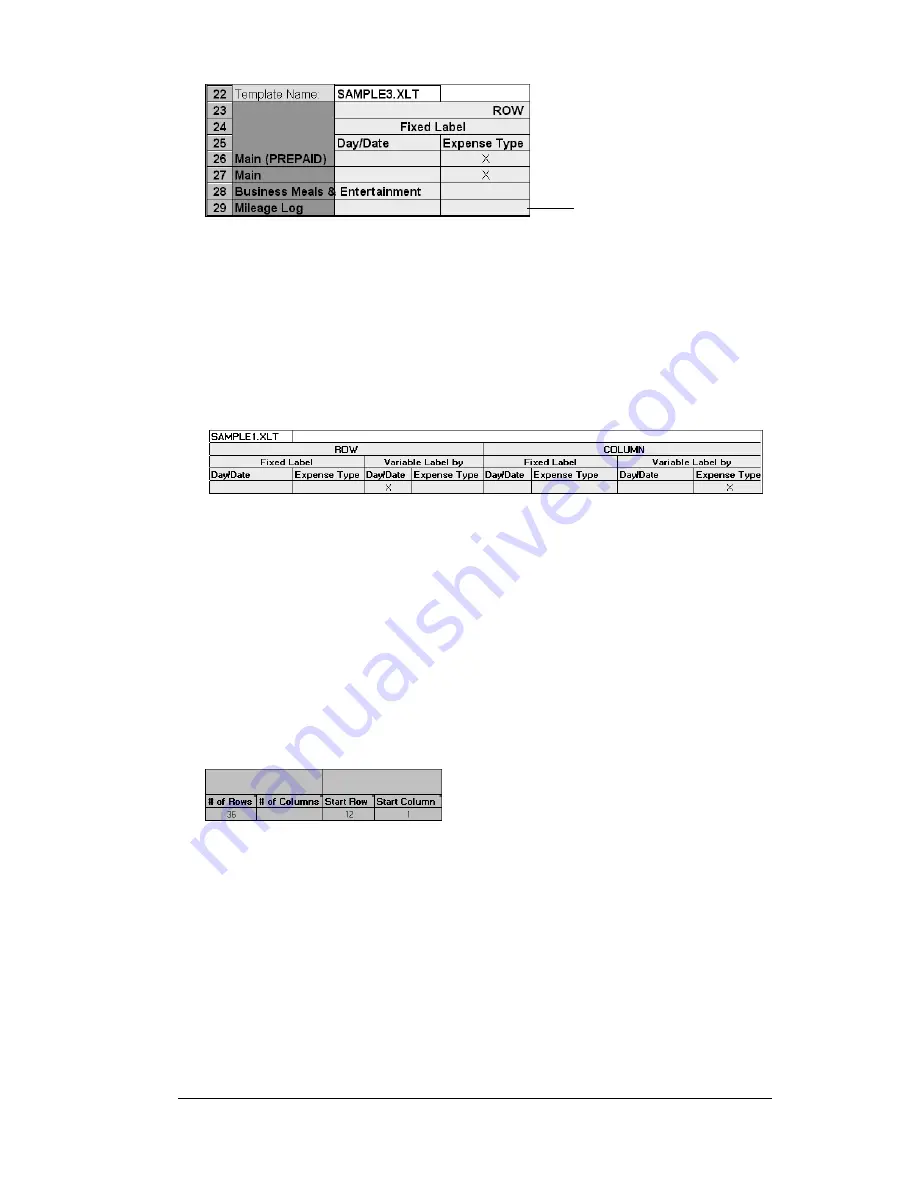
The orientation of the data fields
(Row, Column) appears in the yellow section of the table.
Determine whether the
Rows
will contain expense or date
information, and place an “x” in the appropriate cell. When you do
this, you also define whether the label is Fixed or Variable. You can
place only one “x” in the Row section (columns 2–5).
Determine whether the
Columns
will contain expense or date
information, and place an “x” in the appropriate cell. When you do
this, you also define whether the label is Fixed or Variable. You can
place only one “x” in the Column section (columns 6–9).
10.
Define the dimensions of the Section.
The dimensions of the Section
appear in the green columns (10–13).
# of
Rows
Represents the total number of rows in the Section,
excluding any header or total rows. In other words,
this includes only the number of rows in the Section
where your PC companion data will be placed.
Table with
four sections
Summary of Contents for WorkPad Workpad
Page 1: ...Handbookforthe WorkPadPCCompanion...
Page 2: ...Page ii Handbook for the WorkPad PC Companion...
Page 4: ...Page iv Handbook for the WorkPad PC Companion...
Page 12: ...Page 2 About This Book...
Page 38: ...Page 28 Introduction to Your PC Companion...
Page 64: ...Page 54 Managing Your Applications...
Page 72: ...Page 62 Using Expansion Features...
Page 174: ...Page 164 Communicating Using Your PC Companion...
Page 194: ...Page 184 Advanced HotSync Operations...
Page 226: ...Page 216 Maintaining Your PC Companion...
Page 280: ...Page 270 Warranty and Other Product Information...
Page 292: ...Page 282...


