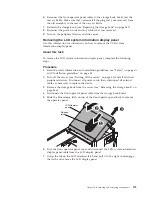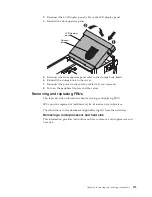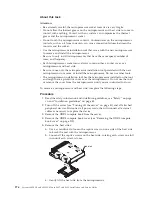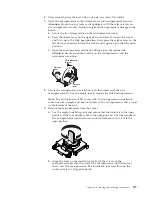
b.
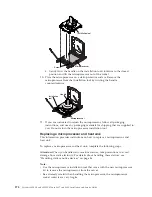
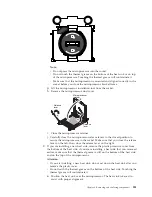
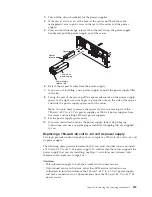
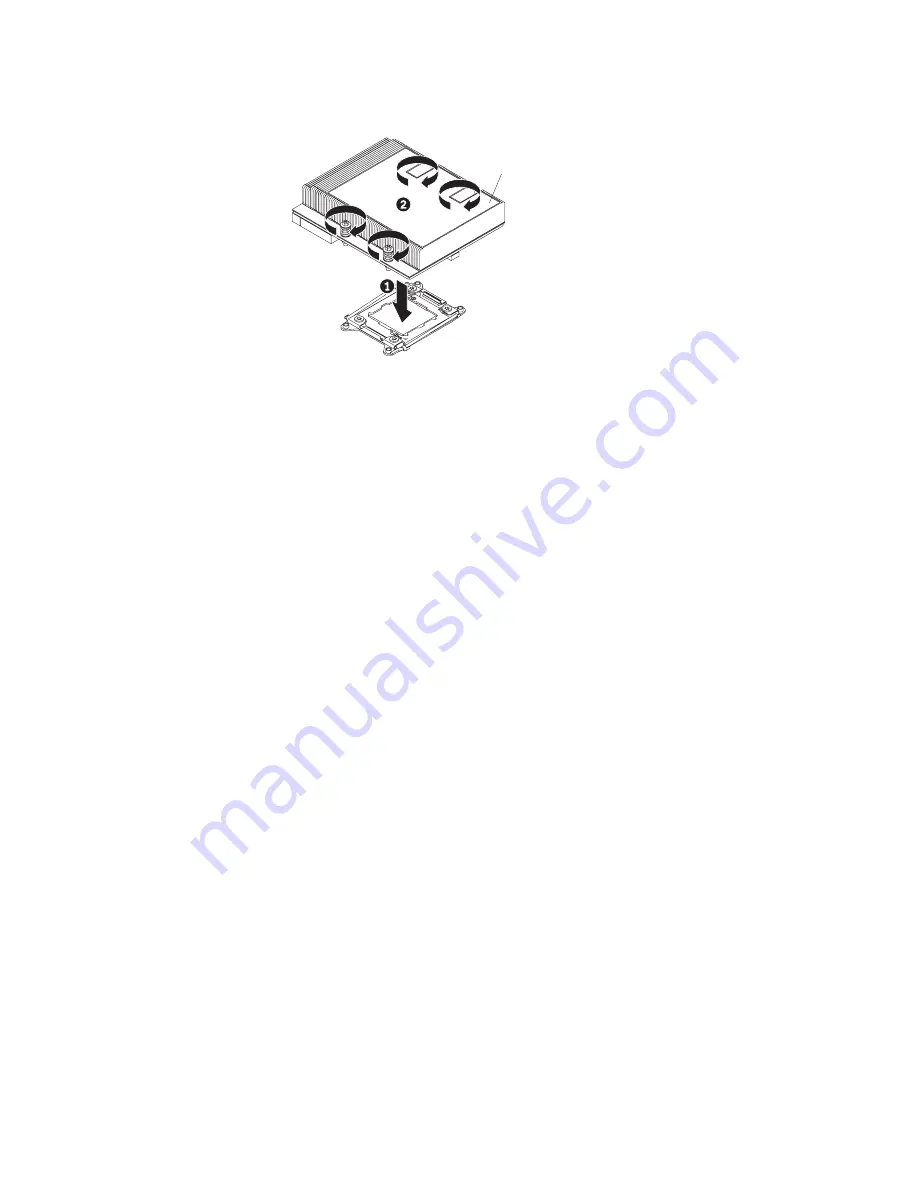
Align the screws on the heat sink with the holes on the heat sink retention
module.
Heatsink
c.
Press firmly on the center of the heat sink, then press firmly on the captive
screws and tighten them with a screwdriver, alternating between the screws
in a figure-8 pattern, as indicated on the heat sink label. Rotate each screw
one full rotation at a time. Repeat this process until the screws are
tightened. You can damage the microprocessor if you tighten the screws on
one side first, rather than alternating between screws. Do not over tighten
the screws with excessive force.
3.
Reinstall the DDR3 compute book cover (see “Replacing the DDR3 compute
book cover” on page 220).
4.
Reinstall the DDR3 compute book into the server.
5.
Reconnect the power cords and any cables that you removed.
6.
Turn on the peripheral devices and the server.
Thermal grease:
This topic provides instructions about how to replace contaminated thermal grease
on a microprocessor.
The thermal grease must be replaced whenever the heat sink has been removed
from the top of the microprocessor and is going to be reused or when debris is
found in the grease.
When you are installing the heat sink on the same microprocessor that is was
removed from, make sure that the following requirements are met:
v
The thermal grease on the heat sink and microprocessor is not contaminated.
v
Additional thermal grease is not added to the existing thermal grease on the
heat sink and microprocessor.
Note:
v
Read the Safety information on page “Safety” on page vii.
v
Read the “Installation guidelines” on page 45.
v
Read “Handling static-sensitive devices” on page 46.
To replace damaged or contaminated thermal grease on the microprocessor and
heat sink, complete the following steps:
1.
Place the heat sink on a clean work surface.
2.
Remove the cleaning pad from its package and unfold it completely.
282
System x3850 X6 and x3950 X6 Types 3837 and 3839: Installation and Service Guide
Summary of Contents for X3850 X6
Page 1: ...System x3850 X6 and x3950 X6 Types 3837 and 3839 Installation and Service Guide...
Page 2: ......
Page 3: ...System x3850 X6 and x3950 X6 Types 3837 and 3839 Installation and Service Guide...
Page 138: ...120 System x3850 X6 and x3950 X6 Types 3837 and 3839 Installation and Service Guide...
Page 225: ...25 26 27 Chapter 5 Parts listing System x3850 X6 and x3950 X6 Types 3837 and 3839 207...
Page 1682: ...1664 System x3850 X6 and x3950 X6 Types 3837 and 3839 Installation and Service Guide...
Page 1706: ...1688 System x3850 X6 and x3950 X6 Types 3837 and 3839 Installation and Service Guide...
Page 1710: ...1692 System x3850 X6 and x3950 X6 Types 3837 and 3839 Installation and Service Guide...
Page 1728: ...1710 System x3850 X6 and x3950 X6 Types 3837 and 3839 Installation and Service Guide...
Page 1729: ......
Page 1730: ...Part Number 00FH434 Printed in USA 1P P N 00FH434...

